

 Q2
Q2
 QIDI Box
 Plus 4
 Q1 Pro
 X-Max 3


Tips and Tricks for Successful FDM 3D Printing

The five changes that improve FDM print quality the most are: level and calibrate the bed, use dry filament, calibrate extruder E-steps and flow, tune retraction and part cooling, and match print speed to the model's detail. Together these fix the majority of quality complaints — stringing, weak layers, poor first layers, and dimensional error — without buying new hardware.
FDM (Fused Deposition Modeling) builds a part by laying molten thermoplastic down one layer at a time. Every quality problem in that process traces back to one of three things: where the nozzle is, how much plastic comes out of it, and how fast the plastic cools. The tips below are organised around exactly that.
Quick Reference: Starting Values
| Setting | PLA | PETG | ABS / ASA | Why it matters |
|---|---|---|---|---|
| Nozzle temperature | 200–220 °C | 230–250 °C | 240–260 °C | Too cold gives weak layer bonding; too hot causes stringing and blobs |
| Bed temperature | 55–60 °C | 70–80 °C | 90–110 °C | Controls first-layer adhesion and warping |
| Chamber | Open is fine | Open is fine | Enclosed, ideally heated | Slow, even cooling prevents layer splitting on high-shrinkage materials |
| Retraction (direct drive) | 0.5–1.0 mm | 1.0–2.0 mm | 0.5–1.5 mm | The single biggest lever on stringing |
| Part cooling fan | 100% | 30–60% | 0–20% | High cooling sharpens detail but weakens bonds on shrink-prone plastics |
| Drying before use | Optional | Recommended | Recommended | Wet filament pops and sputters, ruining surface finish |
Treat these as starting points, not gospel — every filament brand behaves slightly differently, which is why the calibration steps below matter more than any single number.
Tip #1: Select and Calibrate Your 3D Printer
Choosing the Right 3D Printer
Before you chase settings, make sure the 3D printer itself matches what you intend to print. Assess your goals: the materials you plan to use, the build volume you need, and the level of detail you're after. Then check the specifications that actually gate those goals — hotend maximum temperature, whether the machine is enclosed, whether the chamber is actively heated, and whether the extruder is direct drive or Bowden.
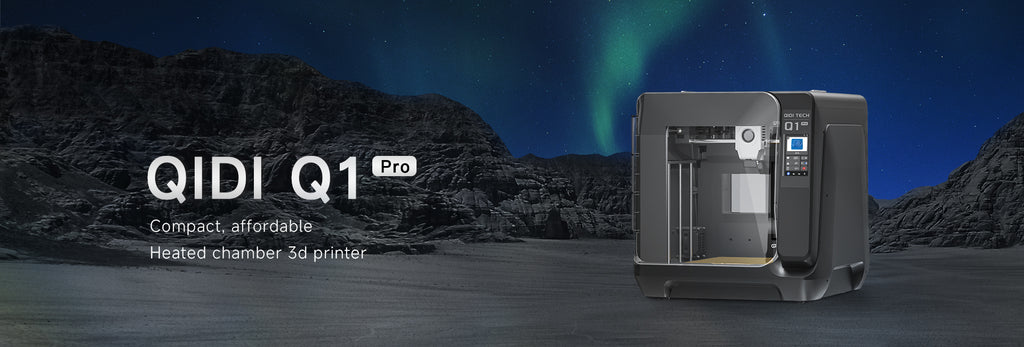
That last group matters more than most spec-sheet numbers. A 370 °C hotend with an actively heated 65 °C chamber, as on the QIDI Q2, opens up ABS, ASA, PC, and Nylon; an open-frame machine with a 260 °C hotend does not, no matter how carefully you tune it.
Bed Leveling Basics
A level print bed gives even first-layer adhesion, preventing warping and most of the failures that follow. For manual leveling, use feeler gauges (0.1 mm to 0.3 mm) to set nozzle height at multiple points across the heated bed, aiming for a consistent gap with slight drag when you slide the gauge.
Most current machines instead probe the bed automatically and build a mesh, compensating for surface irregularities in real time — see how automatic bed leveling works. Automatic leveling saves time but still needs an occasional Z-offset check, especially after changing the nozzle or the build sheet.
Extended reading: Why Is My 3D Print Not Sticking to the Bed?
Accurate Printer Movement
Calibrating movement along the X, Y, and Z axes is essential for dimensional accuracy, particularly with multi-part assemblies where parts must fit. Print a calibration cube, measure it with calipers, and correct steps-per-millimeter if the measured dimension is consistently off. Our step-by-step calibration guide covers the full sequence.
Mechanical condition matters just as much as the numbers. Loose belts, a bent lead screw, or a worn coupler will produce errors no amount of software calibration can hide, so inspect them before you start changing values.
Tip #2: Manage Your Filament Effectively
Using High-Quality Filament
Premium filaments go through tighter quality control, giving consistent diameter, minimal contamination, and predictable melt behaviour. Cheap filament with ±0.05 mm diameter variance causes visible under- and over-extrusion bands, poor layer adhesion, and outright print failures that look like machine faults but aren't.
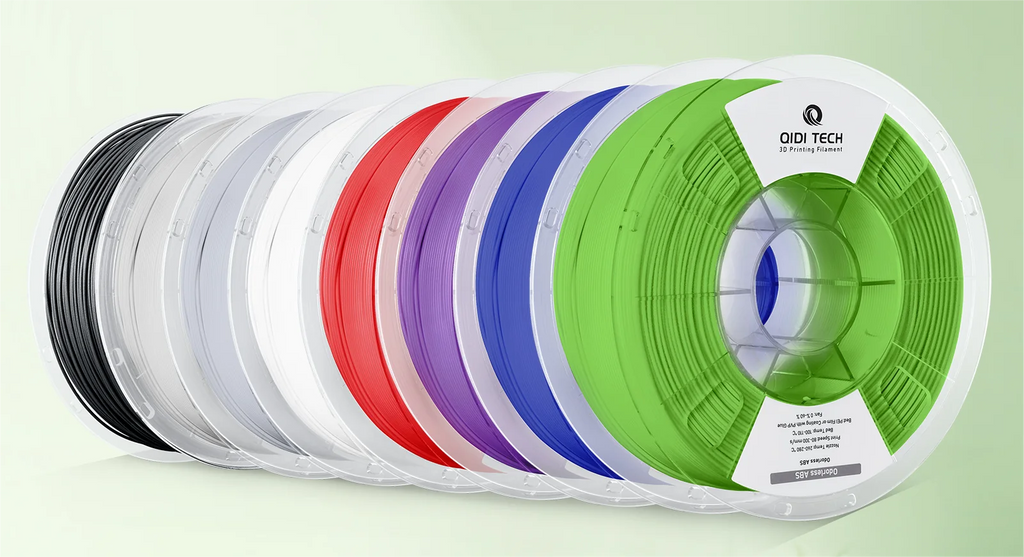
Proper filament storage is critical, because most printing polymers are hygroscopic — they pull moisture out of the air. Store spools in airtight containers with fresh desiccant. Absorbed water flashes to steam at the nozzle, producing popping sounds, a rough matte surface, and brittle layers. Nylon and PC are the worst offenders; PETG is not far behind. If a spool has already absorbed moisture, dry it in a filament dryer or food dehydrator before printing rather than trying to compensate with temperature.
Tip #3: Calibrate Extruder Steps and Flow Precisely
Inconsistent extrusion is behind a surprising share of quality problems: dimensional error, gaps between perimeters, and rough top surfaces. Calibrating the extruder's steps per millimeter makes the machine deliver exactly the length of filament the slicer asked for.
The procedure is simple: mark 120 mm of filament above the extruder, command a 100 mm extrusion, then measure what's left. If 22 mm remains, the extruder moved 98 mm instead of 100, and the E-steps value needs scaling by 100/98.
Once E-steps are right, tune flow rate on a single-wall test cube: print a hollow cube with one perimeter and no top layers, measure the wall with calipers, and adjust flow until the measured wall matches the nozzle-width setting. Repeat this for each new filament type and brand, since melt viscosity and diameter tolerance differ between them.
Tip #4: Enhance Print Quality with Specific Techniques
Stringing Minimization
Stringing happens when molten filament oozes from the nozzle during travel moves, leaving thin strands across the part. Retraction settings are the primary control: increase retraction distance and tune retraction speed so the melt is pulled back before the head moves. Enabling wipe or coasting helps the nozzle clear residual pressure first.
Temperature is the second lever. Dropping the nozzle 5–10 °C often cuts stringing dramatically, because lower-viscosity plastic oozes more readily. Flexible and moisture-laden filaments string worse than dry rigid ones, so drying comes before tuning. Raising travel speed also helps, simply by giving ooze less time to form. Our dedicated stringing fix guide walks through the test print.
Cooling Strategies
Cooling decides how well overhangs and bridges hold their shape, and how strongly layers bond. More airflow gives crisper detail and better bridging; less airflow gives stronger layer adhesion and less warping. That trade-off is why fan settings differ so much by material — full cooling for PLA, almost none for ABS.
Use per-layer fan control in your slicer rather than a single global value: run the fan hard over small features and bridges, and back it off on tall thin walls where the layer time is already short. Model orientation is part of the same equation, since it determines which surfaces need cooling at all.
Ensuring Layer Accuracy
Inconsistent layer heights or repeating patterns on vertical surfaces point at mechanical or thermal problems, not slicer settings. Bent lead screws, loose couplers, and misaligned rails create visible banding. Temperature swings at the hotend cause uneven extrusion, which is why PID tuning is worth doing once per machine. Layer shifts are usually belt tension, a loose pulley grub screw, or acceleration set past what the frame can hold. Firmware compensation such as input shaping suppresses ringing but cannot fix a mechanical fault. See also: how to reduce visible layer lines.
Tip #5: Fine-Tune Print Settings for Precision
Adjusting Horizontal Expansion and Flow Rate
These two settings fix clearance and fit problems after everything else is dialled in — and only then.
Horizontal expansion scales the model slightly in XY, creating extra clearance between moving parts or a tighter interference fit for press-fit assemblies. Use it sparingly; large values distort features.
Flow rate controls how much filament is extruded per unit of travel. Raising it compensates for under-extrusion from a partial clog or filament slippage; lowering it addresses over-extrusion from incorrect E-steps or oversized filament. Both are last resorts: if you're reaching for flow rate to fix a symptom, find the mechanical cause first, because compensating in software stacks new inconsistencies on top of the old ones.
Speed Adjustments for Optimal Results
Print speed affects both surface quality and part strength. Faster printing shortens layer time, which can compromise layer adhesion and blur fine detail. Slower printing improves both but costs hours.
Balance speed against layer time rather than chasing a single number. Intricate models need slower perimeters for clean details; large, simple parts tolerate much higher speeds without visible loss. A useful rule is to slow only the outer perimeter and leave infill fast — most of the visible quality lives on that one wall.
Consider what your printer and filament can actually sustain. A rigid CoreXY frame with input shaping holds quality at accelerations that would shake an open cantilever machine apart. Current QIDI machines are specified at 600 mm/s and 20,000 mm/s², with the Max4 at 800 mm/s and 30,000 mm/s², but the useful speed on a detailed model is always lower than the headline figure. Run a speed tower and judge the result yourself.
Frequently Asked Questions
Why are my 3D prints stringy?
Almost always wet filament, too high a nozzle temperature, or too little retraction — in that order. Dry the spool first, then drop the nozzle 5–10 °C, then increase retraction distance. Changing all three at once tells you nothing.
How often should I calibrate my 3D printer?
Calibrate E-steps once per machine and re-check after replacing the extruder. Calibrate flow rate per filament brand. Check Z-offset whenever you change the nozzle or the build sheet. Everything else is troubleshooting, not routine maintenance.
Does printing slower always give better quality?
No. Below roughly 30 mm/s, PLA can over-heat because each layer gets too much time under the hotend, softening detail rather than sharpening it. Slow the outer perimeter, not the whole print.
What is the single most effective fix for poor print quality?
A correct first layer. A bed that is level with the right Z-offset removes adhesion failures, warping, and elephant's foot in one step, and those three account for most abandoned prints.
Refine Your FDM 3D Printing Skills
Good FDM results come from a short list of controlled variables, not from luck. Level the bed, dry the filament, calibrate extrusion, tune retraction and cooling, and pick a speed that suits the model. Change one variable at a time, keep the test print small, and write down what worked — that record is worth more than any settings table someone else published, including this one.
Read More
- Quick Reference: Starting Values
- Tip #1: Select and Calibrate Your 3D Printer
- Choosing the Right 3D Printer
- Bed Leveling Basics
- Accurate Printer Movement
- Tip #2: Manage Your Filament Effectively
- Using High-Quality Filament
- Tip #3: Calibrate Extruder Steps and Flow Precisely
- Tip #4: Enhance Print Quality with Specific Techniques
- Stringing Minimization
- Cooling Strategies
- Ensuring Layer Accuracy
- Tip #5: Fine-Tune Print Settings for Precision
- Adjusting Horizontal Expansion and Flow Rate
- Speed Adjustments for Optimal Results
- Frequently Asked Questions
- Why are my 3D prints stringy?
- How often should I calibrate my 3D printer?
- Does printing slower always give better quality?
- What is the single most effective fix for poor print quality?
- Refine Your FDM 3D Printing Skills
- Read More
Recommended products






