

 Q2
Q2
 QIDI Box
 Plus 4
 Q1 Pro
 X-Max 3


How to Fix 3D Printer Stops Extruding Mid-Print

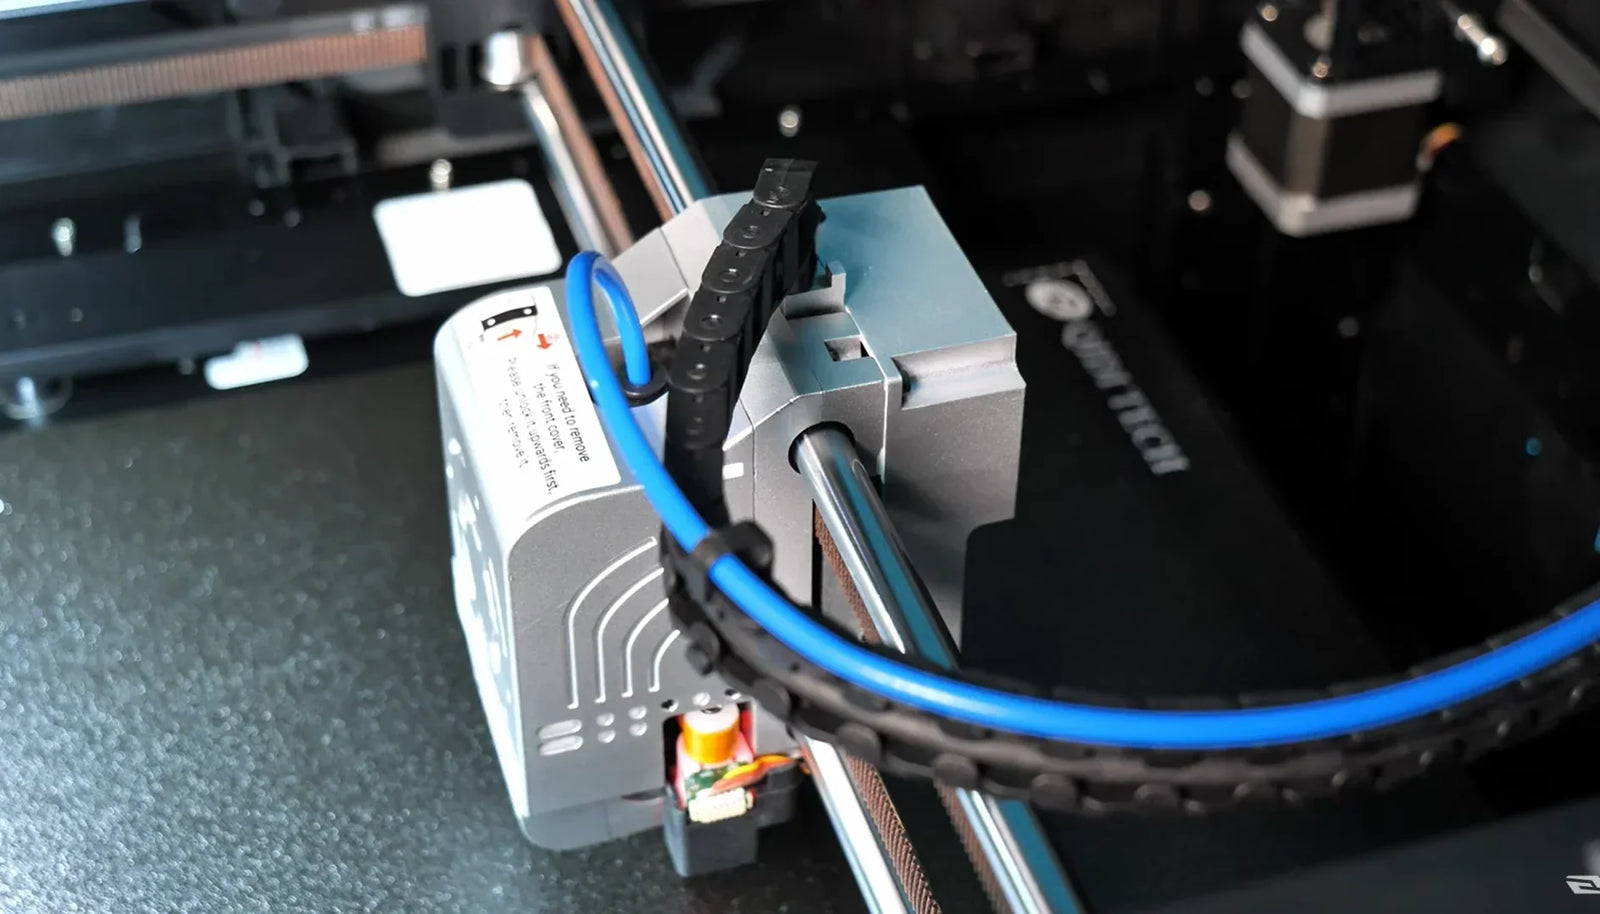
When filament stops extruding mid-print, work outward from the spool: tangle, brittle filament, packed drive gear, clogged nozzle, heat creep, then thermistor or firmware. Roughly four in five cases are a tangle, a partial clog, or a hotend cooling fan that has slowed down. Check those three before you take anything apart.
It is one of the most demoralising failures in 3D printing. The machine is still moving, the gantry is still tracing the model, and nothing is coming out. This guide works through every cause in the order that costs you the least effort, so you find it fast instead of stripping a hotend that was never the problem.
Fast Triage: Symptom to Root Cause to Fix
| What you observe | Most likely cause | First action |
|---|---|---|
| Extruder clicks; plastic dust below the drive gear | Nozzle blocked, gear grinding a flat into the filament | Cut off the chewed section, cold pull the nozzle |
| Ran fine for 30–90 minutes, then stopped | Heat creep — filament swelling in the heat break | Check the hotend cooling fan is at full speed |
| Extruder motor silent, nothing moving | Thermal fault, stalled stepper or a firmware halt | Read the screen for an error, then check wiring |
| Stopped exactly where the spool snagged | Tangle or knot on the spool | Unwind past the knot and re-wind it neatly |
| Filament snapped clean above the extruder | Moisture has made the filament brittle | Dry the spool; store sealed with desiccant |
| Actual temperature drifts or reads impossible values | Failing thermistor or a loose hotend connector | Inspect the hotend harness; replace the sensor |
| Only happens with TPU or other flexibles | Soft filament buckling in the feed path | Slow to 20–30 mm/s and cut retraction right down |
| Preview shows extrusion lines vanishing | Slicing or model error, not hardware | Re-slice; try a clean default profile |
Step 1 – Check the Filament First
Always begin with the filament. Supply problems are a frequent cause of extrusion failure and are the easiest to fix.
Is the Filament Tangled or Empty?
Check that the spool is not simply empty. If it is not, examine it for tangles or knots. Tangles occur when the filament end slips under another coil and forms a knot that jams the feed the moment it reaches the extruder. Confirm the spool rotates freely on its holder and is not catching on the frame. Our guide to preventing filament tangles covers the spool-handling habits that stop this happening.
Is the Filament Snapped or Brittle?
Filament absorbs moisture over time and turns brittle, cracking mid-print. This is common with PLA. Look for a broken piece of filament between the extruder and the spool, and test the material by bending a length of it. If it snaps rather than bends, it is spent. Store spools in an airtight container with desiccant; a filament dryer will usually revive one that has already gone brittle.
Step 2 – Examine the Extruder Mechanism
The extruder is what grabs the filament and drives it into the hotend. When it stops gripping, extrusion stops even though everything else is healthy. Every current QIDI machine uses a direct-drive extruder with hardened-steel dual gears, which grips hard — and grips hard in both directions, so a blocked nozzle turns into ground filament quickly.
Is the Drive Gear Slipping or Clogged?
When the gear slips, you hear clicking and find a small pile of plastic shavings. That means the gear is grinding the filament instead of driving it.
Open the extruder assembly and inspect the gear teeth for packed plastic dust. Clear them with a stiff brass brush and compressed air. While it is open, confirm the gear aligns with the filament path, and check the tension arm: too loose and it will not engage, too tight and it crushes the filament into an oval that no longer fits the throat. Spare assemblies are listed as the Q2 extruder and equivalents in Max4 accessories.
Is the Filament Loading Properly?
Testing the feed path is simple. Remove the filament entirely. Cut the end at a 45-degree angle so it has a clean point — a blunt or mushroomed tip is the single most common reason a load attempt fails, because the deformed end catches on the throat entry. Feed it back in by hand and note any resistance as it travels toward the hotend. It should slide through smoothly. Catching or binding means a misalignment or a blockage.
Loading Failures on a QIDI Q2, Plus 5 or Max4
If the machine reports a loading failure rather than stopping mid-print, run through this short list before assuming a hardware fault:
- Re-cut the filament tip at 45 degrees. The end that was sitting in the extruder is usually deformed from the gear teeth.
- Check the runout sensor path. If the sensor does not see filament, the loader will not run. Debris in the sensor channel is a common cause; the part is stocked as the Q2 filament runout sensor.
- Confirm the guide tube is fully seated at both ends. A tube that has crept out of its coupler leaves a gap the filament tip catches on.
- Preheat before loading. Loading into a cold nozzle cannot work; the material has nowhere to go.
- If you run a QIDI Box, check each channel's path separately — a failure on one channel is a path problem, on every channel it is the hotend.
Step 3 – Inspect the Nozzle and Hot End
If filament and extruder are healthy, the problem is in the hot end, where filament is melted. A nozzle blockage is a very common reason for extrusion to stop.
Is the Nozzle Clogged?
A partial clog weakens extrusion; a full clog ends it abruptly. The most effective fix is a cold pull. On a Q2, Plus 5 or Max4:
- Heat the nozzle to 250 °C and hand-feed PLA until a clean strand extrudes.
- Drop the target to 90 °C and wait for the display to reach it.
- Pull the filament out firmly in one fast motion with pliers.
- Repeat until the tip comes out clean. For PETG use 240 °C down to 120 °C; for ABS, 250 °C down to 140 °C.
The pulled tip should be moulded to the shape of the nozzle interior with debris embedded in it.
Is the Nozzle Hot Enough?
Filament will not extrude if the nozzle is not at temperature. Compare the target and actual readings on the display. If actual sits well below target or jumps around, suspect the heater cartridge or the thermistor.
Most 3D printers include thermal runaway protection, which shuts the heater down when temperature does not rise as expected. It prevents fires, and it also halts your print — an error on screen is a clear sign it has triggered. Never disable it to get a print finished.
Step 4 – Review Temperature and Retraction Settings
The fault may be in your slicer settings rather than the hardware. Wrong temperature or retraction can jam a perfectly healthy machine.
Is the Printing Temperature Too Low?
Every filament has a recommended printing temperature, printed on the spool or published by the manufacturer. Too low and the filament will not melt fully, creating a plug the extruder cannot push through. Print a temperature tower to find the right value for a specific spool rather than guessing.
Are Retraction Settings Too Aggressive?
Retraction pulls filament backward slightly to stop stringing during travel moves. If the distance is too long or the speed too high, it drags molten plastic up into the cold zone of the hotend, where it solidifies into a jam. This is one of the mechanisms behind heat creep. On a direct-drive machine you rarely need more than about 1 mm of retraction; if you have imported a Bowden profile with 5 mm or more, that alone can cause mid-print jams.
Step 5 – When It Only Happens With TPU
Flexible filament fails differently, and the standard checklist will not find it. TPU does not clog so much as buckle: it is soft enough that the extruder gear can compress it sideways instead of pushing it forward, and once it folds over inside the feed path, nothing moves.
- Slow down hard. 20–30 mm/s is a realistic working speed for most TPU, no matter what the machine is capable of on rigid materials.
- Cut retraction to near zero, typically 0–0.8 mm. Long retractions on a stretchy material lose the plot completely, and the pulled-back material never returns cleanly.
- Loosen extruder tension slightly. The grip setting that works for PLA can flatten TPU into an oval.
- Close every gap in the filament path. Any unsupported span between the drive gear and the throat is where soft filament will coil up.
- Dry it. TPU is strongly hygroscopic; a wet spool foams in the melt zone and produces exactly the intermittent, stuttering extrusion people mistake for a clog.
Direct-drive extrusion is a real advantage here, which is why every current QIDI machine uses it — there is no long Bowden tube for soft filament to buckle inside. The difference between direct and Bowden extrusion matters more with flexibles than with anything else.
Step 6 – Diagnose Motion and Feed Path Issues
The path from extruder to nozzle must be smooth. Friction anywhere along it can stop material flowing.
Is the PTFE Tube Clear?
If your printer uses a guide tube, it must be clear and unkinked. Disconnect it at both ends and inspect for blockages, kinks or sharp bends. Over time the end that sits nearest the hotend degrades from heat and deforms. If the end looks dark, burnt or narrowed, trim the damaged section or replace the tube.
Are There Stepper Motor or Axis Issues?
A stepper motor drives the extruder. Clicking or grinding from that motor usually means it is skipping steps and failing to push filament. That can be a physical blockage or an electrical fault. Check the motor cable is secure at both ends. Stepper drivers on the mainboard can also overheat and shut down temporarily.
Step 7 – Double-Check Your Slicer and G-code
Sometimes the hardware is fine and the problem is in the G-code file.
Is the G-code Missing Extrusion Commands?
Use preview mode to inspect the print layer by layer. Look for places where extrusion lines suddenly disappear, which points to a problem with the model geometry or the slicer. Re-slice first. If it persists, slice the same model in a different program to see whether the G-code comes out correctly.
Are Layer Heights or Line Widths Misconfigured?
Incorrect advanced settings can cause under-extrusion that worsens until it stops entirely. A very low layer height without a matching flow adjustment can build a jam. As a rule of thumb, set line width to 100–120% of nozzle diameter — so 0.4–0.48 mm on a stock 0.4 mm nozzle — and calibrate flow rate for the filament you are actually running.
Step 8 – Look Into Firmware and Electronics
If everything above checks out, the cause may be electronic. These faults are less common and harder to diagnose.
Is the Thermal Sensor or Heater Faulty?
Hotend temperature depends on two parts: the thermistor that measures it and the heater cartridge that supplies it.
- A failing thermistor sends wrong readings to the mainboard. If the displayed temperature jumps erratically or shows an impossible value such as 0 °C or a negative number, the sensor or its wiring is damaged.
- A failing heater cartridge or a loose connector prevents the nozzle from reaching or holding its target.
Is the Mainboard Overheating or Glitching?
- Overheating: confirm the electronics fan spins and the case has clear ventilation. Hot drivers stop the extruder motor.
- Firmware bugs: check for a firmware update, since manufacturers do fix rare extrusion-related faults this way.
Always power down and unplug before handling wiring, and contact support if you are unsure.
FAQ
Why does filament stop extruding mid-print?
Most often a spool tangle, a partial nozzle clog, or heat creep from a weak hotend cooling fan. Less often: brittle filament snapping, a packed drive gear, over-aggressive retraction, or a failing thermistor. Check in that order and you will find it faster.
Why does my print fail after about an hour every time?
A failure that reproduces at a consistent elapsed time points at heat creep. Heat migrates up the hotend until softened filament swells in the heat break and locks in place, and that takes a predictable amount of time to develop. Check that the hotend cooling fan runs at full speed the whole time the nozzle is hot.
Why does TPU stop extruding mid-print?
TPU buckles rather than clogs. Drop to 20–30 mm/s, cut retraction to under 1 mm, ease off extruder tension, close any gaps in the feed path, and dry the spool. Wet TPU produces stuttering extrusion that looks exactly like a clog.
What causes an extruder loading failure on a QIDI Q2?
Usually a deformed filament tip, a runout sensor that cannot see the filament, or a guide tube that has crept out of its coupler. Re-cut the end at 45 degrees, clear the sensor channel, re-seat the tube at both ends, and make sure the hotend is preheated before you retry.
Can I resume a print after fixing an extrusion failure?
Sometimes. If the machine paused cleanly and the part is still stuck to the plate, resuming often works. If the nozzle has been travelling over the part with nothing coming out for several layers, the bond across that gap will be weak — on a structural part, restart.
How do I tell a clog from a feeding problem?
Unload the filament and hand-push a fresh length into the hot nozzle. If it extrudes with light pressure, the hotend is clear and your problem is upstream in the feed path. If it resists hard, you have a clog.
Work the List, Not the Machine
A mid-print extrusion failure looks like a mystery and is almost always a checklist. Work outward from the spool to the firmware and you isolate the variable instead of guessing at it. After any fix, run a short test print before you commit to a long job, and keep a note of what each failure turned out to be — on a machine you use often, the same two or three causes will account for nearly everything.
- Fast Triage: Symptom to Root Cause to Fix
- Step 1 – Check the Filament First
- Is the Filament Tangled or Empty?
- Is the Filament Snapped or Brittle?
- Step 2 – Examine the Extruder Mechanism
- Is the Drive Gear Slipping or Clogged?
- Is the Filament Loading Properly?
- Loading Failures on a QIDI Q2, Plus 5 or Max4
- Step 3 – Inspect the Nozzle and Hot End
- Is the Nozzle Clogged?
- Is the Nozzle Hot Enough?
- Step 4 – Review Temperature and Retraction Settings
- Is the Printing Temperature Too Low?
- Are Retraction Settings Too Aggressive?
- Step 5 – When It Only Happens With TPU
- Step 6 – Diagnose Motion and Feed Path Issues
- Is the PTFE Tube Clear?
- Are There Stepper Motor or Axis Issues?
- Step 7 – Double-Check Your Slicer and G-code
- Is the G-code Missing Extrusion Commands?
- Are Layer Heights or Line Widths Misconfigured?
- Step 8 – Look Into Firmware and Electronics
- Is the Thermal Sensor or Heater Faulty?
- Is the Mainboard Overheating or Glitching?
- FAQ
- Why does filament stop extruding mid-print?
- Why does my print fail after about an hour every time?
- Why does TPU stop extruding mid-print?
- What causes an extruder loading failure on a QIDI Q2?
- Can I resume a print after fixing an extrusion failure?
- How do I tell a clog from a feeding problem?
- Work the List, Not the Machine
Recommended products






