 Q2
Q2


Guida al posizionamento del modello: tecniche di fetta per ottimizzare la forza e semplificare il supporto

Nella stampa 3D, l'orientamento del modello sulla piattaforma di stampa è un fattore importante che influenza la qualità di stampa. Un angolo di posizionamento appropriato può aumentare significativamente la resistenza del modello, ridurre la necessità di strutture di supporto e migliorare la qualità della superficie del modello. Tuttavia, il posizionamento specifico deve essere valutato in base allo scopo del modello. Questo tutorial prenderà come esempio un modello specifico per analizzare come regolare l'angolo di posizionamento del modello in
Mappa schizzo
Modello per l'ottimizzazione della forza:

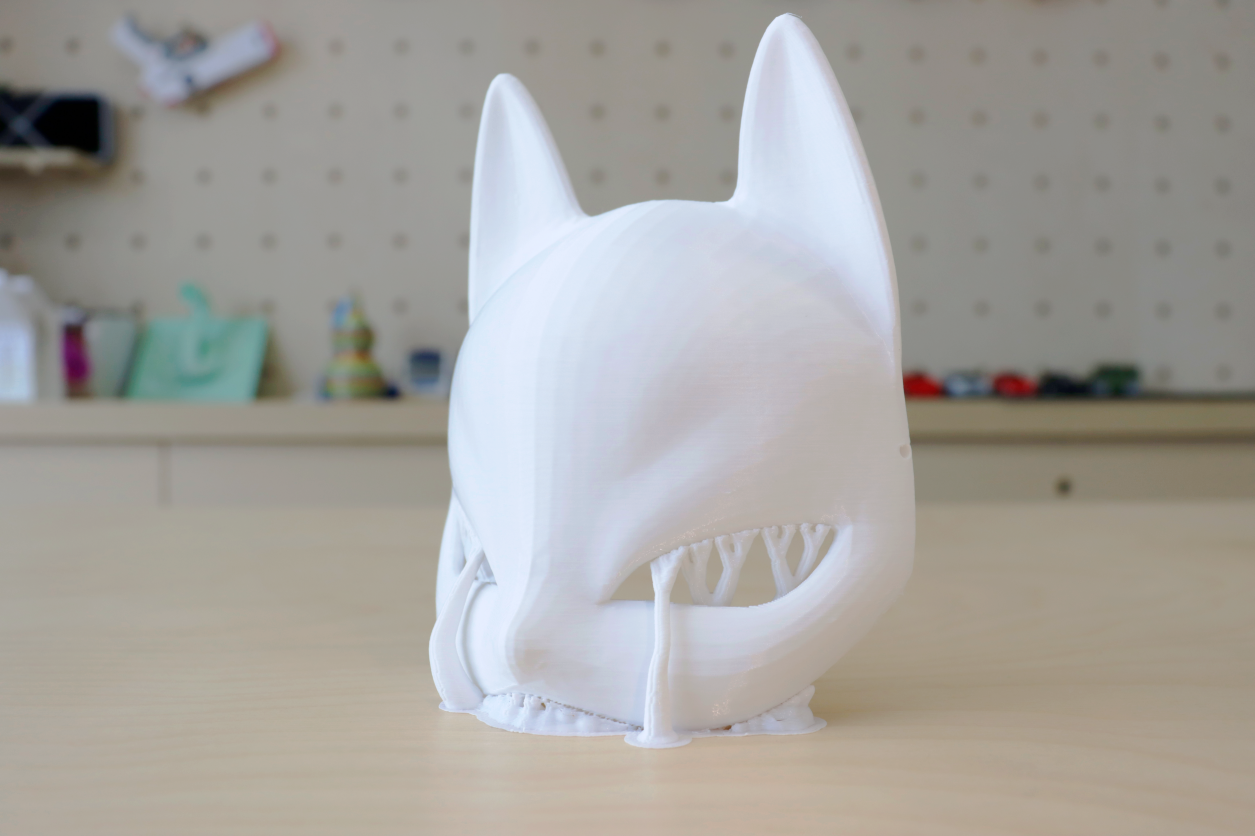
Modello per semplificare il supporto:

Se vuoi ottenere un effetto simile, puoi provare i seguenti metodi.
Introduzione all'operazione - Ottimizzazione della forza
L'orientamento del modello sulla piattaforma di stampa è direttamente correlato alla direzione della linea di strato durante la stampa, che ha un impatto decisivo anche sulla distribuzione delle sollecitazioni e sulla resistenza del modello finale. Ecco un esempio di una staffa a L che richiede un'elevata resistenza.
1. Quando si stampa secondo il posizionamento predefinito, il modello può essere stampato senza problemi, ma gli angoli del modello sono soggetti a rotture.


2. Se si desidera aumentare ulteriormente la resistenza del modello, è possibile regolare l'angolazione in modo che "appoggi lateralmente" sul pannello di stampa. A questo punto, la sezione trasversale del modello nella direzione della forza si trova sul piano dell'asse xy, con conseguente maggiore resistenza del prodotto finale.

3. Fare clic su Slice. In questa direzione di posizionamento, anche il tempo di stampa richiesto per il modello sarà notevolmente ridotto.


Introduzione all'operazione - Supporto semplificato
Molti modelli presentano parti sporgenti, quindi è necessario generare un supporto per la stampa. Tuttavia, un posizionamento corretto può ridurre la quantità di supporto, garantendo al contempo la qualità di stampa e riducendo così i tempi di stampa.
1. Il modello mostrato in figura ha principalmente scopo decorativo e non necessita di dare priorità a fattori di resistenza. Se la stampa viene eseguita con l'angolazione di posizionamento predefinita, genererà più supporto e richiederà tempi di stampa più lunghi.


2. Regolare l'angolazione del modello per ruotarlo di 90° lungo l'asse X.

3. Cliccando sulla sezione, scoprirai che puoi ridurre i tempi di stampa di due ore e mezza e risparmiare il 16% dei materiali di stampa. Allo stesso tempo, la riduzione dell'area di contatto tra il modello e il supporto, nonché la stampa verticale, miglioreranno ulteriormente la qualità superficiale del modello.

Conclusione
Regolando la direzione di posizionamento del modello e il supporto di impostazione precisa in


