

 Q2
Q2
 QIDI Box
 Plus 4
 Q1 Pro
 X-Max 3


7 Signs You Need to Replace 3D Printer Nozzle

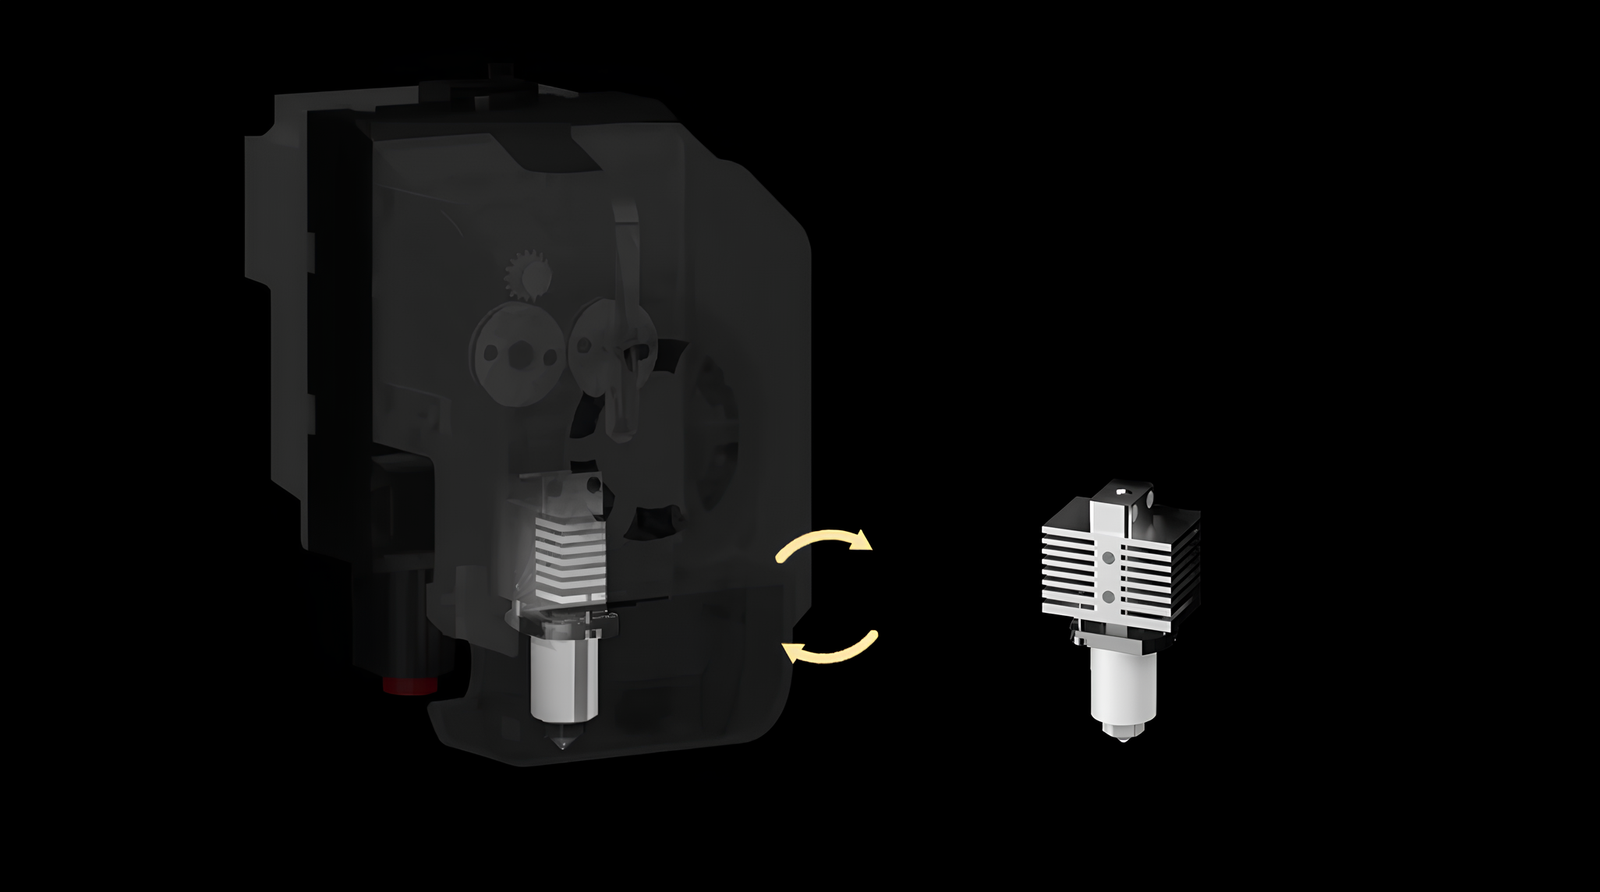
Replace a 3D printer nozzle when cleaning stops working, not on a calendar. As a planning figure, a brass nozzle running plain PLA or PETG lasts roughly 3–6 months of regular use; the same brass nozzle can be measurably worn after one spool of carbon-fibre filament. Hardened steel and bimetal nozzles last far longer under abrasives.
That is the short answer. The longer answer is that a nozzle rarely fails all at once. It degrades quietly — the orifice opens a few hundredths of a millimetre, the tip rounds off, detail goes soft — and most people blame their slicer for weeks before they think to look at the brass. This guide covers the seven signs that mean the nozzle itself is the problem, and how to tell wear apart from a clog you could simply clean out.
What is a Nozzle in a 3D Printer?
A 3D printer nozzle is the precision-machined tip at the end of the hotend that meters molten filament onto the part. It houses the business end of an FDM 3D printer: a bore slightly larger than the filament path narrowing to a calibrated orifice — typically 0.4 mm — that lets liquefied material extrude under pressure while holding dimensional accuracy. Everything your slicer calculates about line width, flow and layer height assumes that orifice is still the size the profile says it is.
Nozzle Materials and What They Cost You in Service Life
Nozzle material is the single biggest lever on how long the part survives. The figures below are planning rules of thumb, not warranty numbers — your actual mileage depends heavily on how abrasive your filament is and how hot you run.
| Material | Relative hardness | Typical life on PLA / PETG | Behaviour with abrasives | Trade-off |
|---|---|---|---|---|
| Brass | Soft | Roughly 3–6 months of regular use | Wears fast; can degrade within a single spool of CF or GF filament | Cheapest, best heat conduction |
| Hardened steel | Hard | Well over a year | Handles carbon fibre, glass fibre and metal fill | Conducts heat more slowly; may need +5–10 °C |
| Bimetal (steel tip, copper body) | Hard tip, conductive body | Well over a year | Good, and keeps flow rate up at high speed | Costs more than plain brass |
| Tungsten carbide bimetal | Near the top of the Mohs scale | Longest of the group | Best available for continuous abrasive work | Highest cost; brittle if you crash the nozzle |
| Ruby-tipped | Extremely hard | Very long | Excellent, low-friction | Expensive and fragile on impact |
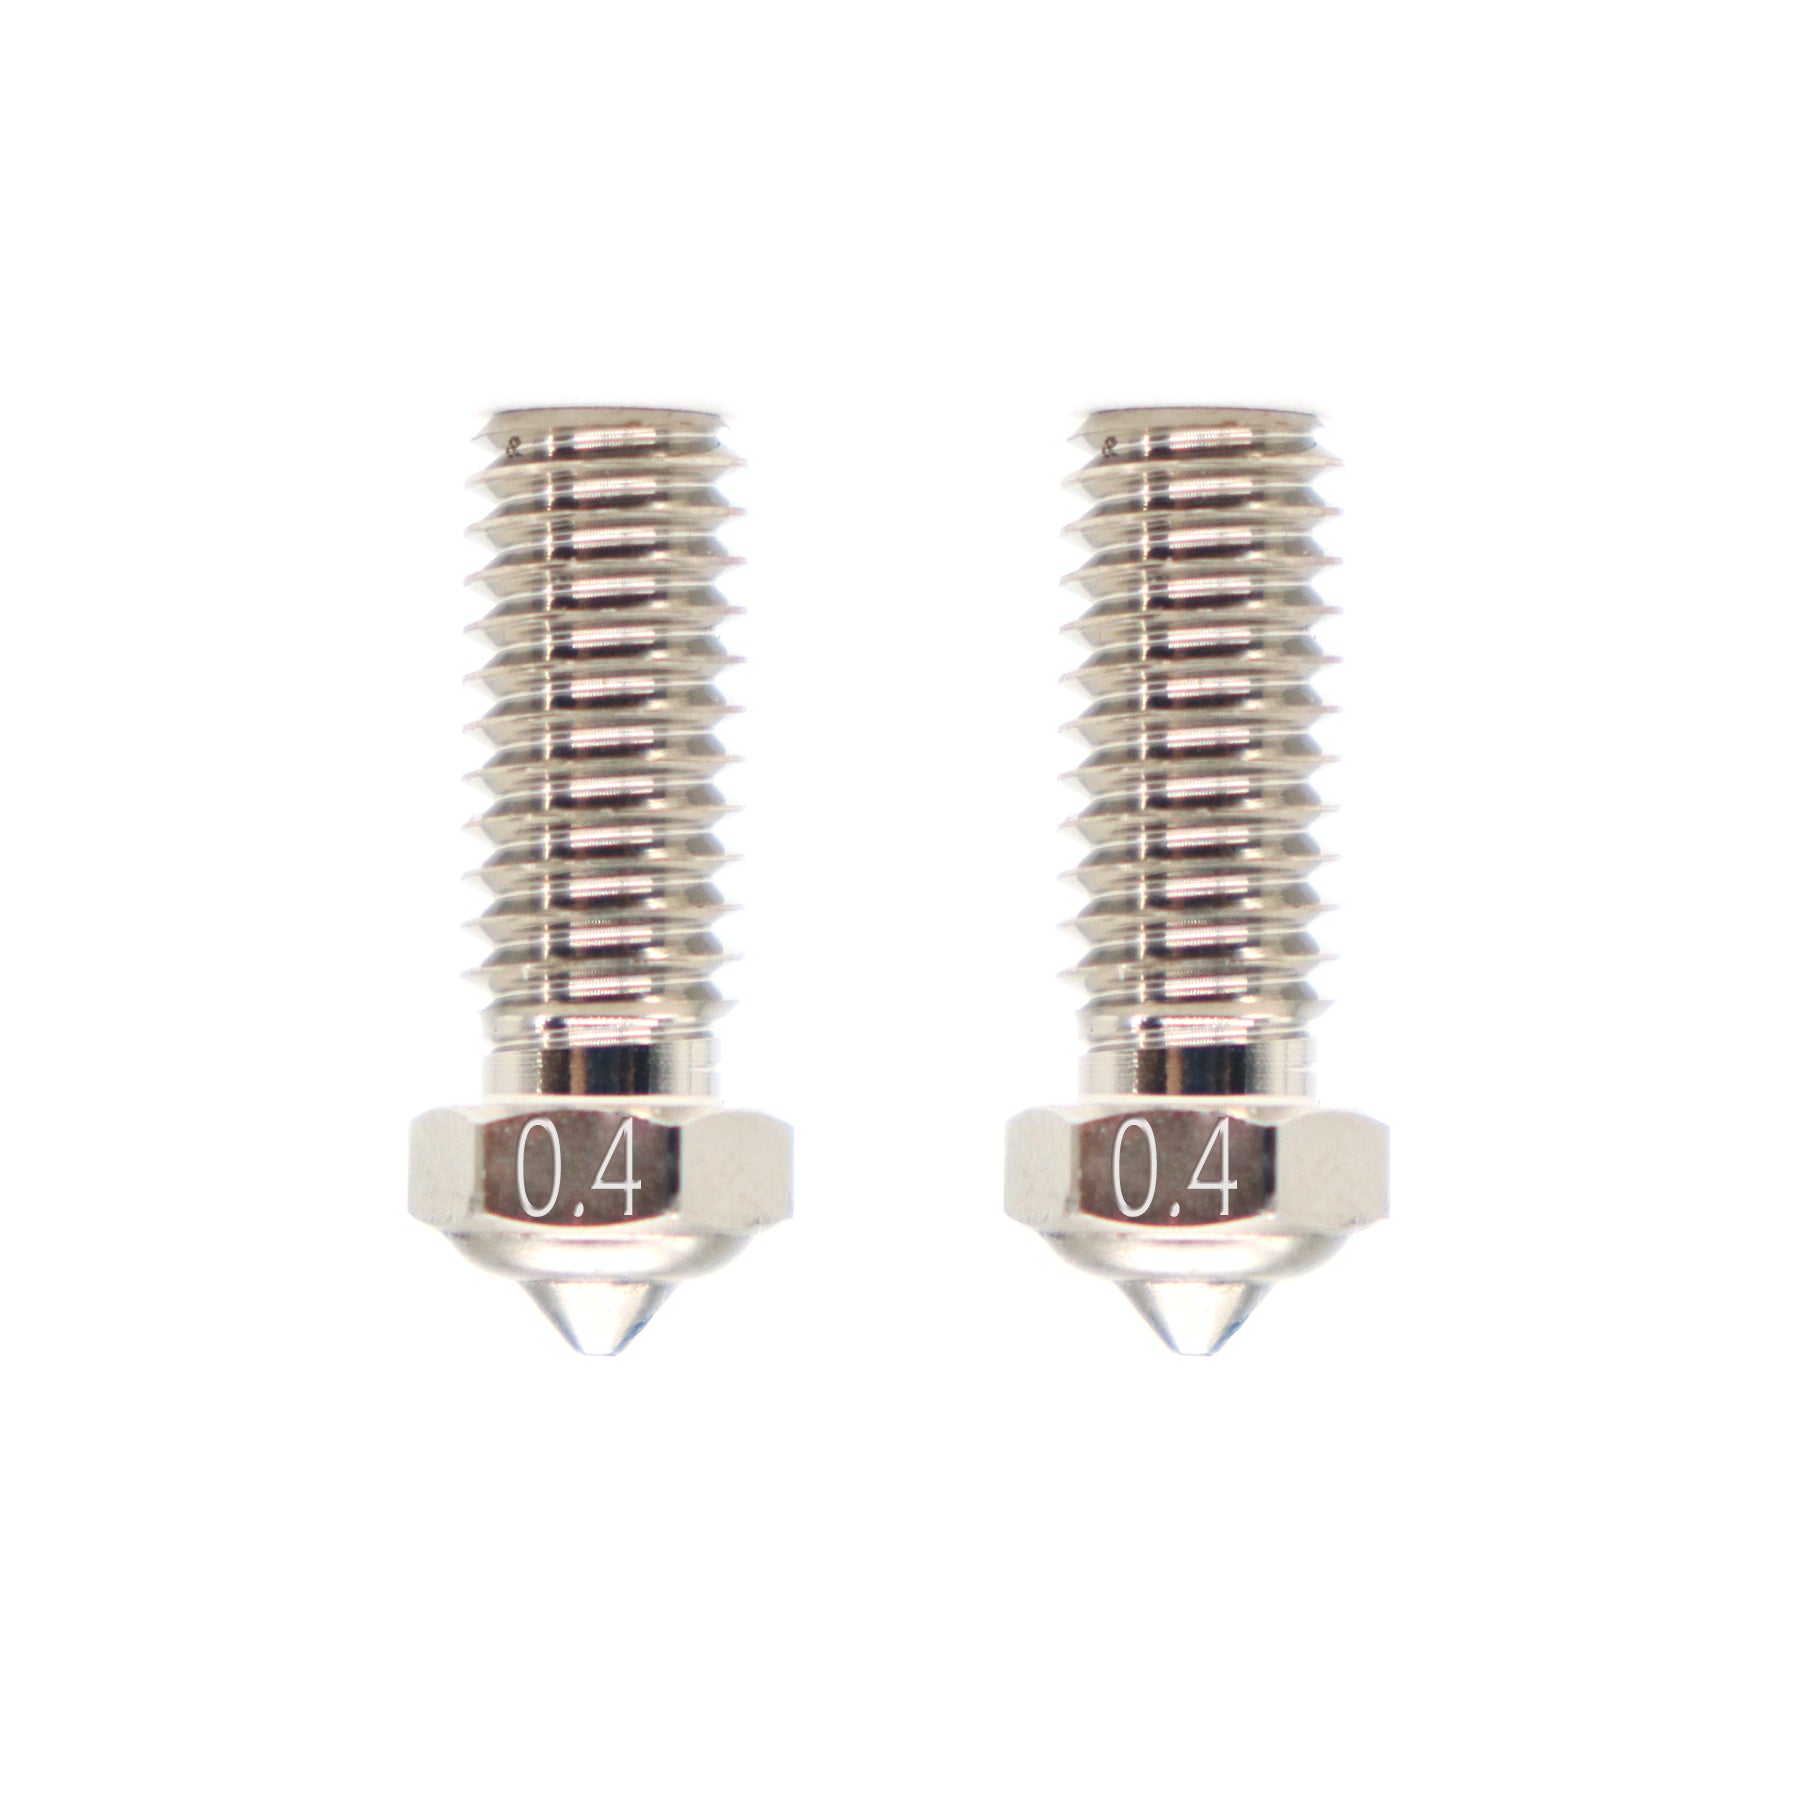
Choose the nozzle to match the filament, not the printer. Every current QIDI machine — Q2C, Q2, Plus 5 and Max4 — ships with a 0.4 mm bimetal nozzle rated to 370 °C, with 0.2, 0.6 and 0.8 mm available as options. If you print carbon-fibre or glass-fibre composites regularly, a tungsten carbide bimetal nozzle is the upgrade that actually pays for itself.
Symptom to Cause to Action: The Fast Triage
Before you read all seven signs, use this table to work out whether you are looking at wear, a clog, or something that has nothing to do with the nozzle at all.
| What you see | Most likely cause | Clean or replace? |
|---|---|---|
| Flow drops off gradually over a long print, recovers after a cold pull | Partial clog from charred residue | Clean — the nozzle is fine |
| Clogs return within one or two prints of a thorough clean | Damaged or pitted internal bore holding residue | Replace |
| Lines are consistently wider than the profile expects; walls measure oversize | Orifice worn open past 0.4 mm | Replace |
| Extrusion curls sideways off the tip instead of dropping straight | Asymmetric wear or debris on one side of the orifice | Clean once, then replace if it repeats |
| Plastic weeping from the threads above the nozzle | Nozzle not hot-tightened, or worn sealing face | Re-seat first; replace if the leak returns |
| Detail has gone soft after a few hundred grams of composite filament | Abrasive wear on a soft nozzle | Replace, and move up to hardened or carbide |
| Popping noises, rough surface, weak layers | Wet filament, not the nozzle | Neither — dry the spool |
What Makes Nozzles Wear Out
Even a well-built nozzle degrades under a normal printing routine:
1. Repeated Heating and Cooling
Cycling a nozzle between room temperature and 220–300 °C loads it with thermal expansion stress every single print. Over hundreds of cycles this slowly changes the alloy's properties and can loosen the sealing face.
2. Abrasive Filament Materials
Composite filaments carry hard particles — carbon fibre, glass fibre, metal powder, glow phosphors. Those particles scour the bore on the way out. This is by far the fastest wear mechanism there is: a soft nozzle running carbon-fibre-filled filament can drift out of spec long before it ever clogs.
3. High Temperatures
Engineering plastics keep the nozzle near its thermal ceiling for hours at a time. Sustained heat softens some alloys and accelerates the rounding of the tip.
4. Cleaning Wear and Tear
Cold pulls, brass brushes and cleaning needles all take a tiny amount of material with them. Necessary, but it accumulates — which is another argument for using a needle sized to the orifice rather than whatever wire is on the bench.
5. Jam and Unclog Damage
Lodged chunks, drilling attempts and forcing jams backwards scrape the bore surface finish. Our nozzle jam guide covers how to clear a blockage without adding this kind of damage.
Sign #1 – Inconsistent Extrusion
How to Identify Uneven Extrusion
Listen for sputtering at the nozzle and look for thin layers, gaps, or sections that simply are not there. These usually mean a partial restriction limiting smooth flow. Over a long job the problem compounds as output becomes less steady.
Why It Matters
Inconsistent output damages both appearance and strength. At best you get small voids; at worst variable flow separates layers or shifts the whole model. Since extrusion instability often precedes outright nozzle failure, treat it as a prompt to inspect the tip closely rather than a slicer problem to tune around. Our guide to fixing under-extrusion walks through ruling out the software side first.
Sign #2 – Declining Print Quality
What Shows Up First
- Stringing or wispy strands between sections.
- Random ooze blobs marring the surface finish.
- Vertical features that no longer line up cleanly.
- Worsening ringing artefacts.
- Poor bridging and overhang performance.
The Nozzle Connection
Calibration and slicer settings influence all of these too, which is exactly why the hardware gets overlooked. A worn orifice increases ooze, alters deposition shape and misplaces material trails. The tell is that nothing in your workflow changed. If models got uglier with no firmware update, no new profile and no new filament brand, the hardware is the variable that moved.
Sign #3 – Nozzle Clogging
Spotting the Warning Signs
Nothing stops a print faster than a jammed nozzle. Clues include extrusion halting abruptly, the feed motor clicking under excess pressure, or filament oozing out around the hotend. Stubborn chunks and burnt residue build up gradually over many prints.
Impacts of Unresolved Jams
Clearing a clog is short-term relief. Recurring jams are the diagnostic: if a nozzle blocks again within a print or two of a proper clean, the internal surface has been damaged and it will keep catching residue. Left alone, clogs also strain the extruder and can damage the hotend. Keep a spare on the shelf so a swap is a five-minute job instead of a week of downtime.
Sign #4 – Visible Nozzle Damage
What Physical Damage Looks Like
- An enlarged or uneven extrusion opening.
- Chunks missing from the nozzle tip.
- A bent orifice obstructing the filament path.
A phone camera in macro mode against a bright background is enough to see all three. Compare the suspect nozzle side by side with a new one and the difference is usually obvious.
Why It Matters
Dents and gouges along the throat constrain and rearrange material flow. A bulging or torn orifice loses dimensional precision, causing swelling across prints. Defective nozzles also shed debris that re-clogs them, so the failure feeds itself.
Sign #5 – Material Leakage
Molten filament escaping around the nozzle area is a genuine warning sign. Three sources account for nearly all of it:
1. Nozzle Not Fully Secured
If the nozzle loosens mid-print, pressurised plastic squeezes out through the threads and solidifies as webbing around the heater block. The fix is to hot-tighten it properly — heat to printing temperature, seat by hand, back off a quarter turn, then tighten while bracing the heater block.
2. Heat Creep
Material oozing higher up, around the heat break, points to heat creep softening filament prematurely. That is a cooling problem, not a nozzle problem: check the hotend fan before you order a replacement tip.
3. Worn Threads and Sealing Face
Plastic weeping down the outside of the nozzle usually means the sealing face has deteriorated and no longer contains material under pressure. That one genuinely warrants a new nozzle.
Sign #6 – Deformed Nozzle Shape
Why Shape Matters
The orifice profile actively shapes extrusion quality. A conical opening with a clean flat around the tip produces a smooth, round trace with pressure focused where it aids adhesion. Sharp rims also stop material catching and debris accumulating.
Identifying Aberrant Wear
- Flattened nozzle tips, usually from bed crashes.
- Extrusion holes worn out of round.
- Asymmetric exit profiles that make extrusion curl to one side.
- Edges rounded off by heat and friction.
Distorted extrusion patterns show up first as dimensional inaccuracy and blemished finishes on tall vertical features.
Sign #7 – Frequent Filament Jams
Causes of Filament Jamming
Jams happen when debris blocks the orifice and the filament can no longer be pushed through. Poor filament causes some of them, but most start as small deposits of degraded plastic sticking inside the nozzle and building up over many prints. Standard unclogging procedures clear the deposit but do nothing about a bore that has been scored.
Jam Frequency as the Real Indicator
If clearing a jam and changing filament only helps briefly before it recurs, the nozzle itself is the fault. Track jam frequency rather than jam count. One clog after switching materials is normal housekeeping. Three clogs in a week on the same clean nozzle means it is finished.
Maintenance That Actually Extends Nozzle Life
Nozzles are consumables, but how you run the machine decides whether that means months or a year.
1. Habits That Extend Nozzle Life
- Watch the first few layers of every print so problems are caught early.
- Do not run hotter than the material needs.
- Keep the bed levelled so the nozzle never crashes into the plate.
- Use cleaning filament to purge residue when switching material families.
- Wipe the exterior with a brass brush while hot; never scrape the orifice.
- Inspect bore and threads before installing any new nozzle.
2. Controlling the Print Environment
- Print enclosed to keep temperatures stable, which reduces thermal cycling stress.
- Use filtration and ventilation to capture airborne debris.
- Keep the area clean and dust-free so nothing gets drawn into the filament path.
- Mount spool holders away from moving gears and belts.
- Handle filament with clean hands to keep oils out of the hotend.
3. During Storage and Transport
- Cover or plug nozzle openings on stored hotends.
- Store spare nozzles in a case so the tips cannot knock together.
- Flag an open hotend throat with tape so nobody heats it empty.
Filament storage matters here too, since wet filament degrades inside the melt zone and leaves residue behind. Our guide on how long 3D printer filament lasts covers shelf life and storage in detail, and the wider nozzle maintenance guide gives a full cleaning schedule.
How to Replace a Nozzle
1. Replacement Procedure
With the printer powered down and the filament unloaded, the sequence is:
- Remove the front cover.
- Remove the silicone sock.
- Heat the nozzle to printing temperature — threads must be hot to release cleanly.
- Withdraw the filament.
- Remove the nozzle wearing insulated gloves, bracing the heater block.
- Fit the replacement.
- Hot-tighten: seat by hand, back off a quarter turn, then torque while holding the block.
- Cool down carefully, watching for burns.
- Refit the silicone sock.
- Refit the front cover, then re-run bed levelling and a flow check.
2. Choosing Replacements
- Orifice diameter sets your detail ceiling and your speed ceiling: 0.2 mm for fine work, 0.6 and 0.8 mm for throughput.
- Match material to filament: brass for plain PLA and PETG, hardened or carbide for anything filled.
- Buy the nozzle designed for your hotend. Stock spares live in Q2 accessories, Plus 5 accessories and the matching range for each machine.
- Order in pairs. A spare on the shelf is the difference between a five-minute swap and a stalled project.
FAQ
When should you replace a 3D printer nozzle?
Replace it when a proper clean no longer holds — specifically, when clogs come back within one or two prints, when walls measure consistently oversize against your profile, or when the tip shows visible rounding or an out-of-round orifice. Condition, not age, is the trigger.
How often should you change a 3D printer nozzle?
For plain PLA and PETG on a brass nozzle, plan on roughly every 3–6 months of regular printing. On hardened steel or bimetal, well over a year is normal. With carbon-fibre or glass-fibre filament on a soft nozzle, judge it by grams printed rather than months elapsed.
Do 3D printer nozzles wear out?
Yes. Every extrusion drags filament across the bore, and filled filaments carry particles hard enough to cut brass. The orifice slowly widens and the tip rounds off, which changes extrusion width and softens fine detail long before the nozzle ever blocks.
What are the symptoms of a clogged 3D printer nozzle?
Clicking from the extruder, thin or absent extrusion, extrusion that curls sideways off the tip, gaps and missing sections in layers, and rising pressure when you push filament by hand. A clog is reversible; if all of that returns immediately after cleaning, you are looking at wear instead.
Does printing hotter wear the nozzle out faster?
Sustained high temperatures accelerate tip rounding and thermal-cycling stress, so running 20 °C hotter than a material needs is not free. It also degrades filament in the melt zone, which leaves residue that seeds future clogs.
Can I keep using a worn nozzle if the prints still look acceptable?
For decorative work, often yes. For anything dimensional — press fits, threaded parts, assemblies — a worn orifice quietly shifts every wall thickness in the model, and no amount of slicer tuning fully compensates.
Closing Thoughts on Nozzle Care
The nozzle is the smallest part of the machine and the one with the most direct influence on what comes off the plate. Wear during normal operation is gradual and easy to miss, which is why the useful skill is recognising the pattern — clogs that return, dimensions that drift, detail that softens — rather than counting months. Catch it early, keep a spare in the drawer, and match the nozzle material to what you actually print. That is most of the job. If you are still deciding which machine to build that routine around, our 3D printer range and filament range are the place to start.
Read More
- What is a Nozzle in a 3D Printer?
- Nozzle Materials and What They Cost You in Service Life
- Symptom to Cause to Action: The Fast Triage
- What Makes Nozzles Wear Out
- 1. Repeated Heating and Cooling
- 2. Abrasive Filament Materials
- 3. High Temperatures
- 4. Cleaning Wear and Tear
- 5. Jam and Unclog Damage
- Sign #1 – Inconsistent Extrusion
- How to Identify Uneven Extrusion
- Why It Matters
- Sign #2 – Declining Print Quality
- What Shows Up First
- The Nozzle Connection
- Sign #3 – Nozzle Clogging
- Spotting the Warning Signs
- Impacts of Unresolved Jams
- Sign #4 – Visible Nozzle Damage
- What Physical Damage Looks Like
- Why It Matters
- Sign #5 – Material Leakage
- 1. Nozzle Not Fully Secured
- 2. Heat Creep
- 3. Worn Threads and Sealing Face
- Sign #6 – Deformed Nozzle Shape
- Why Shape Matters
- Identifying Aberrant Wear
- Sign #7 – Frequent Filament Jams
- Causes of Filament Jamming
- Jam Frequency as the Real Indicator
- Maintenance That Actually Extends Nozzle Life
- 1. Habits That Extend Nozzle Life
- 2. Controlling the Print Environment
- 3. During Storage and Transport
- How to Replace a Nozzle
- 1. Replacement Procedure
- 2. Choosing Replacements
- FAQ
- When should you replace a 3D printer nozzle?
- How often should you change a 3D printer nozzle?
- Do 3D printer nozzles wear out?
- What are the symptoms of a clogged 3D printer nozzle?
- Does printing hotter wear the nozzle out faster?
- Can I keep using a worn nozzle if the prints still look acceptable?
- Closing Thoughts on Nozzle Care
- Read More
Recommended products






