Comment réparer l'imprimante 3D cesse d'extruder à mi-imprimé


C'est un problème courant pour tous les utilisateurs d'imprimantes 3D : on lance une impression, et à un moment donné, l'extrudeuse cesse tout simplement d'alimenter le filament. Ce problème gaspille du matériau et laisse une pièce inachevée. la cause peut aller d'un simple accroc dans la bobine de filament à un paramètre spécifique dans votre logiciel de découpageLa solution la plus efficace consiste à analyser les causes possibles de manière logique, de la plus simple à la plus complexe. Ce guide vous explique étape par étape comment diagnostiquer correctement le problème et rétablir le bon fonctionnement de votre imprimante.
Étape 1 – Vérifiez d’abord le filament
Commencez toujours le dépannage par le filament lui-même. Les problèmes d'approvisionnement en matériaux sont une cause fréquente d'échec d'extrusion et sont généralement les plus faciles à réparer.
Le filament est-il emmêlé ou vide ?
Vérifiez d'abord si la bobine n'est pas vide. Si ce n'est pas le cas, examinez-le pour détecter des enchevêtrements ou des nœudsLes enchevêtrements se produisent généralement lorsque l'extrémité du filament glisse sous une autre bobine de la bobine et forme un nœud qui bloque l'alimentation. Assurez-vous également que la bobine tourne librement sur son support et ne se coince pas.
Le filament est-il cassé ou cassant ?
Au fil du temps, le filament accumule l'humidité et devient cassant, ce qui peut le fissurer lors de l'impression. Ce phénomène est fréquent avec des filaments tels que PLA. Vérifiez s'il y a un morceau de filament cassé Entre l'extrudeuse et la bobine. Testez votre matériau en pliant une partie. Si elle se casse au lieu de se plier, le filament est défectueux. Vous pouvez éviter cela en conservant les bobines dans un récipient hermétique avec des sachets déshydratants.Pour les filaments déjà cassants, un séchoir à filaments peut être utilisé pour les raviver.
Étape 2 – Examiner le mécanisme de l’extrudeuse
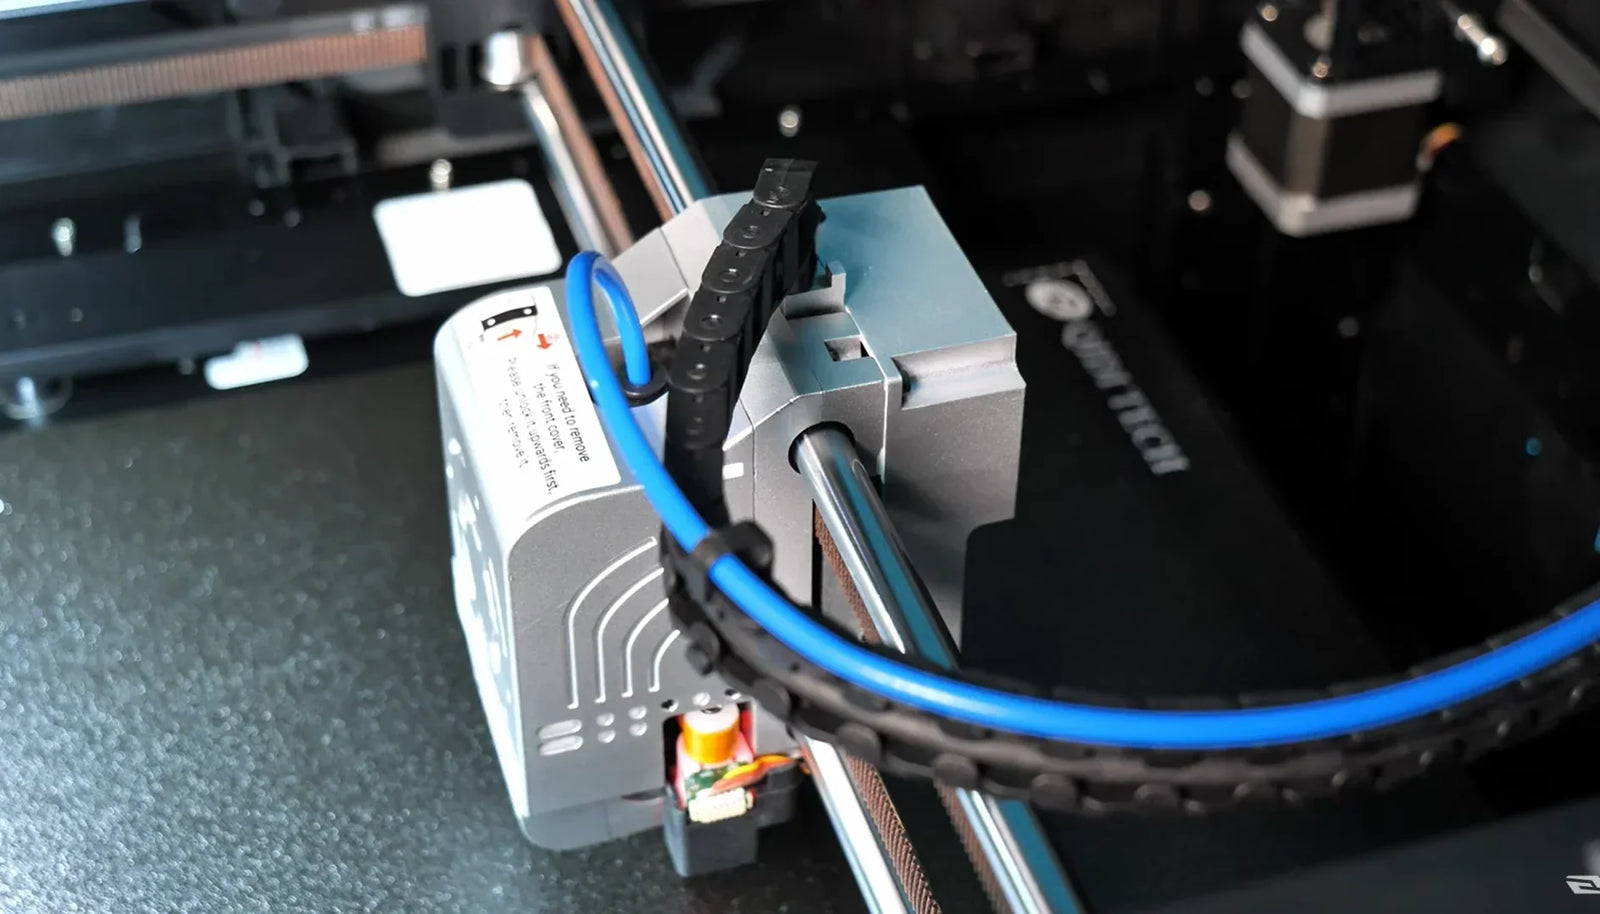
L'extrudeuse est le cheval de bataille du système d'alimentation en filaments. L'extrudeuse est ce qui saisit le filament et le propulse dans l'extrémité chaudeLorsque ce mécanisme échoue, l’extrusion cesse.
Le pignon d'entraînement patine-t-il ou est-il obstrué ?
L'engrenage d'entraînement est la petite roue dentée qui entraîne le filament vers l'avant. Lorsque le patinage des engrenagesVous pourriez entendre un clic ou remarquer un amas de copeaux de plastique. C'est le signe que l'engrenage broie le filament au lieu de l'entraîner.
Pour réparer cela, ouvrez l'assemblage de l'extrudeuse et inspecter l'engrenage pour détecter des résidus de plastique cuits. Utilisez une petite brosse dure (comme une brosse en laiton) et de l'air comprimé pour nettoyer les dentsPendant que l'extrudeuse est ouverte, assurez-vous que l'engrenage est correctement aligné avec le trajet du filament. Inspectez également le bras de tension : s'il est trop lâche, il ne s'engagera pas avec le filament, et s'il est trop serré, il l'écrasera.
Le filament se charge-t-il correctement ?
Il est simple de tester le chemin d'alimentation de l'extrudeuse. Retirez d'abord entièrement le filament. Coupez l'extrémité du filament à 45 degrés pour obtenir une pointe acérée. Réintroduisez-le manuellement dans l'extrudeuse et observez toute résistance lorsque vous le guidez vers la tête chauffante. Le filament devrait passer facilement. Si vous remarquez qu'il se coince ou se bloque, il y a un désalignement ou un blocage interne..
Étape 3 – Inspectez la buse et l’extrémité chaude
Si le filament et l'extrudeuse fonctionnent correctement, le problème est probablement dans le extrémité chaude, où le filament fond. UN blocage dans la buse est une raison très courante pour laquelle l'extrusion s'arrête.
La buse est-elle bouchée ?
Une buse peut être partiellement obstruée, ce qui affaiblit l'extrusion, ou totalement obstruée, ce qui l'arrête complètement. Une obstruction complète entraîne souvent un échec brutal de l'impression. Le moyen le plus efficace de le nettoyer est d'utiliser un "tirage à froid":
- Chauffez la buse à sa température d’impression normale pour le filament que vous utilisez.
- Poussez manuellement un morceau de filament de couleur claire ou de nettoyage jusqu'à ce qu'il s'écoule.
- Baisser considérablement la température (e.g., jusqu'à 90°C pour le PLA).
- Une fois refroidi, retirez fermement et rapidement le filament de l'extrémité chaude.
L'extrémité du filament doit avoir la forme de l'intérieur de la buse et contenir des débris. Répétez ce processus jusqu'à ce que le filament retiré ressorte propre.
La buse est-elle suffisamment chaude ?
Le filament ne s'extrudera pas si la buse n'est pas à la bonne températureVérifiez l'écran de votre imprimante et comparez la température cible à la température réelle. Si la température réelle est beaucoup plus basse ou fluctue, il se peut qu'il y ait un problème avec votre élément chauffant ou votre capteur de température (thermistance).
La plupart Imprimantes 3D disposent d'une fonction de sécurité appelée protection contre l'emballement thermiqueIl arrête le chauffage si la température n'augmente pas comme prévu. Cette fonction prévient les incendies, mais interrompt également l'impression. Un message d'erreur sur l'écran est un signe clair que cette fonction de sécurité a été déclenchée.
Étape 4 – Vérifiez les paramètres de température et de rétraction
Le problème ne vient peut-être pas de votre matériel, mais de vos paramètres de slicerDes réglages de température ou de rétraction incorrects peuvent provoquer un bourrage en cours d'impression, même sur une machine en parfait état de fonctionnement.
La température d’impression est-elle trop basse ?
Chaque filament a un température d'impression recommandée, que vous trouverez sur la bobine ou sur le site web du fabricant. Si la température est trop basse, le filament ne fondra pas correctement dans la tête chauffante. Cela peut créer un blocage que l'extrudeuse ne peut pas franchir. Vérifiez toujours que les paramètres de votre trancheuse correspondent au filament que vous utilisezVous pouvez imprimer une « tour de température » pour trouver la température idéale pour une bobine spécifique.
Les paramètres de rétraction sont-ils trop agressifs ?
La rétraction est un réglage qui tire légèrement le filament vers l'arrière pour éviter le « filage » lorsque la buse se déplace sur un espace ouvertCependant, si la distance de rétraction est trop longue ou si la vitesse est trop élevée, le plastique fondu peut être aspiré vers la partie froide de l'extrémité chaude. Le plastique se solidifie alors et crée un blocage. Ce problème est souvent appelé « blocage ».fluage thermique." Si vous pensez que c'est la cause, essayez de réduire la distance et la vitesse de rétraction dans les paramètres de votre trancheuse.
Étape 5 – Diagnostiquer les problèmes de mouvement et de trajectoire d'alimentation
Le chemin emprunté par le filament depuis l'extrudeuse jusqu'à la buse doit être lisse. Tout frottement ou blocage dans ce chemin d'alimentation peut empêcher le matériau de s'écouler.
Le tube PTFE et le chemin Bowden sont-ils dégagés ?
Si votre imprimante possède un Configuration BowdenUn long tube en PTFE guide le filament jusqu'à l'extrémité chaude. Ce tube doit être transparent. Débranchez-le des deux côtés et inspectez-le pour détecter toute obstruction, pliure ou courbure importante susceptible d'augmenter la friction. Avec le temps, l'extrémité du tube située à l'intérieur de l'extrémité chaude peut se dégrader sous l'effet de la chaleur, ce qui peut entraîner une déformation et un colmatage. Si l'extrémité du tube semble sombre, brûlée ou rétrécie, coupez la partie endommagée ou remplacez le tube entier.
Y a-t-il des problèmes de moteur pas à pas ou d’axe ?
Un moteur pas à pas entraîne l'extrudeuseÉcoutez les bruits de clic ou de grincement provenant de ce moteur, ce qui signifie qu'il « saute probablement des étapes » et ne parvient pas à pousser le filament. Cela peut être causé par un blocage physique (comme un sabot) ou un problème électriqueVérifiez que le câble du moteur est correctement connecté au moteur et à la carte mère.Dans certains cas, le composant qui contrôle le moteur sur la carte mère (le pilote pas à pas) peut surchauffer, provoquant son arrêt temporaire.
Étape 6 – Vérifiez votre slicer et votre G-code
Dans certains cas, le matériel de l'imprimante est correct, mais le problème est dans le fichier G-code, qui contient les instructions de votre logiciel de découpage. Une erreur dans ce fichier peut entraîner l'arrêt inattendu de l'extrusion.
Le G-code manque-t-il de commandes d’extrusion ?
Utilisez le mode « aperçu » dans votre slicer pour inspecter l'impression couche par coucheRecherchez les zones où les lignes d'extrusion disparaissent soudainement, ce qui indique un problème potentiel avec le modèle 3D lui-même ou un bug du slicer. Si vous rencontrez ce problème, la solution la plus simple est de découper à nouveau le modèle. Si le problème persiste, essayez d'utiliser un autre programme de découpage pour voir s'il génère correctement le G-code.
Les hauteurs de calque ou les largeurs de ligne sont-elles mal configurées ?
Paramètres avancés incorrects Cela peut entraîner une sous-extrusion qui s'aggrave progressivement jusqu'à l'arrêt complet. Par exemple, régler une hauteur de couche très faible sans ajuster le débit (souvent appelé multiplicateur d'extrusion) peut entraîner un blocage. Assurez-vous que vos réglages sont adaptés à votre matériel. Une bonne règle empirique consiste à régler la largeur de la ligne à 100-120 % du diamètre de votre buse et à vous assurer que votre débit est correctement calibré pour votre filament.
Étape 7 – Examiner le micrologiciel et l’électronique
Si vous avez déjà vérifié tous les problèmes mécaniques et logiciels courants, la cause principale pourrait être l'électronique ou le micrologiciel de l'imprimanteCes problèmes sont moins courants et peuvent être plus complexes à diagnostiquer.
Le capteur thermique ou le chauffage est-il défectueux ?
La température de l'extrémité chaude est contrôlée par deux éléments clés : le thermistance (le capteur) et la cartouche chauffante (le réchauffeur).
- Une thermistance défectueuse transmettra des relevés de température erronés à la carte mère. Surveillez la température affichée sur l'écran de votre imprimante. Si la valeur fluctue de manière irrégulière ou affiche une valeur impossible (comme 0 °C ou -15 °C), la thermistance ou son câblage est probablement endommagé et doit être remplacé.
- Une cartouche chauffante défectueuse ou une connexion desserrée peut empêcher la buse d'atteindre ou de maintenir sa température cible.
La carte mère surchauffe-t-elle ou présente-t-elle des problèmes ?
La carte mère est le cerveau de l'imprimante. Un problème peut entraîner toutes sortes d'erreurs.
- SurchauffeAssurez-vous que le ventilateur de votre carte mère tourne et que le boîtier électronique est correctement ventilé. Une surchauffe de la carte ou de ses pilotes moteur peut entraîner un dysfonctionnement et l'arrêt du moteur de l'extrudeuse.
- Bugs du micrologiciel:Consultez le site Web du fabricant de votre imprimante pour obtenir une mise à jour du firmwareLes fabricants publient parfois de nouveaux firmwares pour corriger des bugs qui pourraient, dans de rares cas, être la cause de défaillances d'extrusion.
La réparation de ces composants électroniques requiert davantage de compétences techniques et de prudence. Éteignez et débranchez toujours l'imprimante avant toute manipulation de câblage et contactez le support du fabricant en cas de doute.
Adoptez un processus de réparation méthodique !
Faire face à une défaillance d'extrusion en cours d'impression peut être intimidant, mais un processus de diagnostic structuré transforme le problème d'un mystère en une liste de contrôle gérable. En travaillant systématiquement du filament au firmware, vous pouvez isoler la variable à l'origine de la panneAprès avoir tenté une solution, exécutez un petit test d’impression rapide pour vérifier si le problème est résolu avant de vous engager dans une impression plus longue.Tenir un journal simple des problèmes récurrents et de leurs solutions fera de vous un opérateur d’imprimante plus efficace et plus compétent au fil du temps.


 Q2
Q2


