 Q2
Q2


Comment colorier les modèles dans QIDI Studio?

Avec le lancement de
1 Cercle : dessinez librement des courbes, adaptées à la création de motifs personnalisés ou à la division des limites des blocs de couleurs.
2 Sphère : colore toutes les faces touchées par la sphère, y compris les faces internes invisibles du modèle.
③ Triangle : colorie une seule face triangulaire ; le glissement permet une sélection continue de faces triangulaires adjacentes pour la coloration.
④ Plage de hauteur : colore toutes les faces dans une plage de hauteur spécifiée, qui peut être ajustée.
⑤ Remplissage : remplit intelligemment les zones connectées, avec une fonction de détection des bords pour contrôler la plage de remplissage.
6. Remplissage des espaces : détecte et remplit automatiquement les petites zones non colorées en utilisant la couleur des faces adjacentes.
Chaque outil est adapté à différents scénarios de coloration. Ce tutoriel explique en détail les opérations associées.
Croquis cartographique
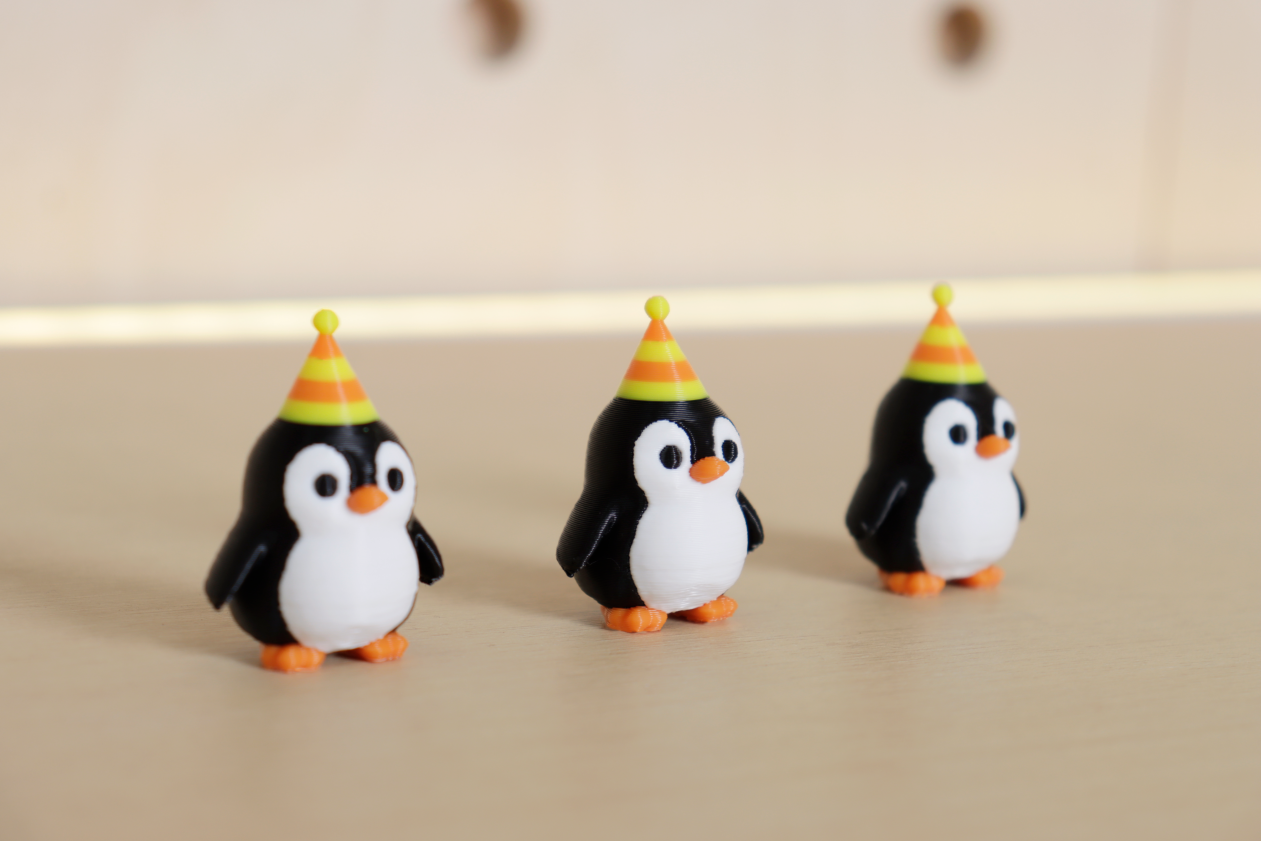
Modèle imprimé en plusieurs couleurs :

Si vous souhaitez obtenir des résultats similaires, suivez les étapes ci-dessous.
Introduction à l'opération
1. Ajoutez les matériaux nécessaires. Ouvrez le fichier modèle et, dans le panneau de paramètres de filament à gauche, cliquez sur le signe « + » pour ajouter des filaments. Sélectionnez le type et la couleur du filament. filamentVous pouvez également utiliser les outils de coloration en haut pour ajouter ou supprimer des filaments.


2. Sélectionnez le filament et l'outil de coloration souhaités type.Since la limite entre les zones blanches et noires du modèle de pingouin n'est pas très claire, vous pouvez d'abord utiliser l'outil cercle pour tracer des lignes de séparation pour un remplissage de couleur plus facile plus tard.


3. Utilisez l’outil de remplissage pour colorier les zones principales du modèle.


4. Utilisez l'outil de plage de hauteur pour colorier le hat.Before coloration, vous pouvez définir la plage de hauteur.

5. Utilisez l'outil de remplissage des espaces pour affiner les détails. Ajustez la zone vide pour voir l'effet de remplissage, puis appliquez-le.


6. Transfert et print.After Après avoir placé les filaments dans la boîte multicolore, cliquez sur le bouton illustré ci-dessous pour synchroniser la liste des filaments depuis la boîte. En mode correspondance, le système associera automatiquement les paramètres de couleur du fichier aux filaments physiques. Une fois la confirmation confirmée, procédez au transfert et à l'impression.


Conclusion
En utilisant de manière flexible les divers outils de coloration dans


