How to 3D Print Multiple Colors?


Multi-color 3D printing produces prettier prints. Color brings clarity to prototypes, makes products more noticeable, and enables you to create more engaging designs. If you want to add company logos to a print, differentiate parts of a model, or just make something look nicer, color printing comes in handy. It's more involved than regular 3D printing, but there are some effective ways to do it. This tutorial will demonstrate the various ways in which you can print using multiple colors.

Method 1: Filament Swapping (Manual or G-Code Based)
Manual vs G-Code Filament Changes
The most convenient way to print in several colors is filament swapping. There are two ways you can do this: manually halt your printer and exchange the filament manually, or insert G-code commands that make your printer pause at specific locations. Both procedures are supported by any common 3D printer that uses a single extruder.
How to Change Filament Colors
The process starts when you're establishing your model in the slicer software. Begin by identifying which layers must be what color. For manual swapping, you'll stop the printer manually at these layers. For automatic swapping, you'll insert special G-code commands (like M600) into your G-code that tell the printer to stop.
When it's time to switch colors, your printer will stop. Remove the old filament, insert the new color, and extrude some of the new filament through until the old color is fully purged out. This purging step keeps your colors clean and free from unwanted mixing.
Key Benefits
Using filament swapping has several advantages:
- You can start right away with your current printer.
- It's easy to learn and practice.
- You don't need to buy any extra equipment.
- If you use G-code commands, you can get consistent results every time.
Common Issues
Despite its simplicity, this method does have some drawbacks:
- Manually changing filaments takes time, and you need to watch your printer.
- Each color change risks print problems if not done carefully.
- You can mainly only change colors between layers, not side by side.
- You'll waste some filament each time you purge between colors.
Required Setup
The basic requirements are simple:
- A regular 3D printer with one extruder.
- Slicer software that lets you control layer heights.
- For automatic color changes, your slicer needs to handle G-code commands.
If you're new to multi-color printing, filament swapping is a good place to start. While it takes more time and attention than other methods, it lets you experiment with multiple colors without buying new equipment.
Method 2: Dual Extrusion (Independent or Mixing)
Dual Extruder Types
A dual extruder printer has two print heads that can use different filaments. The most common are regular dual extruders, where both heads move together, and IDEX (Independent Dual Extruder) systems, where heads move separately. Some printers claim to mix colors, but this rarely works well - they're better for using two distinct colors.
How to Set Up Dual Extruder Prints
To print with two colors, you need special slicer software that handles dual extruders. The software assigns different colors to specific parts of your model. Make sure your filaments can print at similar temperatures and stick together well. You'll also need a purge tower - an extra structure printed on the side that helps clean the nozzles between color changes.
Main Advantages
Dual extruder printing offers several benefits:
- The printer changes colors automatically - no manual work needed.
- Prints finish faster since there's no stopping to change filaments.
- You can print two colors side-by-side, not just in layers.
- One extruder can print support material that dissolves later.
Technical Challenges
Despite the benefits, there are some issues to watch for:
- Dual extruder printers cost more than single extruder models.
- More parts mean more maintenance and careful calibration.
- Both filaments must be compatible in temperature and materials.
- Colors can bleed together if settings aren't perfect.
- Print heads must align exactly, or layers won't match.
Setup Requirements
To start dual extruder printing, you'll need:
- A printer with two extruders.
- Slicer software made for dual extrusion.
- A way to manage two filament spools (optional but helpful).
Dual extruder printing gives you more color options than filament swapping, but it needs more expensive equipment and careful setup. It's worth considering if you print many multi-color models and want a more automated process.
Method 3: Multi-Material/Multi-Extrusion Systems (Advanced)
Two Types of Multi-Material Systems
Advanced multi-color printing uses either a filament splicer or a multi-extruder printer. Filament splicers (like the Mosaic Palette) join different colored filaments into one strand before printing. Multi-extruder printers have three or more separate nozzles for different colors.
Operating Multi-Material Printers
Filament splicers cut and join different colored filaments based on your print instructions, creating one multi-colored strand that feeds into your printer. Multi-extruder printers switch between their nozzles to print different colors. Both systems need special slicer software to control color placement and material changes.
Major Benefits
These advanced systems offer significant advantages:
- Print with many colors in one model.
- Mix flexible and rigid materials in the same print.
- Print runs automatically once started.
- Create complex color patterns and gradients.
Significant Challenges
These systems have several drawbacks:
- Equipment costs much more than basic printers.
- Filament splicers waste material during joining.
- Complex setup and regular maintenance needed.
- Not all materials work well together.
- Takes time to learn the system properly.
Required Equipment
To use these systems, you need:
- A filament splicer or multi-extruder printer.
- Special slicer software for multi-material printing.
- Storage boxes to keep filaments dry (strongly recommended).
Multi-material systems offer the most printing options but need more money, time, and skill to use well. They work best for complex projects that need many colors or different materials in one print.
Method 4: Post-Processing Color Application (Painting, Dyeing)
Basic Painting Process
After printing your model in a single color (usually white), you can add any colors you want using paints, dyes, or markers. This approach lets you control exactly how your finished print looks without buying special printing equipment.
Step-by-Step Painting Guide
The painting process follows these key steps:
- Sand the print smooth and clean off any dust.
- Apply primer so the paint sticks better.
- Paint with brushes, spray cans, or airbrush.
- Use masking tape or stencils for clean edges.
- Add a clear coat to protect the paint.
Best Things About Painting
Painting your prints gives you complete control over colors without investing in expensive equipment. Since you're working with regular paints, you can mix any shade you need and apply it precisely where you want it. This method works particularly well for custom projects that need specific colors or detailed designs.
Paint Job Problems
Hand-painting takes more time and effort than printing in multiple colors directly. The paint can scratch or chip since it's only on the surface, unlike colors that are part of the printed material. Getting smooth, even coverage takes practice, especially for detailed work. You'll also need to wait for the paint to dry between coats, which extends your project time.
Tools You'll Need
To paint your prints, you need:
- Standard 3D printer
- Sandpaper (various grits)
- Primer
- Paint brushes or spray paint
- Masking tape
- Clear protective coating
When starting with 3D printing, painting offers an easy way to add color without buying new equipment. Though it requires patience and practice, the results can look just as good as prints made with more expensive methods.

Choose Your Multi-Color 3D Printing Method!
Each technique of 3D print coloring has its own trade-offs. Filament swapping is best for beginners with low-end printers. Dual extrusion accomplishes the same but costs more. Multi-materials offer the most versatility but demand significant investment. Painting offers great precision with no specialized equipment, albeit requiring practice. Select the method that works for you, keep it simple initially, and expand as needed.


 Q2
Q2
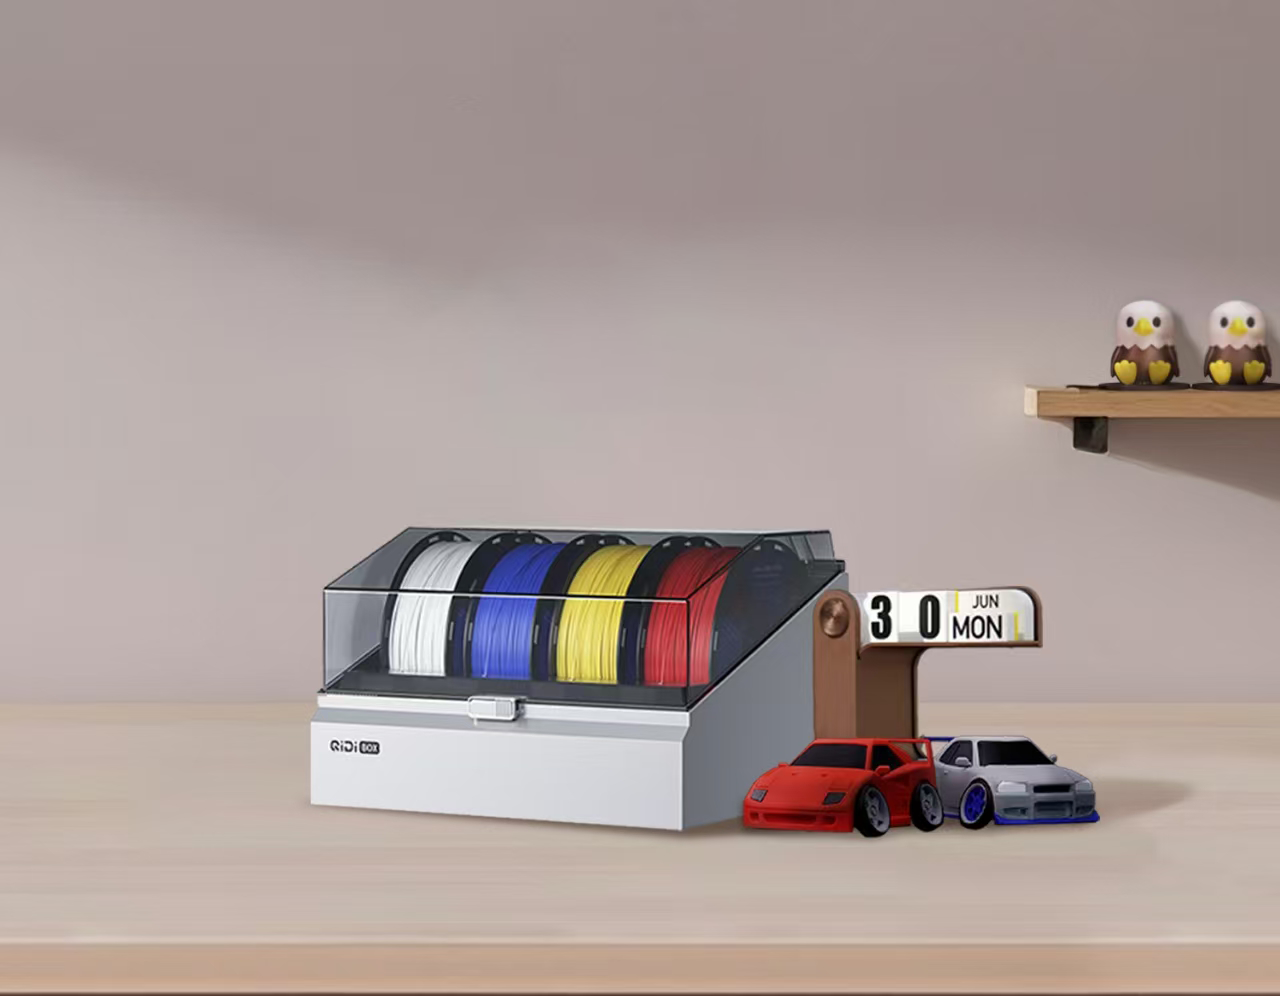
 QIDI Box
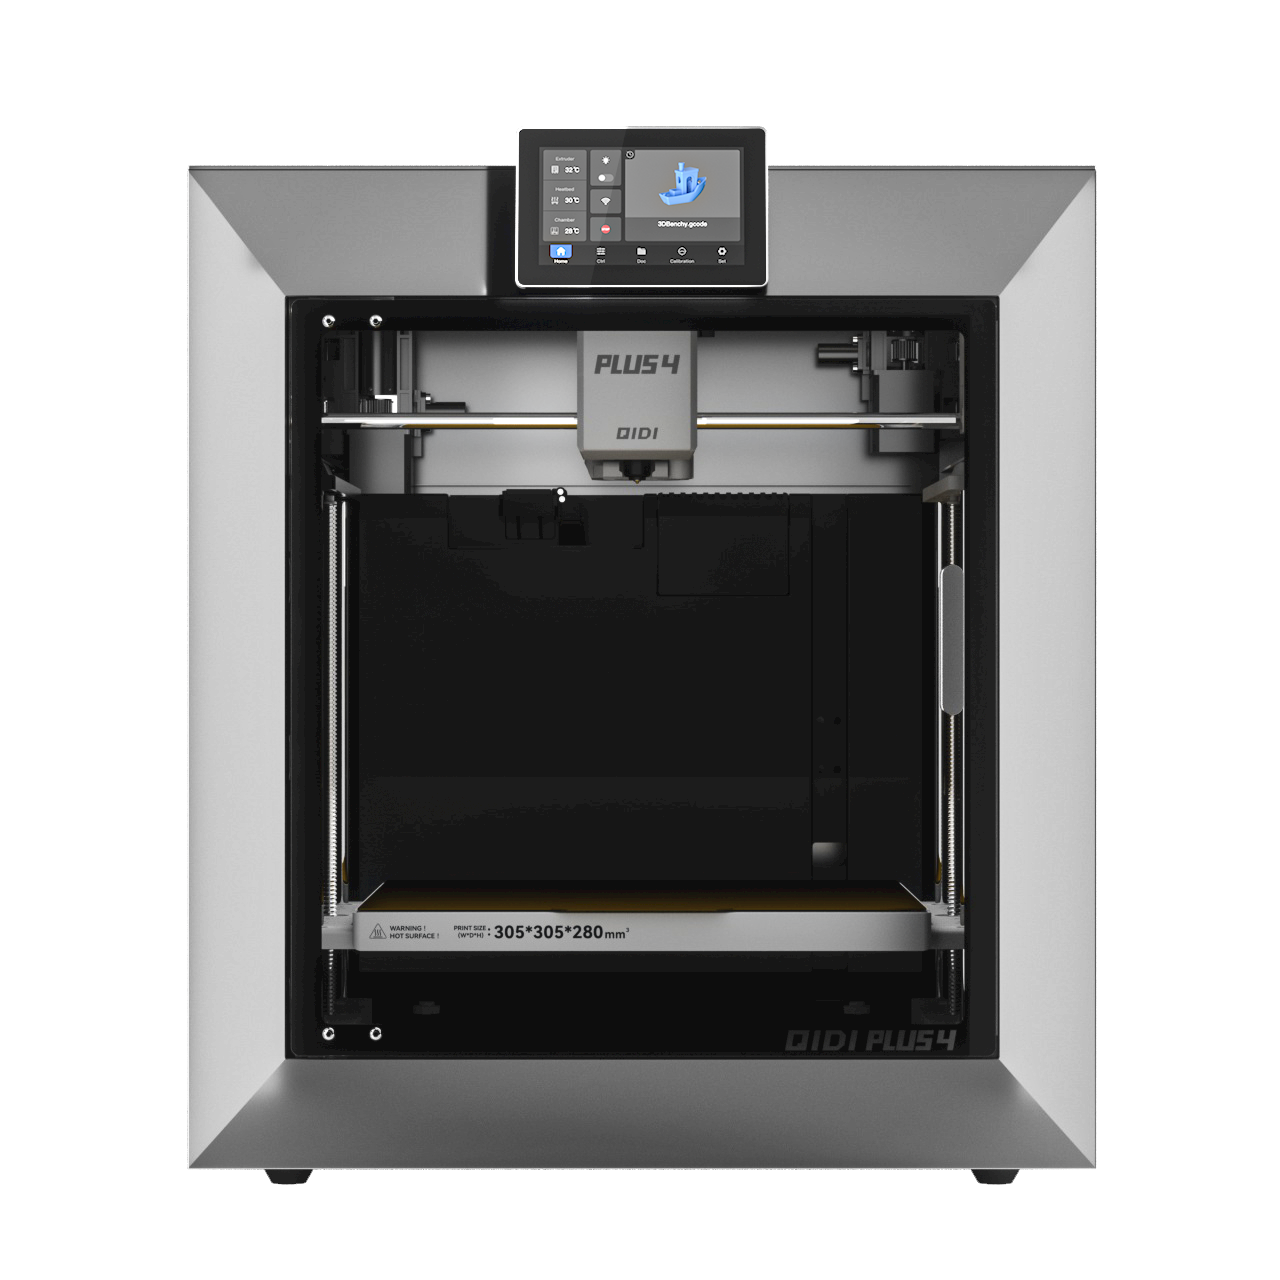
 Plus 4
 Q1 Pro
 X-Max 3

