 Q2
Q2


Как добавить текст в модель в QIDI Студия?

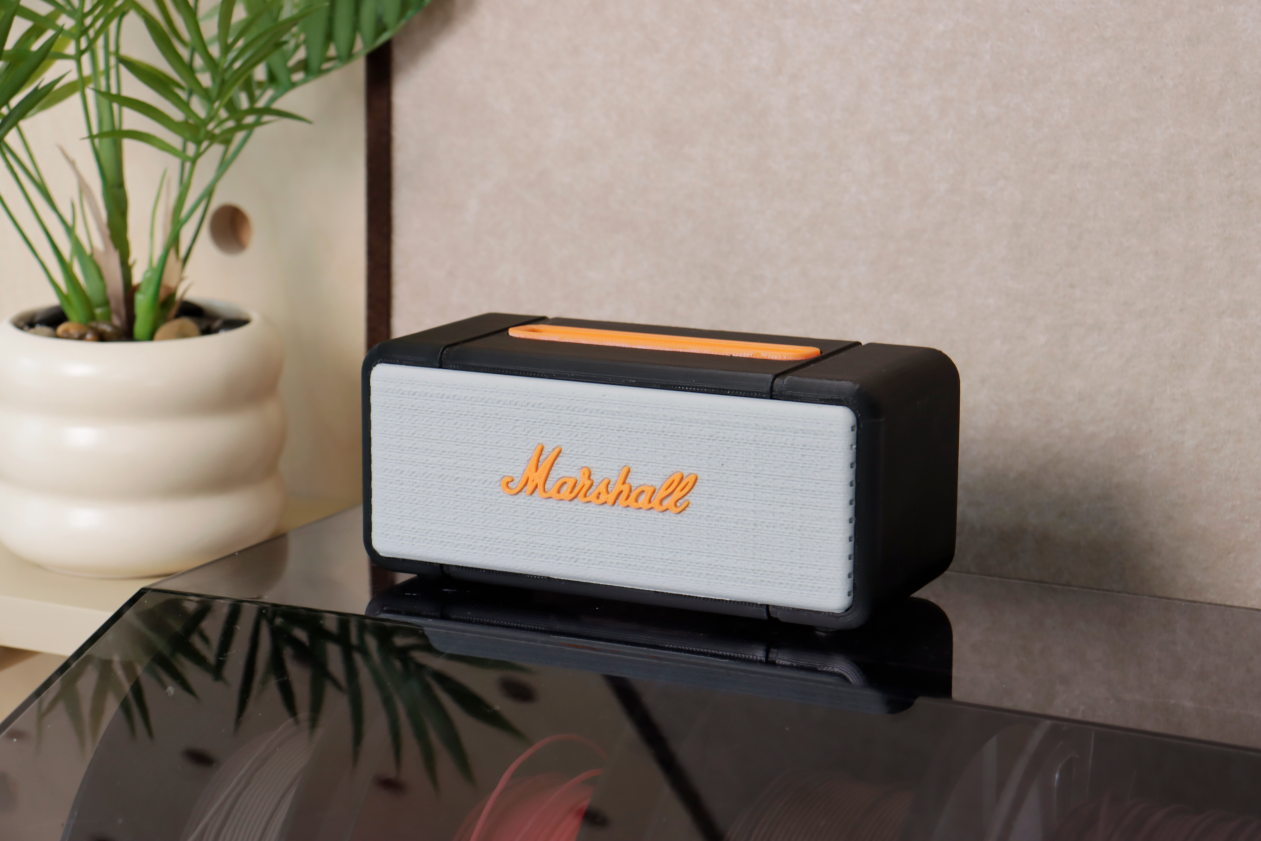
Будь то для персонализированной маркировки, функциональных описаний или чисто декоративных целей, инструмент формы текста в
Иллюстрация


Пошаговое руководство: 5 шагов к успеху
1.Добавить текст: Найдите кнопку, напоминающую букву «Т», на верхней панели инструментов. На модели появится текстовый объект по умолчанию.

2. Редактируйте текстовое содержимое и настройте атрибуты.: Перетащите жёлтый квадрат мышкой, чтобы переместить текст в нужное место. На панели настроек текста вы можете изменить его содержимое, настроить шрифт, размер, толщину, глубину вставки и интервал.


3. Раскрасьте текст: Изменить нить накала или используйте инструмент раскрашивания, чтобы изменить цвет текста.

4. Настройте текстовый режим: Доступно четыре режима текста на выбор. На рисунке ниже показано сравнение часто используемых режимов «Surround Surface» и «Not Surround».


5. Преобразование текста в отрицательную часть или модификатор:
Если вы решите вырезать модель, текст станет негативной частью, встроенной в модель, создавая эффект отступа текста.


Если изменить тип текста на модификатор, на поверхности модели будет сгенерирована двумерная фигура текста, которая будет располагаться на одном уровне с моделью. Это связано с тем, что функция модификатора заключается в корректировке параметров области перекрытия с моделью.

Используйте возможности инструмента «Форма текста»
Инструмент «Текст» — это простая, но мощная функция.. Это позволяет вам обойти сложные этапы моделирования и легко добавлять информацию, индивидуальность и функциональность в ваши 3D-печатные модели. В следующий раз, когда будете готовиться к печати, подумайте, может ли добавление текста улучшить ваш проект!


