Why Do My 3D Prints Keep Failing? A Beginner's Troubleshooting Checklist

Share this post
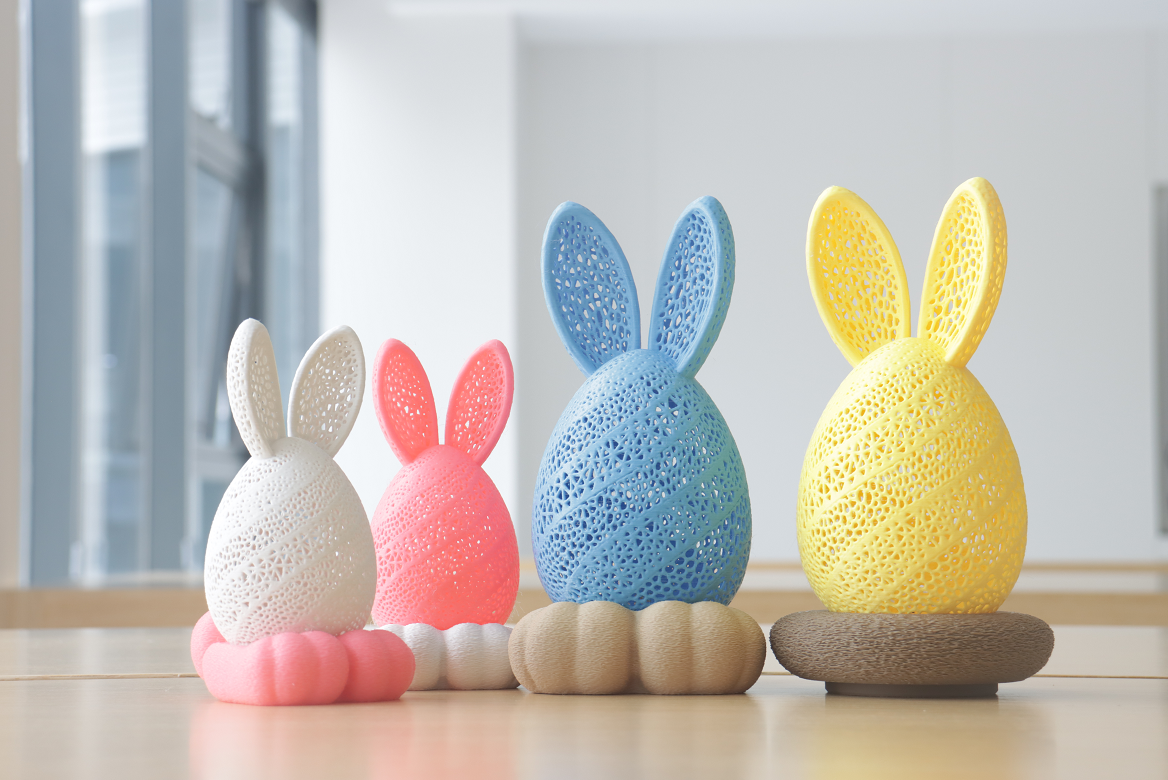
Colorful 3D printed rabbit model ornaments

If your 3D prints are failing, the first thing to know is that every problem has a solution. A failed print isn't just a random error; it's showing you exactly what needs to be adjusted. This guide walks you through the most common fixes in a logical order, starting from the base of the print and moving up. To get the best results, work through the checklist and make only one adjustment at a time. This simple, systematic approach is the most effective way to identify the root cause of the failure and learn how to produce clean, successful prints consistently.

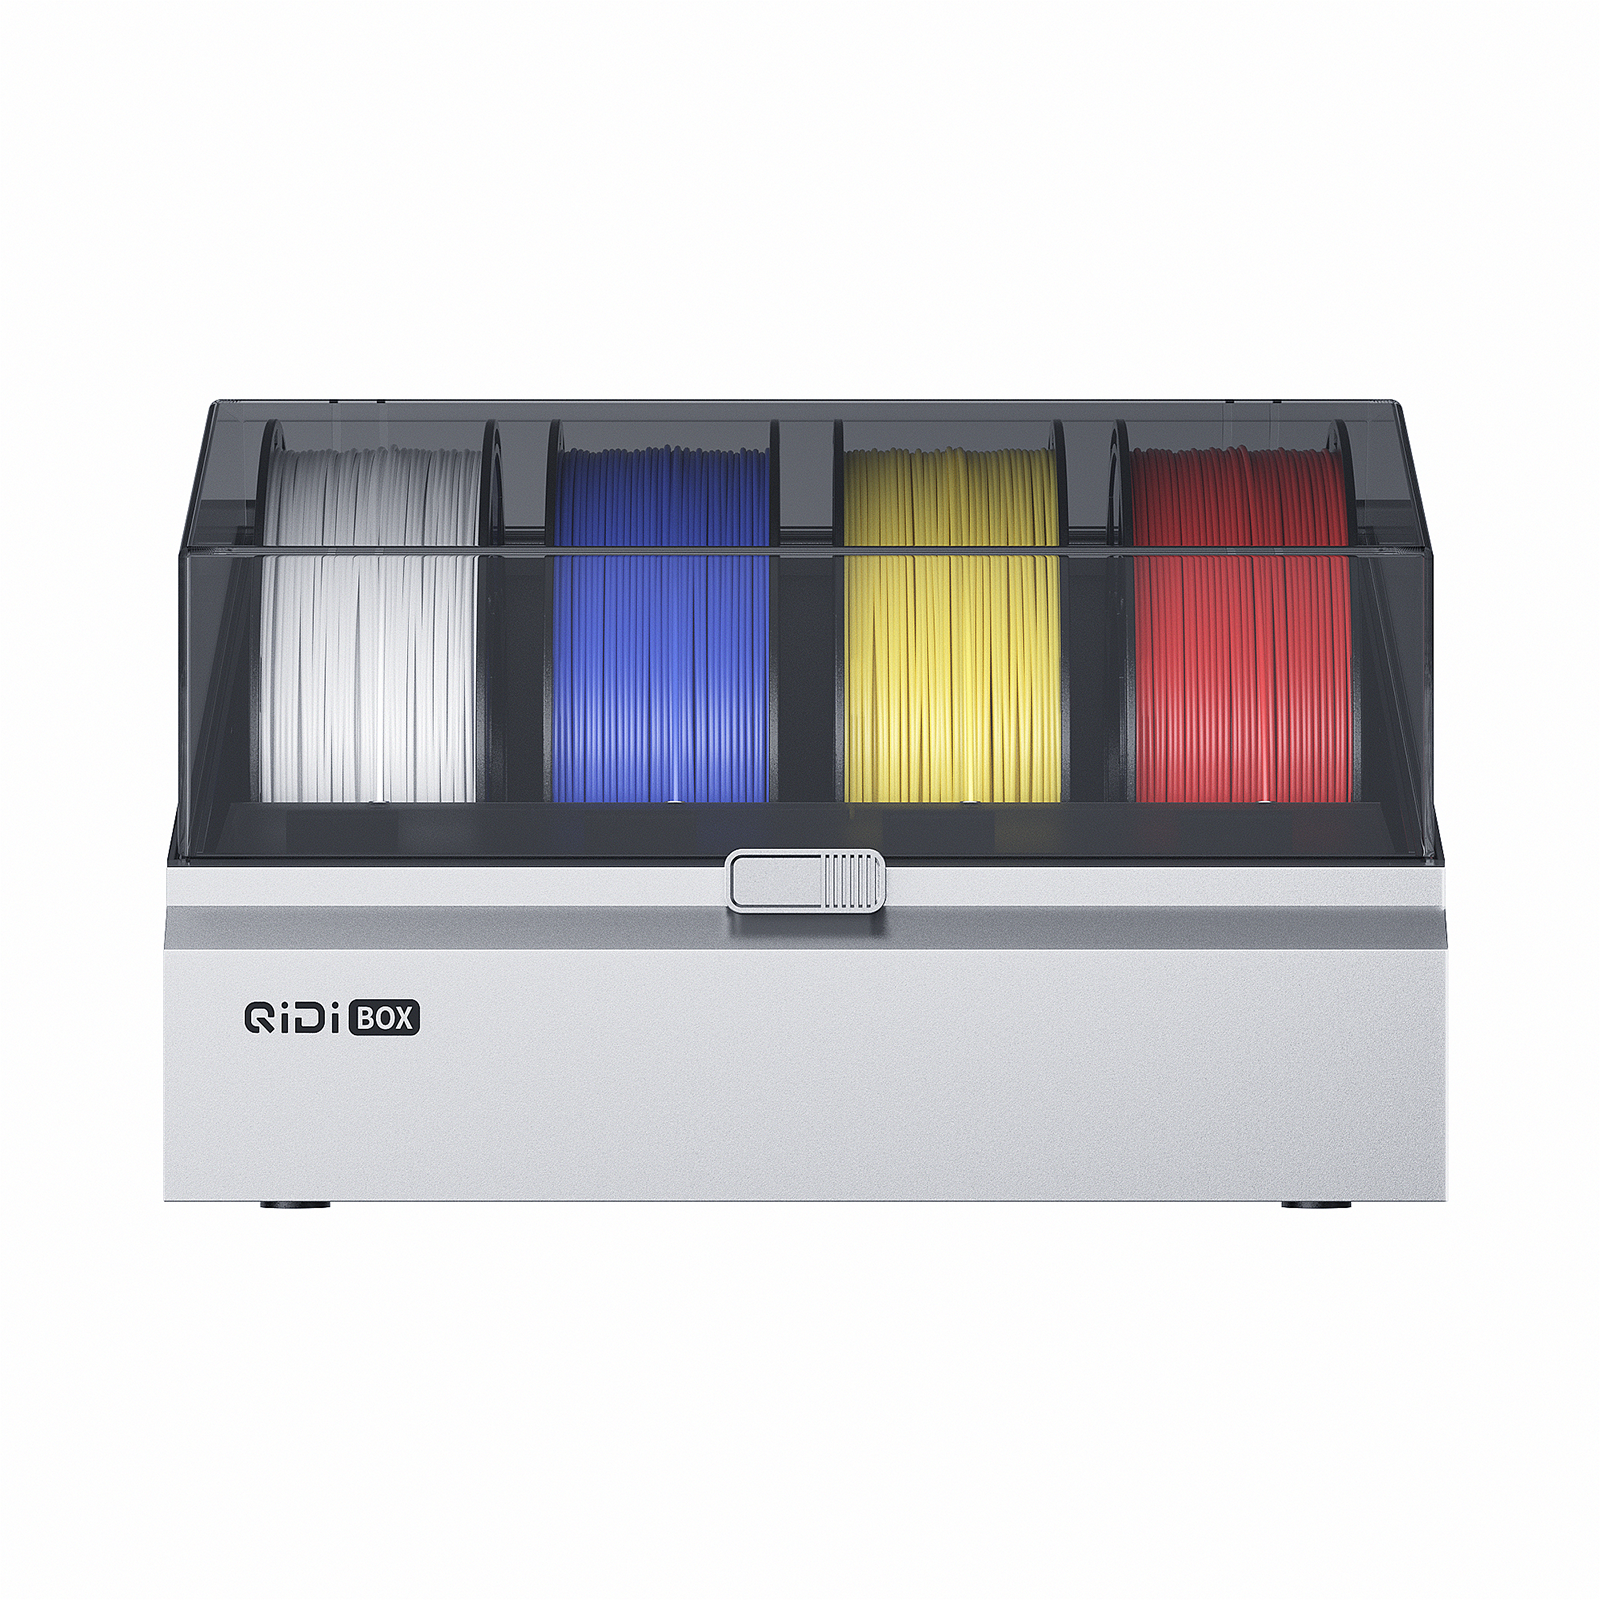
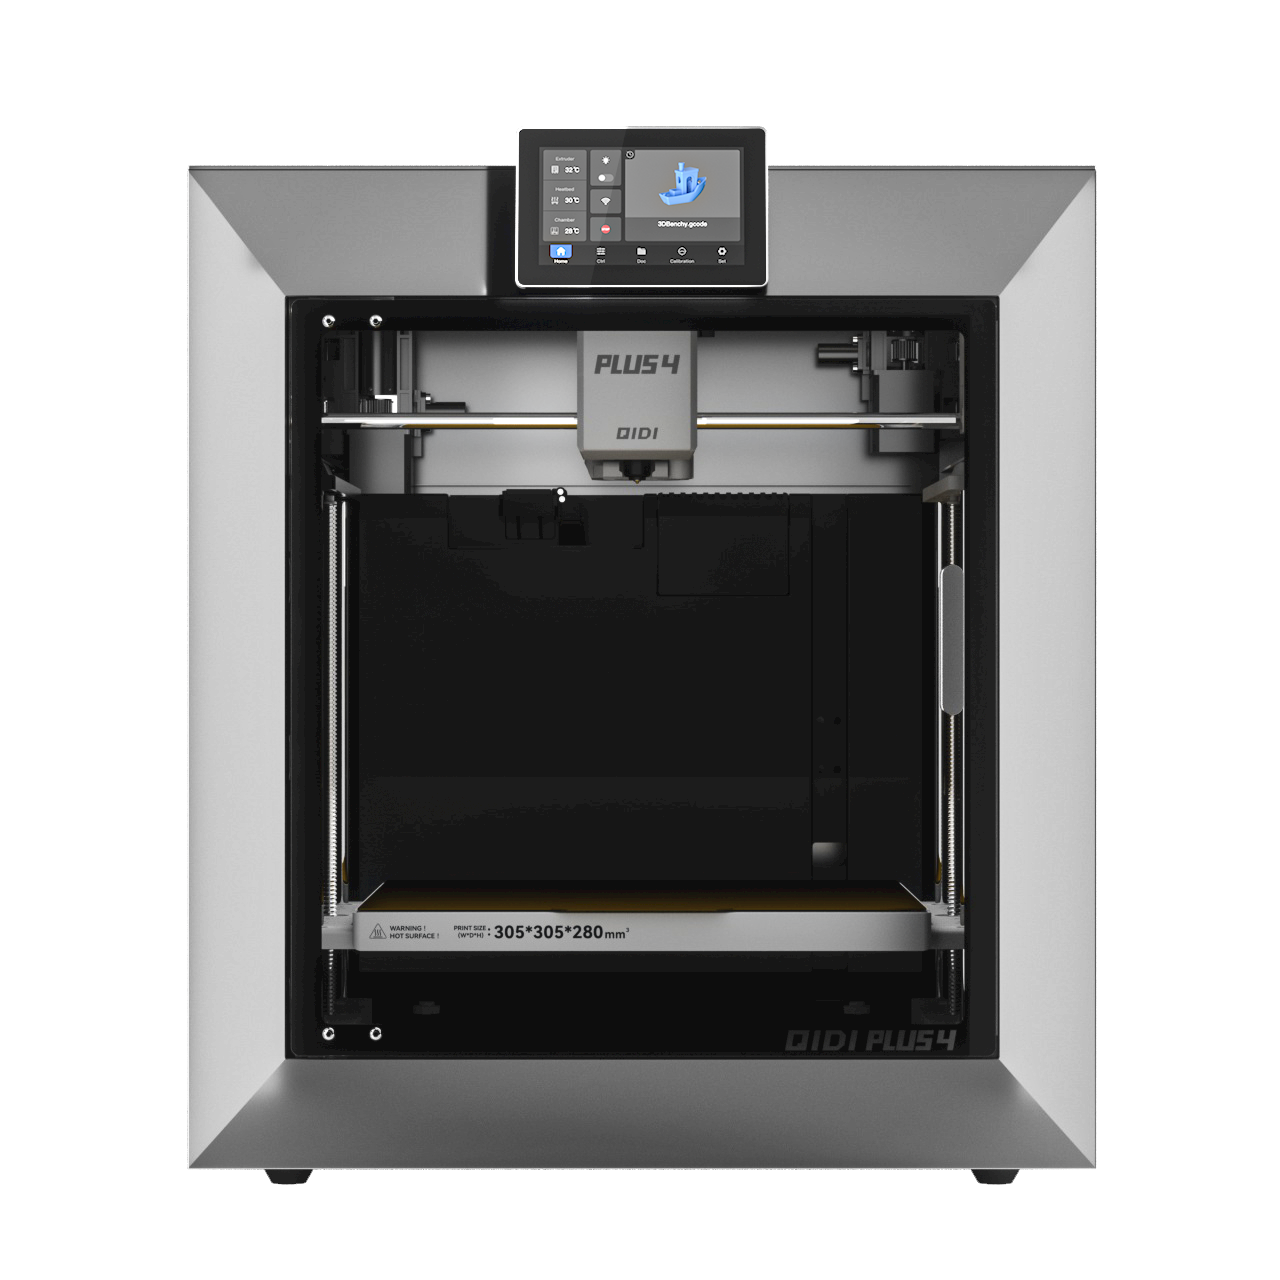
Home desktop 3D printer with PLA color filament spools and printed model works

First Layer and Bed Adhesion Problems

The first layer is the most important part of any print. If it doesn't stick to the bed correctly, the entire print will fail. If your prints come loose or the first layer is messy and doesn't stick, the issue is almost always found here.

1. Bed Leveling

An unlevel print bed is the #1 cause of print failures. The goal is to make sure the distance between the nozzle and the print bed is the same at all points. If the bed is tilted, one side of your print won't stick properly. Many printers have an auto bed leveling feature, but it's still important to make sure your bed is reasonably level manually. The standard method is to use a piece of paper: adjust the bed until you feel a slight, consistent drag on the paper between the nozzle and the bed at several points on the surface.

2. Z-Offset

The Z-offset is the fine-tuned distance between the nozzle and the print bed after it's been leveled. Getting this right is critical for a good first layer.

  • Too high: The filament won't be pressed onto the bed. It will look like thin, round strands of spaghetti that don't stick.
  • Too low: The filament will be squished too flat, which can cause the nozzle to clog on later layers. It can also scratch or damage your print surface.

You're looking for a first layer with slightly flattened lines that are fused together neatly.

3. Print Bed

Dust, oils from your fingers, or leftover plastic residue can prevent the first layer from sticking. Before a print, it's good practice to wipe the bed with Isopropyl Alcohol (IPA). If the bed is very dirty, remove it and wash it with warm water and dish soap. Make sure it's completely dry before reinstalling it.

4. First Layer Temperatures

The right temperature is essential for adhesion. For PLA, a bed temperature of 50-60°C is usually effective. Other materials like PETG or ABS need a hotter bed to prevent warping. It can also help to set the nozzle temperature 5-10°C hotter for the first layer to help it bond to the bed. You can adjust this setting in your slicer software.

5. First Layer Speed

Printing the first layer slowly gives the filament more time to bond with the build plate. A good starting point is a speed of 20-30 mm/s. This is a setting you can change in your slicer, and it often has a significant impact on the success of your print.

Extrusion Problems

Sometimes the first layer looks great, but the rest of the print has gaps, weak spots, or you hear a clicking sound from the extruder. These are all signs of an extrusion problem, meaning the filament isn't flowing from the nozzle consistently.

1. Clogged Nozzle

A nozzle clog can partially or fully block filament. A partial clog causes under-extrusion, where lines are thin, weak, or missing. A full clog stops extrusion completely. You can often clear a clog by heating the nozzle and using a small cleaning needle. For tougher clogs, a "cold pull" is an effective method to remove the obstruction.

2. Under-Extrusion

If your printer isn't pushing out enough filament, you'll see gaps and holes in your print. Besides a clog, common causes include:

  • A tangled filament spool that can't unwind freely.
  • A cracked plastic extruder arm, which is a common failure point on many printers.
  • The wrong filament diameter (e.g., 1.75mm vs 2.85mm) set in your slicer.

For a more precise fix, you can calibrate your printer's E-steps, which ensures the extruder pushes the exact amount of filament that the software requests.

3. Over-Extrusion

This is the opposite problem: the printer is pushing out too much filament. This leads to rough surfaces, blobs on the print, and poor detail. To fix this, reduce the "Flow Rate" or "Extrusion Multiplier" in your slicer. Lowering it from 100% to 95% is a good first step.

4. Wet Filament

Many filaments, especially PLA, PETG, and Nylon, absorb moisture from the air. When wet filament is heated, the water turns to steam and creates bubbles, causing a popping or sizzling sound. This leads to a rough surface finish and a weak, brittle print. Store your filament in a dry box or use a filament dryer to solve this.

Common Print Quality Issues

Your print might finish, but the quality is poor. Issues like stringing, shifted layers, or drooping sections are common mid-print failures that affect the look and strength of the final object.

1. Stringing and Oozing

Stringing leaves thin strands of plastic between separate parts of a model. It happens when filament leaks from the nozzle during travel moves. To fix this, you need to adjust your retraction settings in the slicer. Try slightly increasing the retraction distance or speed. Lowering the nozzle temperature can also help by making the filament less runny.

2. Layer Shifting

This looks like a step in your print, where the upper layers are offset from the bottom layers. This is a mechanical issue. The two most common causes are:

  • Loose belts on the X or Y axis. Belts should be tight enough that they don't have any slack.
  • Loose grub screws on the motor pulleys. These small screws hold the pulley onto the motor shaft; if they're loose, the shaft can spin without turning the pulley.

3. Poor Overhangs and Bridges

If the underside of angled parts or sections printed over open air look messy and droopy, the cause is usually poor cooling. The plastic needs to cool down and harden quickly to hold its shape. Check your slicer settings to ensure the part cooling fan is running at 100% after the first layer. Printing these sections slower also helps.

4. Warping and Layer Splitting

Warping is when the corners of the print lift off the bed. As we covered in Part 1, this is often a bed adhesion issue. It's made worse when the plastic shrinks as it cools. For materials like ABS, which shrink a lot, printing inside an enclosure helps maintain a constant temperature and prevents drafts.

Layer splitting appears as cracks between the layers of the print, which makes the part very weak. This usually means the layers aren't bonding together properly. The cause is often a nozzle temperature that's too low for the filament, or too much part cooling, which prevents the new layer from melting into the previous one. Re-evaluating your temperature and cooling settings from the previous sections is the key to solving this.

Advance Toward Reliable Printing!

The best way to solve printing problems is to make only one change at a time. This helps you confirm what actually works. A little preventative maintenance goes a long way, too. Keep your print bed clean, check your belt tension occasionally, and store your filament properly. Every print is a chance to learn more about your machine and improve your results.

Table of contents

FAQ

当社の 3D プリンターとサービスに関する最も緊急な質問への回答を見つけてください。

3Dプリンティングとは、デジタルファイルから立体的な物体を作成するプロセスです。プラスチックや金属などの材料を重ね合わせて最終製品を作り上げます。この革新的な技術により、カスタマイズと迅速な試作が可能になります。

すべての商品に、迅速かつ信頼性の高い配送オプションをご用意しております。ご注文が完了すると、追跡番号をお送りし、配送状況をご確認いただけます。配送時間は、お住まいの地域によって異なる場合があります。

当社の3Dプリンターには、製造上の欠陥に対する1年間の保証が付いています。延長保証オプションもご購入いただけます。詳細は保証ポリシーをご覧ください。

はい、返品ポリシーをご用意しております。ご購入いただいた商品にご満足いただけない場合は、30日以内にご返品いただければ全額返金いたします。商品が元の状態であることをご確認ください。

もちろんです!ご質問や問題がございましたら、専任のサポートチームがサポートいたします。メールまたはお電話でお問い合わせいただければ、迅速なサポートをご提供いたします。また、包括的なオンラインリソースセンターもご用意しております。

まだ質問がありますか?

ご質問がありましたらお気軽にお問い合わせください。