Is 3D Printing Hard to Learn? A Beginner’s Guide from Zero to Hero


Getting from the box to a clean first print should feel clear, not chaotic. If your first layer once turned into a gluey mess, you are in good company. Today’s machines automate setup, keep the plate level, and stabilize temperature, so beginners learn faster. With a focused week-one plan and a short troubleshooting list, 3D printing becomes a practical skill you can use for real projects at home.
3D Printing for Beginners: Week One Schedule and Tasks
Your first week has one purpose: to prove the setup with a simple, repeatable success.
- Day one covers unboxing, power on, Wi-Fi, filament loading, and an automated bed check.
- Day two prints a small first-layer test to confirm adhesion.
- Days three to five move to a tiny functional part such as a cable clip.
- The weekend repeats the same part while changing a single setting so you see how temperature, speed, or cooling alters the result.
This rhythm builds confidence and prevents random tweaks. Keep the work short and focused. Spend twenty to forty minutes, then stop. Review the part, note what worked, and plan the next change. Small, deliberate steps beat long sessions that pile up mistakes.

How Do You Go from Unboxing to First Successful 3D Printing?
Start with a clean surface and a sensible profile. Wipe the build plate with isopropyl alcohol. Import a beginner profile in your slicer so layer height, walls, and speeds land in a safe range. Preheat to the recommended temperatures for your filament. Run auto bed leveling, then print a first-layer square. If you see gaps or poor adhesion, stop early, adjust first-layer height a tiny amount, and try again. When the lines look smooth and slightly flattened, move to a small part and record the exact settings that gave you that glossy, even base.
Starter parameters you can try
| Setting | Typical PLA starting point |
| Layer height | 0.2 mm |
| Wall count | 2 to 3 |
| Infill | 15 to 22 percent grid |
| Nozzle temperature | 200 to 215 °C |
| Bed temperature | 55 to 60 °C |
| First-layer speed | 15 to 25 mm/s |
| Part cooling fan | 100 percent after layer two |
These numbers are a safe middle ground for many machines and filaments. As your parts succeed, adjust only one item at a time and document the effect.
How Does QIDI Reduce the Learning Curve in Week One?
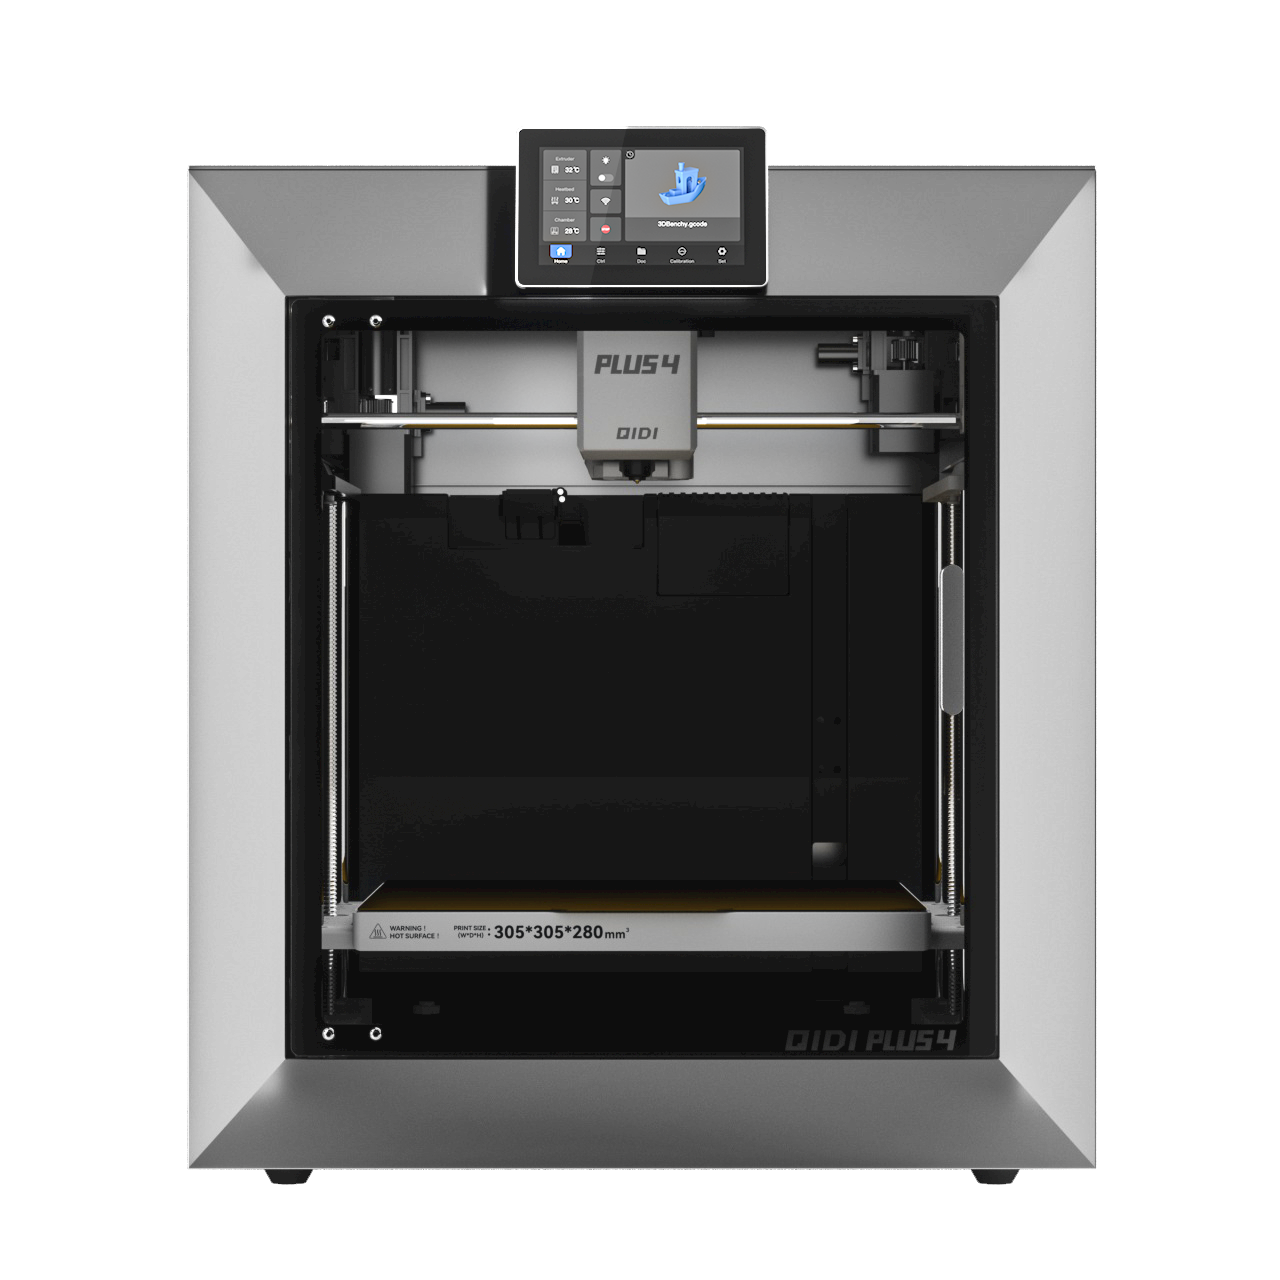
Beginner-friendly printers remove early guesswork through auto bed leveling, automatic Z-offset measurement, input shaping for smooth motion, warm enclosures that help adhesion, and app-based monitoring. These features shorten setup and raise the chance of a successful first print in week one. If you are comparing options, QIDI’s current lineup offers these capabilities and provides guides and slicer profiles that help new users move from the first layer to the finished part with less trial and error.
How to Fix the 5 Most Common Beginner Failures
Reliability grows when you master a few repeat offenders. Use the guidance below during your first month. Start each fix with a quick test print, change one setting at a time, and write down what worked.
First Layer Will Not Stick
A clean, even first layer is the foundation of every successful job. If edges lift or lines look stringy or broken, address adhesion first.
- Fix now: Clean the plate with isopropyl alcohol, then run auto leveling. Adjust first-layer Z-offset in tiny steps of 0.02 to 0.05 mm until lines look smooth and lightly squished. Raise the bed temperature by 3 to 5 °C. Slow the first layer to 15 to 25 mm/s and keep the fan off on layer one. Add a 5 to 8 mm brim for more contact area. Dry filament improves adhesion on many materials.
- Prevent next time: Keep the surface oil-free, store filament dry, and avoid room drafts during the first ten minutes.
Corners Lift or the Part Warps
Large footprints and materials that shrink as they cool tend to lift. Gentle, even cooling is the goal.
- Fix now: Add a brim or a slim raft, increase bed temperature by about 5 °C, keep the enclosure closed, and use a warm chamber when available. Reduce infill to lower internal stress and round sharp model corners when possible. A light glue layer on a clean PEI surface often helps.
- Prevent next time: Split very large parts into sections, print with a draft shield, and choose materials suited to your enclosure temperature.
Stringing and Oozing
Fine hairs between features usually come from heat or insufficient retraction.
- Fix now: Lower nozzle temperature by 5 to 10 °C. Increase retraction distance in small steps and raise retraction speed. Enable wipe on retract and avoid long travels through open space. Dry hygroscopic filaments before printing.
- Prevent next time: Keep the nozzle clean and ensure retraction triggers only on moves above a minimum travel distance.
Layer Shifts or Wavy Surfaces
Shifts and ringing point to motion issues. Stability and smooth acceleration matter more than raw speed.
- Fix now: Check belt tension and pulley set screws, clean rails, and place the printer on a solid surface. Lower acceleration or speed by 10 to 20 percent. Turn on input shaping if your machine supports it.
- Prevent next time: Remove curled edges that the nozzle could hit, and ensure spools and cable chains move freely.
Under-Extrusion or Inconsistent Flow
Gaps in walls or brittle layers suggest the hot end is not delivering enough material.
- Fix now: Raise nozzle temperature by about 5 °C, increase flow by 2 to 5 percent, and slow down slightly. Inspect for partial clogs and verify the nozzle size matches the slicer profile. Confirm the filament path is smooth and the spool unwinds easily.
- Prevent next time: Do routine nozzle maintenance, replace worn tips, and keep a simple print log that records model, material, temperatures, speeds, and outcome.
What Should You Tweak in Your First Month?
Use four weeks to build repeatable habits.
- First, lock in a reliable first layer by printing the same calibration square in several plate locations.
- Second, strengthen parts by testing wall counts and infill patterns to see how weight and rigidity change.
- Third, practice bridging and overhangs by adjusting fan speed and support style.
- Fourth, learn orientation. A part printed on its side can be stronger than the same part printed upright because layer lines align with the load. Keep a short log so material switches and larger parts feel predictable.
If you move from PLA to PETG or TPU, step up gradually. Raise nozzle temperature in small increments, keep the chamber warm and closed, and slow down for flexible filament. The same week-one routine still applies: test, change one variable, record the outcome.
Where Do You Get Models and Ready-to-Use Profiles?
Start with small functional designs and calibration pieces. Storage clips, organizers, simple brackets, and tool holders reveal the strength, fit, and tolerance that figurines often hide. Then pull in proven profiles so you are not guessing on temperatures and speeds.
Reliable places to get them
- Your printer manufacturer’s support pages: downloadable beginner profiles matched to nozzle, bed size, and common filaments, plus sample test models.
- Your slicer’s official library: built-in example models and profile managers maintained by the software team.
- Public-institution repositories: libraries, museums, or university collections that host functional models and teaching tools under open licenses.
- Open CAD libraries and course materials: parametric parts, jigs, and tolerance gauges suitable for editing to exact dimensions.
- Local makerspaces or community labs: curated starter packs and profiles verified on common machines.
Before any long job, verify profile fit: confirm nozzle diameter and bed size, check filament type and target temperatures, review acceleration limits, and run a first-layer test or 20 mm cube. Good profiles reduce guesswork and speed up learning for beginner 3D printing.
Good Habits and the Right Printer Make 3D Printing Easy
Learning 3D printing is achievable within weeks when you follow a simple plan and use hardware that automates the tricky parts. Set a clear week-one target, keep a focused troubleshooting list, and write down what works. A capable 3D printer with auto leveling, a heated chamber, input shaping, and a reliable slicer profile turns early wins into a steady routine. Once your baseline is repeatable, larger parts and new materials feel like a natural next step for home projects and everyday fixes.

5 FAQs about 3D Printer Care and Troubleshooting
Q1: How should I maintain my printer over time?
A: Perform light maintenance every few weeks or roughly every 100 print hours. Clean the build plate and fans, remove dust from rails, and inspect belts and pulleys for play. Lubricate rails lightly if your machine requires it. Replace worn nozzles sooner with abrasive filaments.
Q2: Is 3D printing safe indoors? What precautions help?
A: Printing indoors is fine with basic precautions. Ventilate the room, especially for ABS or ASA, and keep the printer on a stable, non-flammable surface. Install a smoke alarm nearby and keep an ABC extinguisher accessible. Place it away from curtains and HVAC vents.
Q3: How do I protect long prints from power issues?
A: For long jobs, enable power-loss recovery and save files on reliable media. A small UPS prevents brief outages from ruining prints and protects electronics. Consider splitting huge parts into sections. Resume only after the plate reheats to the recorded temperature to avoid warping.
Q4: How can I get accurate dimensions and smooth fits?
A: Use calipers and a 20 mm calibration cube to measure actual output. Adjust horizontal expansion or XY compensation in the slicer by small increments. For mating parts, design clearance around 0.2–0.4 mm for PLA and 0.3–0.5 mm for PETG to ensure smooth assembly.
Q5: Which nozzle size should I choose for my project?
A: Choose nozzle size by goal. 0.4 mm balances detail and speed. 0.6–0.8 mm boosts strength and cuts print time on large parts. 0.2–0.3 mm captures fine features. As a rule, layer height sits at roughly 25–75% of nozzle diameter.


 Q2
Q2
 QIDI Box
 Plus 4
 Q1 Pro
 X-Max 3

