 Q2
Q2
 QIDI Box
 Plus 4
 Q1 Pro
 X-Max 3


Best 3D Printer for Beginners: Fast, Precise, and Engineering-Material Ready

First prints fail for simple reasons. The bed sits a little off, the chamber runs cool, or the software path adds friction. You want clean first layers, parts that resist warping, and a workflow that lets you improve fast. A beginner 3D printer should deliver real speed with control, handle common materials today, and give you a clear path to tougher jobs tomorrow.
What Hardware Delivers Real Speed and Stability?
True printing speed is about maintaining quality during rapid movement. To prevent issues like "ghosting" at high acceleration, a stable CoreXY motion system is essential for keeping details crisp.
For engineering materials like ABS or Nylon, controlling heat is non-negotiable. An actively heated chamber (around 65 °C) is the key to preventing warping and layer splitting, creating strong, functional parts. This must be supported by a high-temperature hotend (up to 370 °C) and a hot bed (reaching 120 °C) to manage the entire thermal environment.
Finally, a perfect print starts with a perfect first layer. The most reliable systems use automatic leveling that references the nozzle tip, eliminating guesswork. When this precision is combined with controlled motion and stable temperatures, speed becomes a genuine asset, not just a marketing claim.

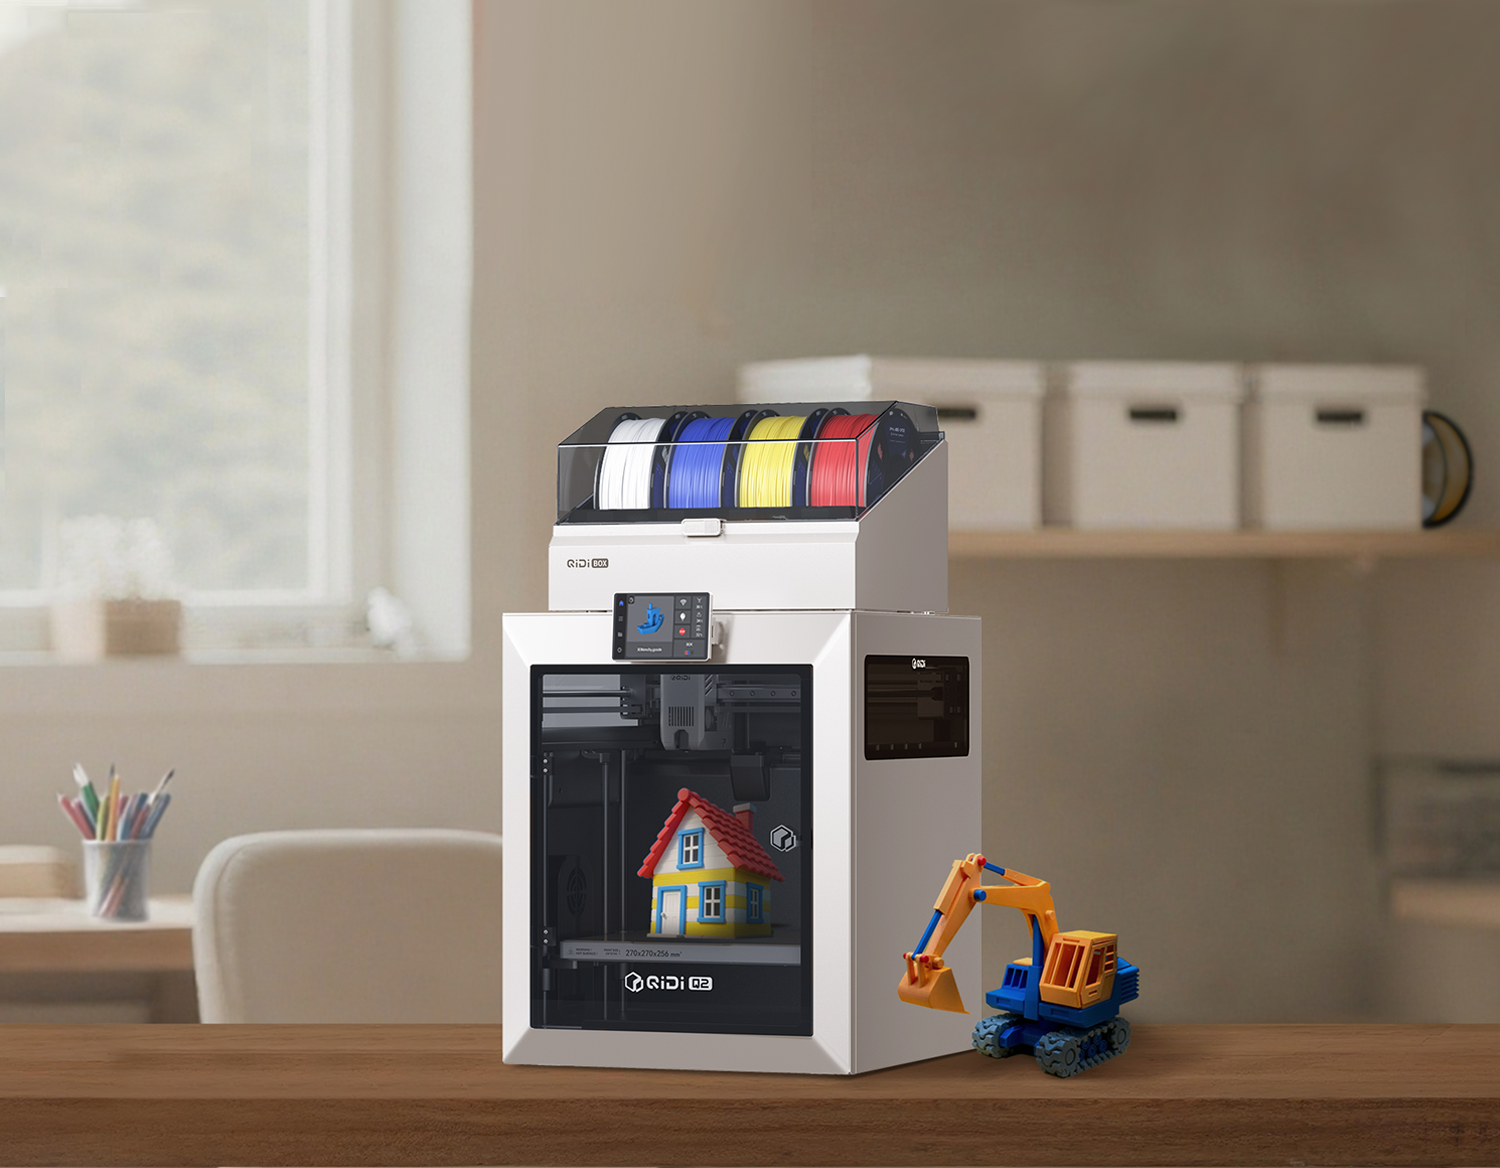
QIDI Q2: Hardware Example
The QIDI Q2 is a prime example of a printer that embodies this hardware philosophy. Its key specifications include:
- Motion System: A rigid CoreXY structure with a maximum toolhead speed of 600 mm/s.
- High-Temperature Hotend: Capable of reaching 370 °C to handle engineering-grade composites.
- Actively Heated Chamber: Heats up to 65 °C to prevent warping in materials like ABS and ASA.
- Heated Bed: Reaches up to 120 °C for strong first-layer adhesion.
- Auto Leveling: Features nozzle-as-sensor technology for a true, zero-offset first layer.
These ingredients work in concert to turn speed from a mere number into consistent, high-quality output.
Quick Pre-Purchase Checklist
Confirm the printer's physical size (footprint) and where you'll place it, then look for these key features on the product page:
- Heated Chamber: Does it have an actively heated chamber that can reach at least 65 °C? This is crucial for printing materials like ABS and ASA.
- High-Temperature Hotend: Can the hotend reach 350 °C to 370 °C? Check if hardened nozzles are available for future printing of abrasive composite materials.
- Nozzle-Based Leveling: Does the marketing material mention that the printer uses the nozzle itself for auto-leveling (look for terms like "zero-offset" or "probe-less")? This ensures maximum first-layer accuracy.
- High-Speed Motion System: Does the spec sheet list the key ingredients for modern high-speed printing, such as a CoreXY frame, linear rails, and factory-calibrated input shaping?
Which Materials Can You Print From PLA To Engineering-Grade Composites?
Success improves when material, environment, and nozzle choice match. PLA and PETG run well with moderate bed heat and basic airflow. TPU prefers slower paths and steady feeding from a direct drive system. ABS and ASA benefit from a chamber near 65 °C so layers fuse without drafts. Nylon and carbon-fiber blends call for a hotter nozzle, dry filament, and a build surface that tolerates heat cycles. A capable 3D printer covers this path when its temperature envelope and chamber control are in place.
Material Setup Guide
| Material | Chamber | Nozzle & Bed | First-Layer Tips |
| PLA | none | 0.4 mm brass, 200–220 °C; bed 50–60 °C | Calibrate Z carefully, slower first layer, moderate fan |
| PETG | low | 0.4 mm brass, 230–250 °C; bed 70–85 °C | Use textured PEI, reduce fan for stronger walls |
| TPU 95A | none | direct drive, 220–235 °C; bed 40–60 °C | Gentle retraction, slower speed, short paths |
| ABS / ASA | ~65 °C | 0.4 mm, 240–260 °C; bed 90–110 °C | Enclose the build space, limit fan, add brim on sharp corners |
| PA / CF blends | ~65 °C | hardened 0.4–0.6 mm, up to 370 °C; bed 90–110 °C | Dry filament, use brim or skirt, keep chamber steady |
How Is It Beginner-Friendly And Safe Right Out Of The Box?
New users need a short path from unboxing to a clean part. An ideal setup guides you through mesh leveling, a highly accurate and automated first-layer calibration that removes the usual guesswork, and a test print that proves adhesion across the plate. It should include an enclosed frame, a multi-stage filter, and clear thermal and power safeguards for homes and classrooms. A built-in camera helps you confirm the first layer without hovering over the machine.
On QIDI Q2:
Zero offset first layers with the nozzle acting as the sensor, a second-generation active chamber near 65 °C, dual-sided textured PEI plate, a three-stage filter with stated compliance, and an integrated camera for monitoring. These features shorten the learning curve and add confidence for families, labs, and schools.
Your First Perfect Print in 5 Simple Steps
Modern 3D printers are designed to get you from the box to a successful print with minimal fuss. Follow these steps for a great first experience:
- Power On and Connect: Follow the on-screen guide to connect the printer to your Wi-Fi network. The printer will likely prompt you to update to the latest firmware—it's always a good idea to do so.
- Run the Initial Calibration: Find and run the machine's one-touch "Initial Calibration" or "Auto-Setup" sequence. The printer will automatically perform all necessary checks, including precise bed leveling, so you don't have to.
- Load Filament and Select a Profile: Insert your first spool of filament (PLA is a great starting material). In the slicer software, simply select the official, pre-configured profile for your printer model and the type of filament you're using. Trust the defaults!
- Print a Pre-Loaded Model: The best first print is one of the test models that came pre-loaded on your printer. They are perfectly sliced for your machine and are the surest way to see a beautiful result right away.
- Start Your Own Project: Once your test print is complete, find a simple 3D model you like online. Slice it using the same default profile and send it to the printer. Congratulations, you are now 3D printing!
Can You Expand To Multi-Color And Multi-Material Printing Later?
Of course. Color accents improve readability for classroom models and client demos. Soluble or easy-peel supports improve surface quality on complex parts. This ecosystem offers an external filament manager that links units to reach up to sixteen inputs and dries spools during printing. It can detect runout or tangles and switch to a backup spool, while RFID or NFC keeps material data aligned with the job. Start with simple two-color parts, then try soluble supports on a small lattice to confirm removal time and surface finish.
What Key Differences Actually Set It Apart?
Here’s what shifts once printing starts for real work: four concrete, day-to-day gains that cut friction and lift success rates.
- Pro-grade motion control paired with nozzle-referenced first layer accuracy.
- Temperature headroom from PLA to PA-CF that creates a clear growth path.
- Low-friction workflow built on tuned profiles, network transfer, and remote viewing.
- Optional multi-color and multi-material input with active drying for stable results.
The Right Entry-Level 3D Printer Sets Beginners Up For Long-Term Success
You need parts that look clean and hold together under use. Focus on a machine that combines CoreXY motion and modern control with an active chamber, a hotend that reaches engineering temperatures, simple nozzle-based first layer calibration, and a connected workflow. Begin with PLA and PETG. Move to ABS and ASA once chamber control feels consistent. Explore nylon and fiber-filled blends after drying. This path turns a first purchase into a long-term platform, which is why many shoppers call it the best 3D printer for beginners.
6 FAQs about Mastering Your 3D Printer
Q1. How fast should I print in the first week?
A: Stick to the official default profiles in your slicer. Their speeds are already optimized for reliability and quality, so you don't have to guess. You can use the built-in camera to monitor the print remotely.
Q2. Can I use flexible filaments early on?
A: Yes. Start with 95A TPU, use gentle retraction, and keep the speed lower than PLA. A direct drive feeder helps maintain a steady flow through bends and retractions.
Q3. What minimum setup do I need for engineering-grade composites?
A: Use a hardened nozzle, active filament drying, and chamber control. Keep the bed hot, reduce cooling, and print a small test that matches your final wall thickness before scaling up.
Q4. Is it suitable for an apartment or a classroom?
A: An enclosed frame with multi-stage filtration, a reliable first-layer routine, and remote monitoring support quieter, safer operation. Follow the manual for ventilation and power guidelines.
Q5. How do I add color or soluble supports later on?
A: Add a filament management module that provides several inputs, drying, and automatic switching. Begin with two-color parts to confirm alignment, then test a small soluble support structure to tune removal time and surface finish.
Q6. How should I store and dry hygroscopic filaments before critical prints?
A: Keep spools in airtight bins with desiccant, targeting RH below 20%. Dry spools as needed: PLA 45–50 °C for 4–6 h; PETG 60 °C for 4–6 h; Nylon 70–80 °C for 6–12 h; TPU 40–45 °C for 4–6 h. Let them cool in the chamber, then print directly or from a dry box.
- What Hardware Delivers Real Speed and Stability?
- QIDI Q2: Hardware Example
- Quick Pre-Purchase Checklist
- Which Materials Can You Print From PLA To Engineering-Grade Composites?
- How Is It Beginner-Friendly And Safe Right Out Of The Box?
- On QIDI Q2:
- Your First Perfect Print in 5 Simple Steps
- Can You Expand To Multi-Color And Multi-Material Printing Later?
- What Key Differences Actually Set It Apart?
- The Right Entry-Level 3D Printer Sets Beginners Up For Long-Term Success
- 6 FAQs about Mastering Your 3D Printer
- Q1. How fast should I print in the first week?
- Q2. Can I use flexible filaments early on?
- Q3. What minimum setup do I need for engineering-grade composites?
- Q4. Is it suitable for an apartment or a classroom?
- Q5. How do I add color or soluble supports later on?
- Q6. How should I store and dry hygroscopic filaments before critical prints?
Recommended products


