 Q2
Q2
 QIDI Box
 Plus 4
 Q1 Pro
 X-Max 3


What Can a 3D Printer Make? From Home Gadgets to Professional Prototypes

Buying a tiny plastic part and waiting a week is frustrating. Shelves rarely fit, phone mounts wobble, hobby builds stall because a bracket does not exist, and teams lose days while prototypes sit in a queue. If you own a 3D printer, you can solve these issues today. This guide focuses on real projects, clear material choices, and trusted places to find models so 3D printing becomes a dependable tool.
What Can You 3D Print at Home Right Now?
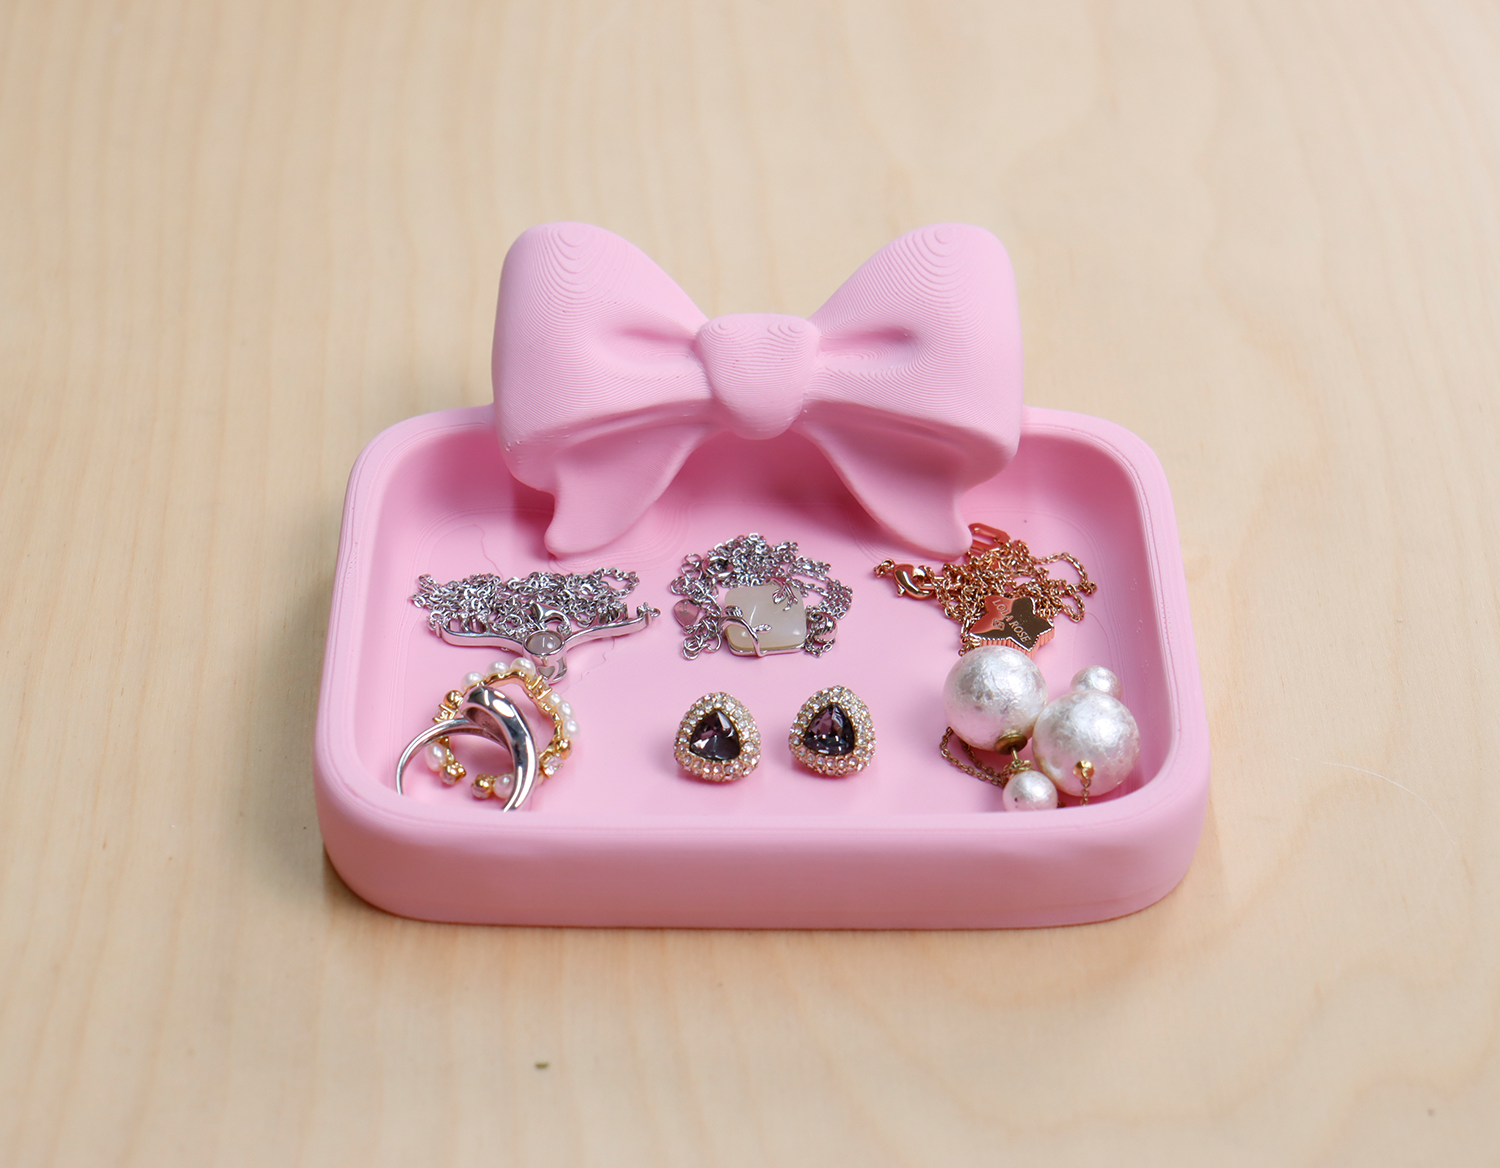
Every day wins come from parts that match your space and your gear. Begin with small items and you will see value quickly. Measure twice, keep shapes simple, and favor designs that sit flat on the bed.
- Cable clips sized to your desk edge.
- Drawer dividers that fit your utensils.
- Vacuum hose adapters for odd diameters.
- Camera or phone stands tuned to your case.
For these items, PLA prints cleanly and stays rigid indoors. Choose PETG when parts face sunlight or minor impact. Leave holes slightly larger than the fastener and add inner fillets to reduce stress at corners.

What Hobby Projects Benefit Most from 3D Printing?
Hobby work thrives on iteration. The ability to try version A in the morning and version B at night changes your pace and your results. Pick projects that test fit and function, then refine surface quality.
- Cosplay helmets or props that split into panels.
- Tabletop minis with magnet pockets for modular limbs.
- RC bumpers and gear covers that match your frame.
- Custom keyboard cases and knob caps with press fits.
Use PETG for impact, ABS or ASA in an enclosure for outdoor exposure, and TPU for grip, gaskets, or vibration pads. Add 0.2 to 0.3 millimeters of clearance on sliding fits and validate with a small test coupon before a full print.
How Do Professionals Use 3D Printing for Prototypes and Functional Parts?
Teams need speed to prove form and function, then lock in geometry before tooling. A generous build volume supports housings, jigs, fixtures, sensor mounts, and brackets printed as one piece. Strong results come from a few consistent moves.
First, design for assembly and service. Add chamfers to hole entries so fasteners seat cleanly. Plan heat-set brass inserts where repeatable threads matter. Arrange walls to follow the load path and increase the wall count on parts that face bending. Infill between 30 and 50 percent gives predictable behavior for most fixtures.
Second, match the print environment to the filament. A controlled chamber raises success with ABS, ASA, PC blend, and many nylons. It reduces warping and layer splitting on larger parts. Dry nylon before each run and store spools with desiccant to protect dimensions and surface finish.
Third, use a simple three-step workflow. Print a coarse draft to confirm shape and hole placement. Move to a 0.20-millimeter functional sample to validate clips, snaps, and insert fit. Finish with a cosmetic pass only if the part faces the customer. This rhythm keeps the momentum and turns feedback into better parts within days.
How to Choose Filament for Strength, Heat, and Flexibility
Material choice defines performance. Think about ambient temperature, load type, shocks, and surface needs. The table maps common options to real uses.
| Filament | Core Traits | Best Uses | Practical Notes |
| PLA | Rigid and easy to print | Organizers, jigs with low heat, cosmetic shells | Holds detail well. Keep away from heat sources. |
| PETG | Tough with slight flex | Brackets, enclosures, outdoor items in mild sun | Lower fan, watch for stringing on long travels. |
| ABS or ASA | Strong and heat tolerant | Housings, fixtures, outdoor parts | Works best in an enclosure with steady temps. |
| PC Blend | High toughness | Guards, covers, clips near moderate heat | Needs stable chamber and careful cooling. |
| Nylon PA or PA12 | Impact and fatigue resistance | Living hinges, gear covers, clips | Hygroscopic. Dry thoroughly before printing. |
| CF or GF Reinforced (PA12 CF, PAHT CF, PET GF) | Very stiff with higher heat deflection | End use brackets, drone arms, tooling aids | Abrasive. Use hardened nozzles and track wear. |
| TPU 95A | Flexible and grippy | Gaskets, feet, vibration pads | Print slowly with steady extrusion and limited retraction. |
If uncertain, begin with PETG for functional home parts. Shift to ABS or ASA when heat and weather enter the picture. Move to reinforced nylon when stiffness and heat resistance drive the decision.

Where Can You Find Reliable Models to Print?
Good files save time and material. Community libraries provide designs that many users have already tested. Search by function and size, then evaluate the file like a technician rather than a shopper.
Read the project notes and check recent makes to confirm printability. Inspect wall thickness in the slicer and aim for at least two lines of material on non-decorative walls. Add simple support if overhangs look aggressive. Favor models with flat bases and rounded inner corners. If a part is close but not perfect, adjust a single axis by a few percent or enlarge holes slightly to match your hardware.
Next Steps: Build a Reliable 3D Printing Workflow
Start with two home fixes to build confidence. Move to a hobby project that gains from quick trials. When ready, print a low-risk functional part and record how wall count, orientation, and infill change strength. Save slicer profiles that worked and label them by material and purpose. Keep a small test set for bridging, overhangs, and tolerances so calibration takes minutes instead of hours. With steady habits, a 3D printer turns ideas into parts you can trust, and 3D printing becomes a normal way to solve problems and deliver prototypes.
5 FAQs about 3D Printing Troubleshooting and Tips
Q1. How can I improve bed adhesion without messy hacks?
A: Clean the build surface with isopropyl alcohol, verify first-layer height, and raise bed temperature slightly within the filament’s range. Add a brim for ABS or ASA. Use a thin glue layer on smooth PEI when printing PETG to prevent sticking too hard.
Q2. What is a quick way to estimate print cost?
A: Use your slicer’s filament grams. Cost equals grams times filament price per kilogram divided by 1000. Add a small margin for electricity and wear. Expect higher nozzle wear with carbon or glass fiber materials, which slightly raises per-part cost.
Q3. When should I use heat-set inserts instead of self-tapping screws?
A: Choose inserts for any joint you will service, for higher loads, or near heat. Self-tapping screws suit hidden, low-cycle fasteners in PLA or PETG. Size the pilot hole to the screw’s minor diameter and keep the wall thickness generous around the hole.
Q4. How do I dial in press fits without guessing?
A: Print a stepped hole gauge and a stepped shaft gauge, then test with your actual hardware. Note the winning step and apply that offset to your CAD or slicer’s horizontal expansion. Keep filament dryness and chamber temperature consistent during calibration.
Q5. What safety and ventilation practices should I follow at home?
A: Print in a well-ventilated space or use an enclosure with filtration for ABS, ASA, and PC. Avoid leaving machines unattended. Place printers on nonflammable surfaces, add a nearby smoke alarm, and keep cables neat to prevent snags or overheating.
- What Can You 3D Print at Home Right Now?
- What Hobby Projects Benefit Most from 3D Printing?
- How Do Professionals Use 3D Printing for Prototypes and Functional Parts?
- How to Choose Filament for Strength, Heat, and Flexibility
- Where Can You Find Reliable Models to Print?
- Next Steps: Build a Reliable 3D Printing Workflow
- 5 FAQs about 3D Printing Troubleshooting and Tips
- Q1. How can I improve bed adhesion without messy hacks?
- Q2. What is a quick way to estimate print cost?
- Q3. When should I use heat-set inserts instead of self-tapping screws?
- Q4. How do I dial in press fits without guessing?
- Q5. What safety and ventilation practices should I follow at home?
Recommended products


