 Q2
Q2


쉬운 다색 인쇄 및 부품 임베딩을 위해 원 클릭 잠시 일시 중지

>다색 인쇄 및 부품 삽입을 위한 간편한 원클릭 일시 정지
3D 프린팅 과정에서 일시 정지 인쇄 기능을 추가하는 것은 매우 실용적인 기능입니다. 이 기능을 사용하면 사용자는 단일 노즐 프린터 다양한 인쇄 요구 사항을 충족합니다. 일시 정지 인쇄를 추가하는 몇 가지 일반적인 적용 시나리오는 다음과 같습니다.
- 다색 인쇄: 인쇄가 일시 중지되었을 때 소모품을 수동으로 교체하여 모델을 더욱 다채롭게 만듭니다.
- 부품 내장: 모델 내부의 예약된 공간에 자석, 전자 부품 및 기타 부품을 배치하여 모델의 기능을 확장합니다.
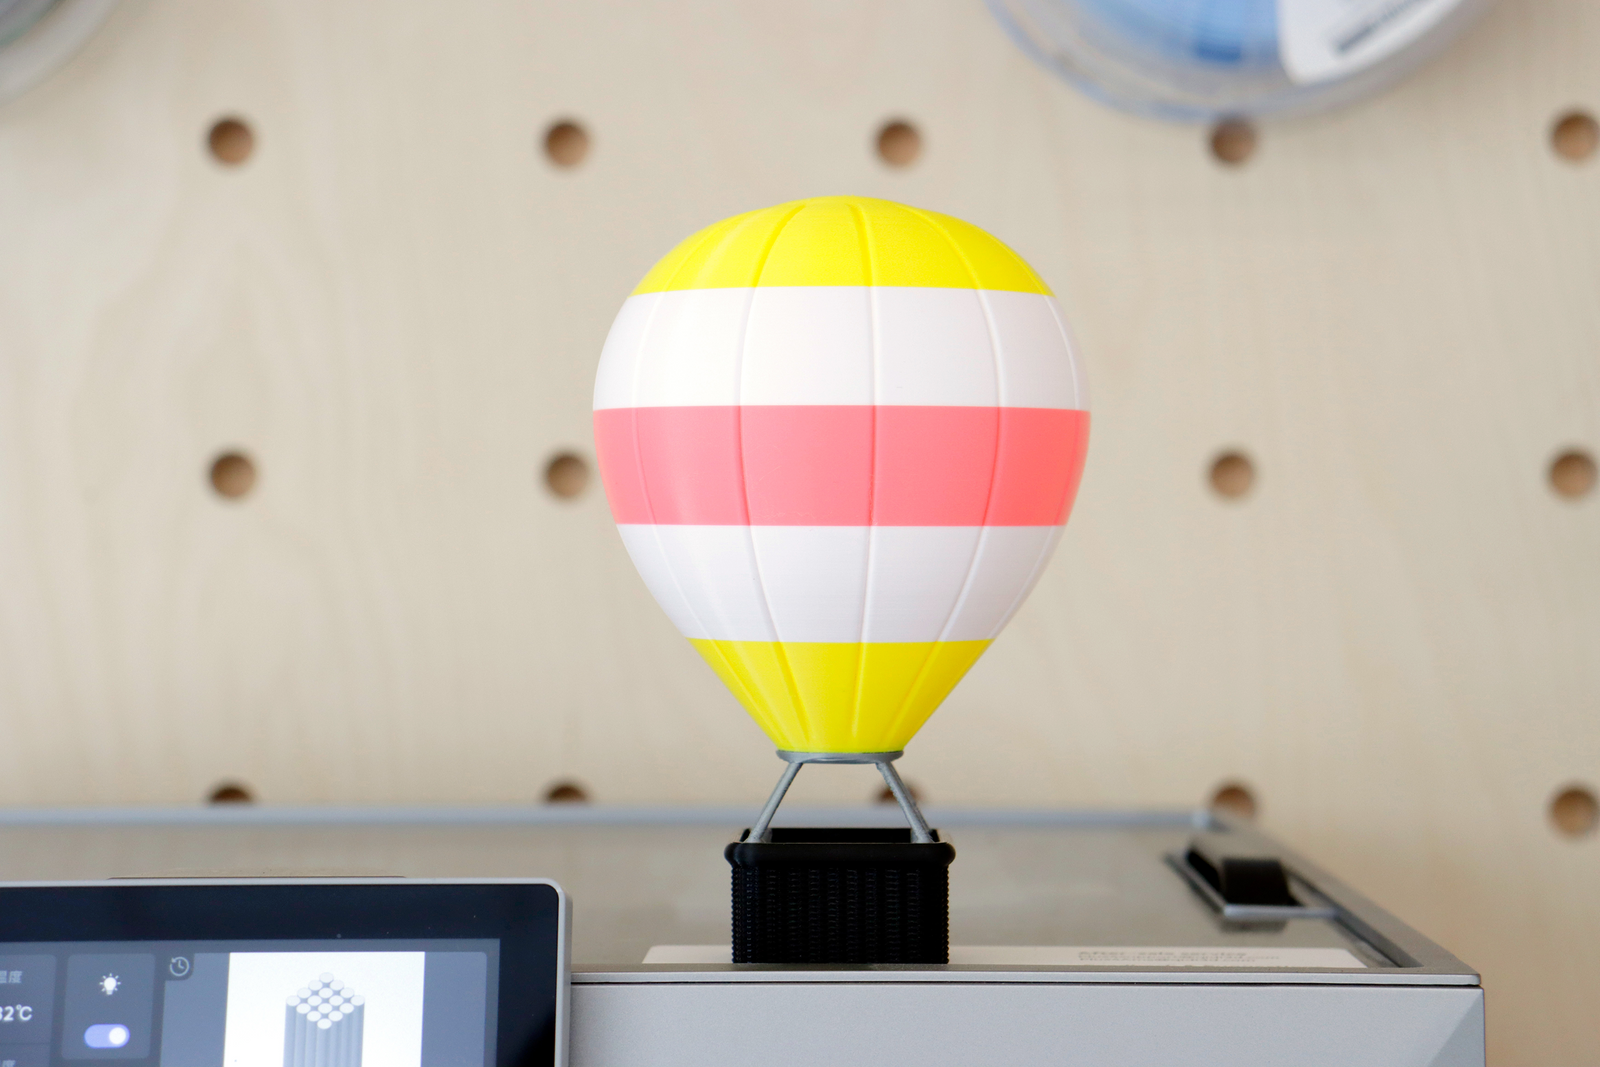
개략도
다색 인쇄 모델

내장된 부품 및 여러 색상으로 인쇄된 모델:

비슷한 효과를 얻고 싶다면 아래 단계를 따르세요.
작업 소개 - 다색 인쇄
1. 인쇄를 일시 중지할 모델을 선택하고 슬라이스 플레이트를 클릭합니다.

2. 인쇄 진행률 표시줄 오른쪽에 있는 "+" 기호를 움직여 해당 인쇄 시간과 레이어 수에서 모델의 상태를 확인하세요. 인쇄를 일시 정지하려는 위치에서 "+" 기호를 마우스 오른쪽 버튼으로 클릭하고 "일시 정지 추가"를 선택하여 레이어 시작 부분에 일시 정지를 삽입하세요. 일시 정지할 모든 위치를 추가한 후, 전송하여 인쇄할 수 있습니다.


3. 복용

4. 그 후 필라멘트 로드가 완료되면 '인쇄 계속'을 클릭하세요. 위 단계를 반복하여 다양한 색상의 열기구 모델을 인쇄하세요.

작업 소개 - 부분 임베딩
실제 인쇄 시에는 사용자가 모델에 다양한 부분을 삽입해야 할 수 있습니다. 여기에서는 강아지 모델을 예시로 사용하여 자석으로 가릴 수 있는 냉장고 자석으로 디자인하는 방법을 보여드립니다.
1. 부품을 삽입할 모델을 선택하고 마우스 오른쪽 버튼을 클릭한 후 "음극 부품 추가"를 선택합니다. 예를 들어 자석 모양을 기반으로 원통을 선택합니다.

2. 네거티브 부분의 크기와 위치를 조정합니다. 네거티브 부분의 크기를 실제 부분보다 약간 크게 조정하여 내장된 부분이 프린트 헤드에 닿지 않도록 하는 것이 좋습니다.


3. 슬라이스를 클릭하여 모델에서 음수 부분의 구체적인 위치를 확인합니다. 음수 부분이 있다는 것은 모델이 인쇄될 때 바닥면 근처에 홈이 생긴다는 것을 의미합니다.

4. 진행률 표시줄의 "+" 기호를 움직여 원통형 음극부 표면에 도달하면 일시 정지합니다. 마우스 오른쪽 버튼을 클릭하고 "일시 정지 추가"를 선택합니다. 추가 후 모델을 전송하고 인쇄할 수 있습니다.

5. 인쇄가 잠시 멈췄을 때 홈에 자석을 넣으세요. 그런 다음 "인쇄 계속"을 클릭하면 흡착력이 있는 냉장고 자석이 나타납니다.
결론
일시 정지를 추가하여


