How to Eliminate 3D Print Stringing

Share this post
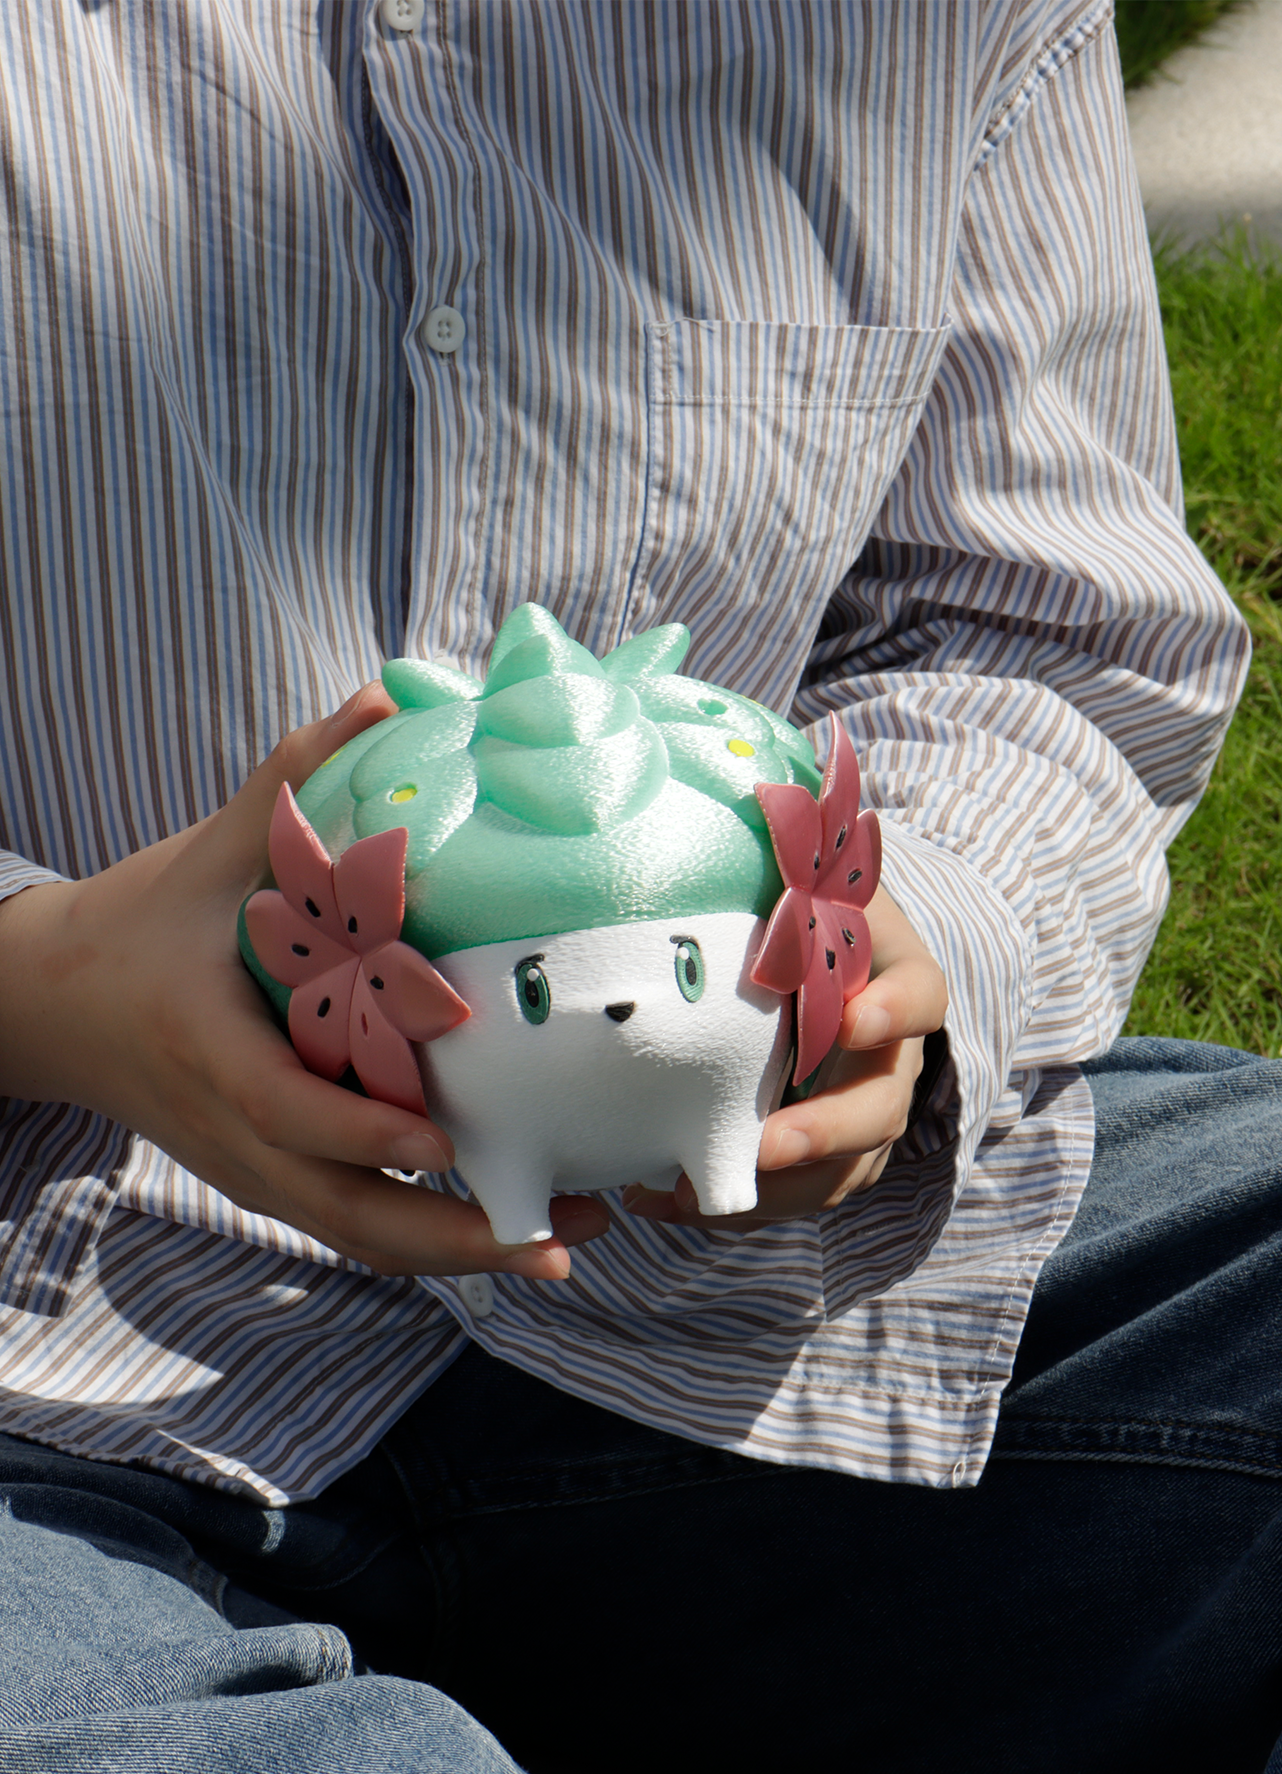
Person holding a cute 3D‑printed creature planter with mint‑green leaves and pink flowers while sitting on the grass.

There are few things in 3D printing as frustrating as waiting for hours, only to pull a nearly perfect model off the build plate and find it covered in thin, wispy strands of plastic. These annoying hairs, often looking like a spider has been at work, can ruin the appearance of an otherwise flawless print. This common issue is known as 3D print stringing.

While it can be annoying, the great news is that stringing is a highly solvable problem. It is almost always caused by a handful of specific settings and conditions that can be systematically tested and corrected. This guide is your complete action plan, providing both a quick checklist for fast fixes and a detailed explanation for mastering your 3D printer.

QIDI Q2 desktop 3D printer on a classroom desk printing a small toy house, with a toy excavator and stationery in the background.

What is 3D Print Stringing?

At its core, 3D print stringing happens when molten plastic oozes from the nozzle while it is traveling between two points on your model. This leaking filament gets stretched into a thin strand, which then cools and solidifies, creating the string.

You can easily spot the signs of 3D print stringing on your models:

  • Thin, hair-like whiskers between separate parts of a print (e.g., between two towers).
  • A "cobweb" effect inside or across the surfaces of your model.
  • Small, fuzzy-looking artifacts on the outside of your print.

The Quick Fix Checklist for 3D Print Stringing

In a hurry? This checklist covers the four key areas to investigate, starting with the most impactful one.

  • Tune Retraction Settings: This is the #1 fix. The goal is to pull the 3D printer filament back just enough to relieve the nozzle pressure. Print a retraction tower test to find the best Distance and Speed.
  • Lower Your Printing Temperature: Hotter filament is more liquid and oozes more easily. Print a temperature tower to find the lowest stable temperature for your material.
  • Increase Printer Travel Speed: Faster movement between printed parts gives less time for drips to form strings.
  • Dry Your Filament: Hidden moisture in your filament can turn to steam and forcefully push plastic out of the nozzle, overriding all other settings.

Your Step-by-Step Guide to Eliminating Stringing

Now, let's explore each of those points in detail. Understanding the "why" behind each fix will help you solve the problem permanently and master your 3D printing process.

1. Master Your Retraction Settings (The #1 Fix)

This is the single most important setting for combating stringing. Retraction is a mechanism that relieves pressure in the hotend to prevent oozing during travel moves.

Why it Matters: Before the print head moves to a new location, the extruder motor pulls the filament backward slightly. This suction-like action stops molten plastic from leaking out of the nozzle while it travels through open air.

Key Settings to Tune:

  • Retraction Distance: How far the filament is pulled back (measured in mm).
  • Retraction Speed: How fast the filament is pulled back (measured in mm/s).

Finding Your Ideal Settings: The perfect values depend heavily on your extruder type.

Extruder Type Typical Retraction Distance Why the Difference?
Direct Drive 0.5mm to 2.0mm The short filament path allows for very precise, minimal retraction.
Bowden 2.0mm to 7.0mm A longer distance is needed to compensate for the slack and flex in the long PTFE tube.

Your Action Plan: Print a "retraction tower" or a dedicated stringing test model from a site like Thingiverse or Printables. Start with your slicer's default profile. Observe the results and adjust the Retraction Distance (in 0.5mm increments) and Retraction Speed (in 5 mm/s increments) until the strings are eliminated.

2. Optimize Your Printing Temperature

Nozzle temperature directly controls the viscosity (how fluid) of your filament.

Why it Matters: Think of a hot glue gun—the hotter it gets, the more the glue drips. The same is true for filament. If the temperature is too high, the plastic becomes overly liquid and will easily ooze from the nozzle, even with perfect retraction settings.

The Goal: Find the lowest possible temperature for your specific filament that still results in good layer adhesion and a strong part.

Your Action Plan: Print a "temperature tower." This special calibration model prints sections at progressively lower temperatures. Once finished, inspect it to find the sweet spot where stringing is minimal, but the print quality is still excellent. A small drop of just 5-10°C can often make a massive difference.

3. Increase Your Travel Speed

Travel speed is the rate at which the print head moves when it is not extruding plastic.

Why it Matters: The logic is simple: the faster the nozzle moves between two points, the less time there is for molten plastic to drip out. A slow travel move gives gravity and nozzle pressure more time to create a string.

The Goal: Move the print head so quickly that any potential ooze doesn't have time to stretch into a string. A fast move can effectively snap the strand before it forms.

Your Action Plan: Locate the "Travel Speed" setting in your slicer. If it's below 120 mm/s, try increasing it. Many modern 3D printers can easily handle travel speeds of 150 mm/s to 200 mm/s without any negative impact on print quality.

4. Check Your Filament: The Hidden Culprit

If you have tuned your settings and still see strings, the problem may lie with the material itself.

Why it Matters: Many filaments (especially PETG, TPU, and Nylon) are hygroscopic, meaning they absorb moisture from the air. When this "wet" filament enters the hot nozzle, the trapped water instantly turns to steam. This steam expands violently, creating pressure that forcefully pushes molten plastic out of the nozzle.

The Result: This steam-induced pressure can completely override your retraction settings, causing constant oozing and severe stringing that seems impossible to fix.

Your Action Plan: Dry your filament. While using a home oven is an option, it is risky and can warp the plastic spool. The safest and most effective method is to use a dedicated filament dryer. These appliances are designed to gently heat a spool for several hours, safely removing moisture and restoring the filament to its optimal printing condition.

Your Action Plan for Perfectly Clean 3D Prints

Mastering the art of clean, string-free prints is a major step in your 3D printing journey. The solution is rarely a single magic setting, but rather a systematic process of tuning your machine.

Your action plan is clear: first, dial in your retraction settings using a calibration model. Next, fine-tune your printing temperature with a temperature tower. Finally, always ensure your filament is dry, especially if you are using materials known to absorb moisture. By following this process, you are taking full control over your 3D printer's performance, paving the way for consistently clean and professional-quality models.

FAQs about Filament Retraction and Under-Extrusion

Q1. Why do settings that retract the filament by too much cause under-extrusion?

When the retraction is too powerful or occurs too fast, it sucks the molten plastic back from the hotend's warmer zone into the cooler zone of the hotend. When printing resumes, there is a pause until the filament reaches the nozzle tip. The pause results in little vacuoles and blobs, which cause under-extrusion while traveling.

Q2. Can this issue occur if I'm using the incorrect nozzle size within my slicer?

Yes. If you insert a 0.6mm nozzle but your slicer continues to believe it's 0.4mm, the software will determine flow for the smaller opening. Your 3D printing machine will then extrude far less filament than what the larger nozzle is capable of, resulting in too little filament coming out and very poor prints.

Q3. What is "Heat Creep" and how does it cause under-extrusion?

Heat creep occurs when your hotend doesn't cool sufficiently, and the heat flows up from the nozzle. It renders the filament soft prematurely, expanding it and closing up the heat break. The additional friction jams the block, and you get more and more under-extrusion until nothing comes out at all.

Q4.Why is my printer printing okay to start, but then not extruding enough plastic in the middle?

This typically indicates there is something amiss, getting worse. Check for a bend in the spool of filament that could be tightening. It could also be heat creep occurring after printing for about an hour, or the extruder gear gradually accumulating plastic dust and not gripping the filament well.

Q5. How is the PTFE tube able to cause under-extrusion in Bowden printers?

With continued use, as the filament passes back and forth, a groove may be etched into the interior face of the PTFE tube, particularly around the connections. The deterioration prevents the filament from passing easily. Your extruder motor may not be powerful enough to forcefully push the filament, resulting in continued under-extrusion.

Table of contents

FAQ

当社の 3D プリンターとサービスに関する最も緊急な質問への回答を見つけてください。

3Dプリンティングとは、デジタルファイルから立体的な物体を作成するプロセスです。プラスチックや金属などの材料を重ね合わせて最終製品を作り上げます。この革新的な技術により、カスタマイズと迅速な試作が可能になります。

すべての商品に、迅速かつ信頼性の高い配送オプションをご用意しております。ご注文が完了すると、追跡番号をお送りし、配送状況をご確認いただけます。配送時間は、お住まいの地域によって異なる場合があります。

当社の3Dプリンターには、製造上の欠陥に対する1年間の保証が付いています。延長保証オプションもご購入いただけます。詳細は保証ポリシーをご覧ください。

はい、返品ポリシーをご用意しております。ご購入いただいた商品にご満足いただけない場合は、30日以内にご返品いただければ全額返金いたします。商品が元の状態であることをご確認ください。

もちろんです!ご質問や問題がございましたら、専任のサポートチームがサポートいたします。メールまたはお電話でお問い合わせいただければ、迅速なサポートをご提供いたします。また、包括的なオンラインリソースセンターもご用意しております。

まだ質問がありますか?

ご質問がありましたらお気軽にお問い合わせください。