Q2
Q2


Ironing Function: Even Beginners Can Smooth the Top Surface of Models
The Ironing Function in QIDI Studio effortlessly eliminates tiny striations on your model's top surface. After printing, the nozzle moves like an electric iron, slowly re-melting and flattening filament to fill gaps and create a perfectly smooth finish. Ideal for flat surfaces where aesthetics matter, it's an easy-to-enable feature for achieving professional-quality results on your 3D prints.
Is your model generally good, but let down by tiny striations that make the top surface less than perfect? The Ironing Function in QIDI Studio offers a targeted solution to this issue.
After the top layer of the model is printed, the nozzle continues to move back and forth at an extremely slow speed—just like ironing clothes with an electric iron. Through this action, the small amount of extruded filament is melted and flattened, filling in the gaps between the lines to create a much smoother top surface. The Ironing Function is ideal for models with flat top surfaces, especially when high aesthetic standards are required. However, it is of little use for models with curved tops, pointed tops, or intricate details; in such cases, it will only increase printing time unnecessarily.
Schematic Diagram
Comparison Before and After Ironing:


Operation Guide
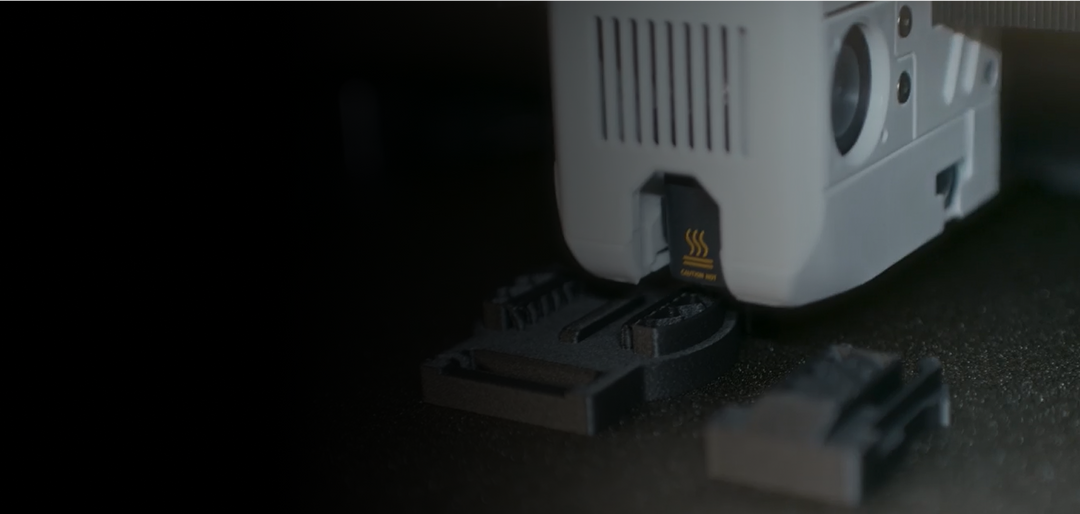
1. Enable the Ironing Function
The Ironing Function is disabled by default in QIDI Studio. You can enable it by modifying the Ironing Type in the "Quality" section.

There are two commonly used Ironing Types, with the following differences:
- Top Surfaces: All top surfaces of the model will be ironed.
- Topmost Surface: If the model has varying heights, only the highest layer (i.e., the last layer printed) will be ironed.


2. Set Key Parameters
Ironing Pattern
There are two patterns available: Rectilinear and Concentric.
- Rectilinear: The more widely used option, with strong versatility.
- Concentric: May deliver better ironing results on the edges of the top surface, but tends to leave a small dot in the center of the model.


Ironing Speed
Refers to the moving speed of the nozzle during ironing, with a default value of 30mm/s. As the saying goes, "slow work yields fine results"—a slower speed usually leads to better ironing performance.
Ironing Flow Rate
Refers to the filament extrusion rate during ironing, and this value is relative to the flow rate used for normal printing. If you notice material buildup after ironing, reduce the flow rate; if gaps fail to be filled, increase the flow rate appropriately.


Ironing Line Spacing
Typically, the smaller the distance between ironing paths, the better the ironing effect. However, if the flow rate is too high and the spacing is too small, it may cause over-extrusion—ruining the surface finish or even scraping the already printed parts.


Ironing Inset
This value represents the distance between the ironing area and the contour boundary. Adjusting it to an appropriate value can prevent material buildup at the edges.


Best Practices for Using the Ironing Function
To achieve optimal ironing results, remember these key points: use a slow speed, set narrow line spacing, and fine-tune the flow rate based on actual conditions. When you need to print a model with a flawless "ceiling" (top surface), don’t hesitate to try the Ironing Function!