From Pixels to Reality: A Guide to 3D Printing Your Favorite Game and Anime Characters


Ever found yourself exploring the world of Teyvat in Genshin Impact, or journeying through the cosmos on the Astral Express in Honkai: Star Rail, and wishing you could pull a piece of that world into your hands? Official merchandise is great, but a 3D printer offers something more personal: the creative freedom to make something that's uniquely yours. Imagine printing a life-sized replica of the "Wolf's Gravestone" claymore, or a stunningly detailed figure of Kafka that just doesn't exist anywhere else. This guide is your starting point. We'll walk you through the key steps, from choosing the right 3D printing tech to adding those final touches that make your creation truly shine.
What 3D Printer Technology Is Best for Props vs. Figures?
This is the most important decision you'll make when you're starting out. The kind of object you want to bring to life will point you to the best 3D printing technology for the job. For home use, you'll mainly be looking at two types: FDM and Resin. Each one is great at different things.
For Large, Durable Props (Swords, Helmets, Armor): Use FDM
FDM (Fused Deposition Modeling) is the workhorse of the 3D printing world. This technology builds things layer-by-layer by melting and drawing with a plastic filament, almost like a hot glue gun that's incredibly precise. Its main benefits are the strength of its parts and the large objects it can build. This makes it the go-to choice if you want to create a life-sized helmet from The Mandalorian or a full-scale prop weapon for your next cosplay. An FDM 3D printer builds things that are meant to be handled, worn, and shown off.
Recommended Materials: For most props, PLA is a fantastic starting point. It's easy to use and comes in a huge range of colors. If you need your prop to be extra tough and stand up to some action, you should look into using PETG.

For High-Detail Figurines and Miniatures: Use Resin
Resin 3D printing (which includes tech like SLA and DLP) works its own kind of magic. Instead of melting plastic, it uses UV light to harden liquid resin, layer by layer. This method's biggest advantage is its ability to capture amazing detail. We're talking about the subtle expressions on a character's face or the intricate patterns on their clothes. It creates parts that are incredibly smooth right from the printer. This makes it the top choice for crafting a detailed figure of Yae Miko from Genshin Impact or a complex miniature from the Warhammer 40,000 universe. If your goal is a visually stunning collectible, a resin 3D printer is the way to go.
Recommended Materials: Standard photopolymer resins are perfect for most figures. They offer a great balance of fine detail and are straightforward to work with.
How Do You Find and Prepare a Model for 3D Printing?
Once you know which technology you're using, your next step is to find the digital blueprint. The good news is you don't have to be a professional 3D artist to get started. There's a huge community of fans and creators sharing their work online.
Step 1: Finding Your 3D Model
The good news is you don't have to be a professional 3D artist to get started, thanks to a massive and generous online community. There are vast digital libraries and 3D model repositories online where creators and fans share millions of files. Many of these are available for free, while some incredibly detailed designs might be for sale by professional artists.
A simple web search is the best way to start. Try searching for terms like "3D model repository" or "STL file community". To find something specific, search for the character or item you want directly, for example: "Zelda Master Sword 3d model" or "Honkai Star Rail Kafka STL". This will lead you to several popular platforms where you can browse and download files for your 3D printer.
Step 2: Understanding the Slicer
After you've downloaded your model file, you'll need a program called a "slicer." Think of a slicer as a translator. It takes that 3D model file and converts it into a detailed, layer-by-layer road map that your 3D printer can read and follow. Most slicer software is free. While there are tons of settings you can tweak, here are the two most important ones to understand at the beginning.
- Layer Height: This setting is all about detail. It controls the thickness of each individual layer. A smaller layer height (like 0.1mm) means more detail and less visible lines, which is perfect for character faces. A larger layer height (like 0.2mm) will print much faster and is great for big props where super-fine detail isn't as important.
- Infill: This setting determines how solid the inside of your print is. It's usually a percentage. For most decorative figures, an infill of 15-20% is plenty strong. For a prop weapon that you want to have a nice, solid feel, you might bump the infill up to 30% or more to make it more durable.
How Do You Finish Your 3D Printed Props and Figures?
A raw print that comes straight from the 3D printer is really just the starting point. The real magic, the part that makes your creation look like it came from a professional studio, happens in the finishing work.

Finishing Techniques for FDM Props
Large props often need some assembly and surface work to look truly great. The goal here is to get a smooth, seamless object that's ready for paint.
- Assembly: If your prop was printed in several pieces, you'll need to glue them together. A strong super glue (Cyanoacrylate) works great for this.
- Sanding: This is the most important step for getting that smooth finish. Start with a lower-grit sandpaper (around 120-220 grit) to knock down any seams or obvious layer lines. Then, gradually work your way to a finer grit (400 or higher) to make the surface silky smooth.
- Priming: Here’s a pro tip for hiding any last hints of layer lines: use a "filler primer" from a spray can. This special primer fills in tiny imperfections. Just apply a coat, let it dry, and sand it gently with fine sandpaper. You might repeat this step, but the result can be a perfectly smooth surface.
- Painting: Now that your surface is prepped, you can bring it to life with color. For props, spray paints are excellent for applying a tough, even base coat.
Finishing Techniques for Resin Figures
Finishing resin figures is less about heavy-duty work and more about being careful and detailed.
- Wash and Cure: First, you have to wash the print in isopropyl alcohol (IPA) to get rid of any sticky, uncured resin. Once it's clean and dry, the print needs to be cured under a UV light to fully harden and strengthen.
- Support Removal: Carefully snip off the support structures with a pair of small, sharp flush cutters. You might need to lightly sand the tiny spots where the supports were attached.
- Painting: This is where your character truly gets its personality. It's essential to prime the model first. After that, you can use acrylic paints and a set of fine brushes to hand-paint all the amazing details of the character's outfit, face, and accessories.
Your Journey from Fan to Creator Begins Today
3D printing truly changes how you connect with your hobbies. You're no longer just a spectator; you become a participant and a creator. The ability to bring a piece of Liyue Harbor from Genshin Impact or a relic from a galaxy far, far away into your own room is an incredible experience. It opens a door to endless customization, learning new skills, and joining a global community of makers. The most exciting question is no longer what you can buy, but what you choose to create. Your next great project is waiting.


 Q2
Q2
 QIDI Box
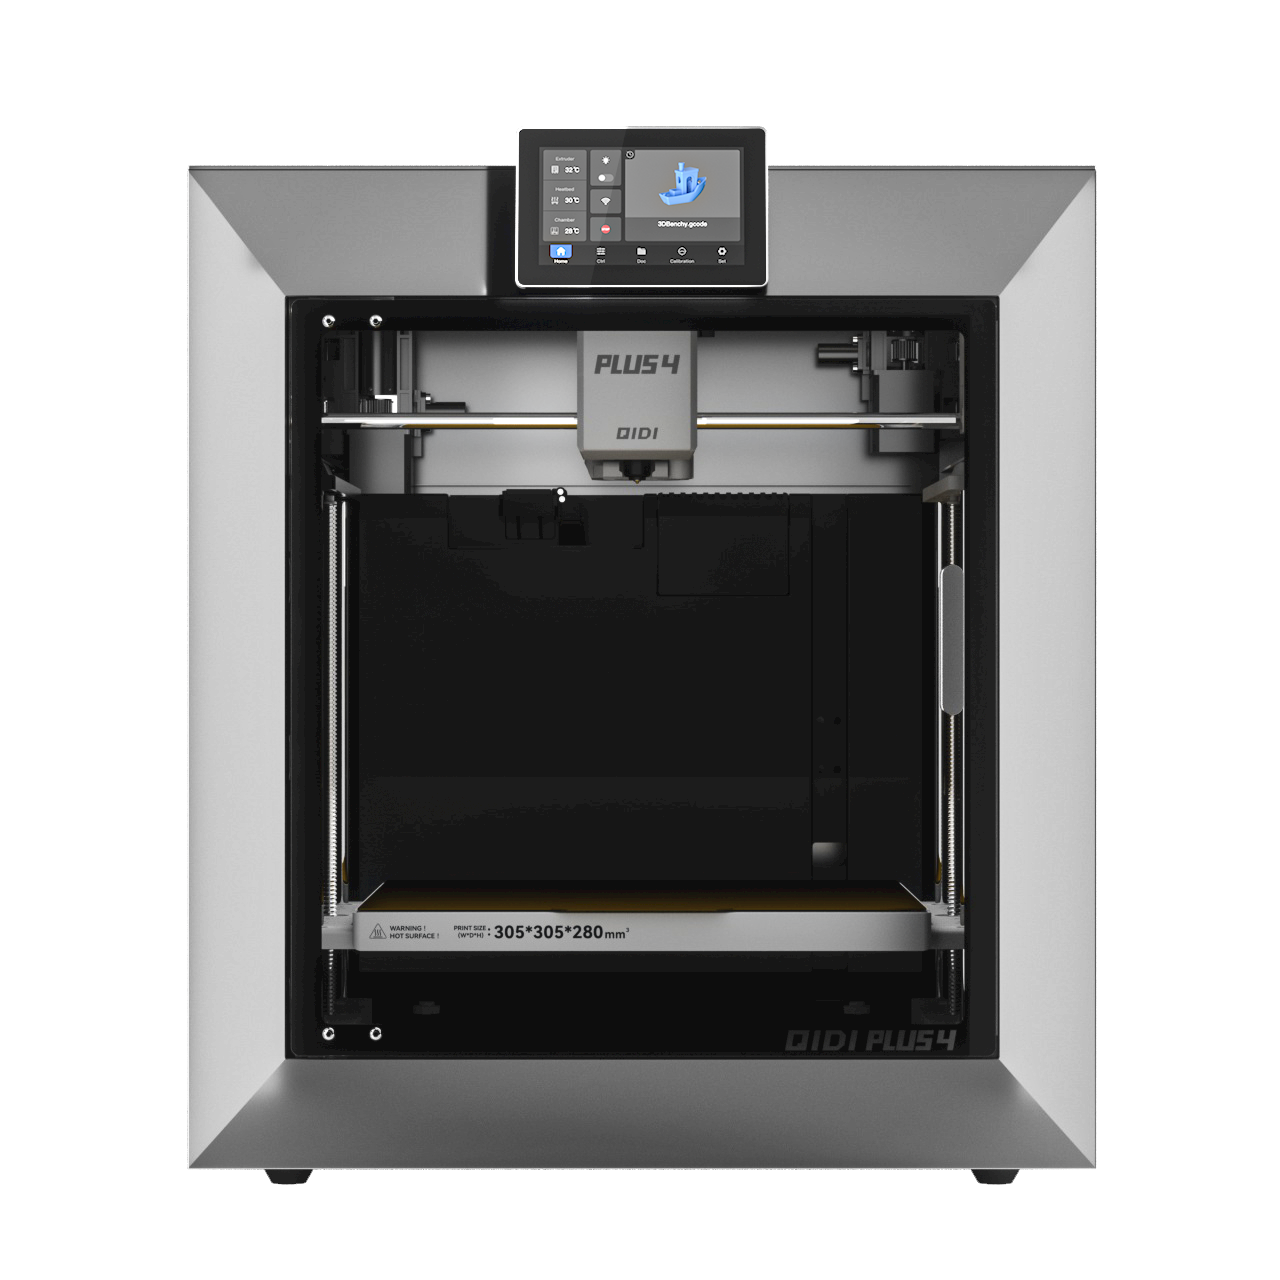
 Plus 4
 Q1 Pro
 X-Max 3

