How to Add Text to a Model in QIDI Studio?

Share this post
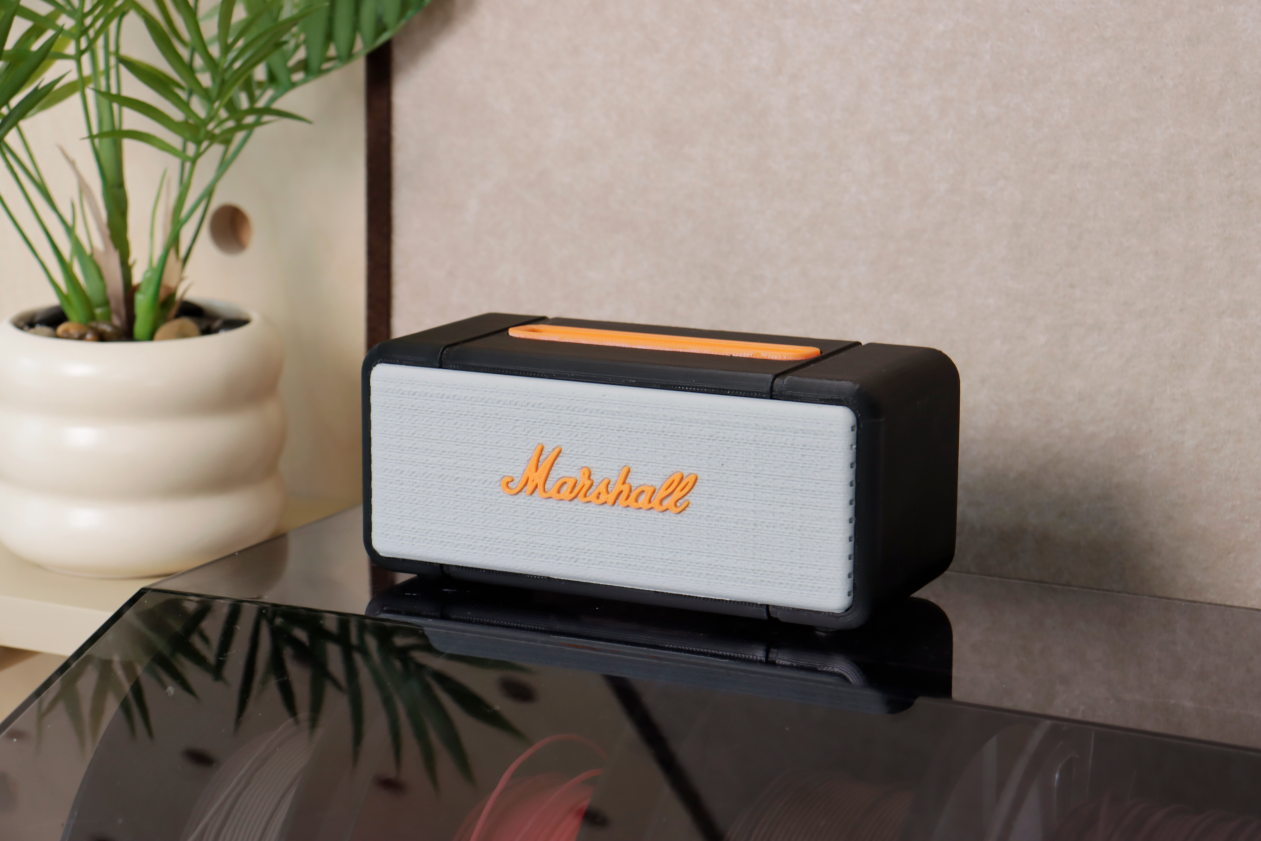
A 3D-printed miniature speaker model, with a gray mesh and orange logo, is placed next to a plant pot on the table.

Whether for personalized labeling, functional descriptions, or purely decorative purposes, the text shape tool in QIDI Studio will help you efficiently handle text during the slicing phase. Using the text tool, you can add text to any model surface and modify the text's attributes, color, and specific placement.

Illustration

A 3D-printed miniature speaker model, with a gray mesh and orange logo, is placed next to a plant pot on the table.
Pen holder with text decoration

Step-by-Step Guide: 5 Steps to Success

1.Add Text: Locate the button resembling the letter "T" in the top toolbar. A default text object will appear on the model.

Locate the button resembling the letter "T" in the top toolbar


2.Edit Text Content and Adjust Attributes: Drag the yellow square with your mouse to move the text to the desired position. In the text settings panel, you can modify the text content, adjust the font, size, thickness, inset depth, and spacing.

Move the text to the desired position
Adjust Attributes


3.Color the Text: Change the filament or use the coloring tool to modify the text color.

Modify the text color

4.Adjust Text Mode: There are four text modes to choose from. The illustration below shows a comparison of the commonly used "Surround Surface" and "Not Surround" modes.

Four text modes
"Surround Surface" and "Not Surround" modes

5.Convert Text to a Negative Part or Modifier:

If you choose to cut the model, the text will become a negative part embedded into the model, creating an indented text effect.

Convert Text to a Negative Part or Modifier
Negative part

If you change the text type to a modifier, a 2D text shape will be generated on the model surface, keeping the text flush with the model. This is because the modifier's function is to adjust the parameters of the overlapping area with the model.

2D text shape

Leverage the Power of the Text Shape Tool

The text tool is a simple yet powerful feature. It allows you to bypass complex modeling steps and effortlessly add information, personality, and functionality to your 3D printed models. Next time you prepare a print, consider whether adding text could enhance your project!

Table of contents

FAQ

당사의 3D 프린팅 장비와 서비스에 대한 가장 궁금한 질문에 대한 답변을 찾아보세요.

3D 프린팅은 디지털 파일을 기반으로 3차원 물체를 제작하는 과정입니다. 플라스틱이나 금속과 같은 재료를 겹겹이 쌓아 최종 제품을 제작합니다. 이 혁신적인 기술은 맞춤형 제작과 신속한 프로토타입 제작을 가능하게 합니다.

저희는 모든 제품에 대해 빠르고 안정적인 배송 옵션을 제공합니다. 주문이 접수되면 배송 진행 상황을 확인할 수 있는 추적 번호를 보내드립니다. 배송 시간은 지역에 따라 달라질 수 있습니다.

저희 3D 프린터는 제조 결함에 대한 1년 보증을 제공합니다. 연장 보증 옵션을 구매하실 수 있습니다. 자세한 내용은 보증 정책을 참조하세요.

네, 저희는 번거로움 없는 반품 정책을 시행하고 있습니다. 구매하신 상품에 만족하지 않으시면 30일 이내에 반품하시면 전액 환불해 드립니다. 상품이 원래 상태인지 꼭 확인해 주세요.

물론입니다! 저희 전담 지원팀이 모든 질문과 문제를 도와드립니다. 이메일이나 전화로 연락하시면 신속한 지원을 받으실 수 있습니다. 또한, 다양한 정보를 제공하는 온라인 리소스 센터도 운영하고 있습니다.

여전히 질문이 있습니까?

문의사항이 있으시면 언제든지 연락주세요.