 Q2
Q2


모델에 퍼지 스킨을 추가하는 방법?

3D 프린팅 과정에서 퍼지 스킨(Fuzzy Skin)은 모델 외벽에 미세한 불규칙적인 변화를 추가하여 출력물에 강한 질감을 부여하는 특수 모델 스킨 처리 모드입니다. 퍼지 스킨 설정은 특수 소재를 시뮬레이션할 뿐만 아니라 일부 도구 모델의 마찰력을 높이고, 출력된 패턴과 이음새를 덮어 모델을 더욱 아름답게 만들어줍니다.
개략도
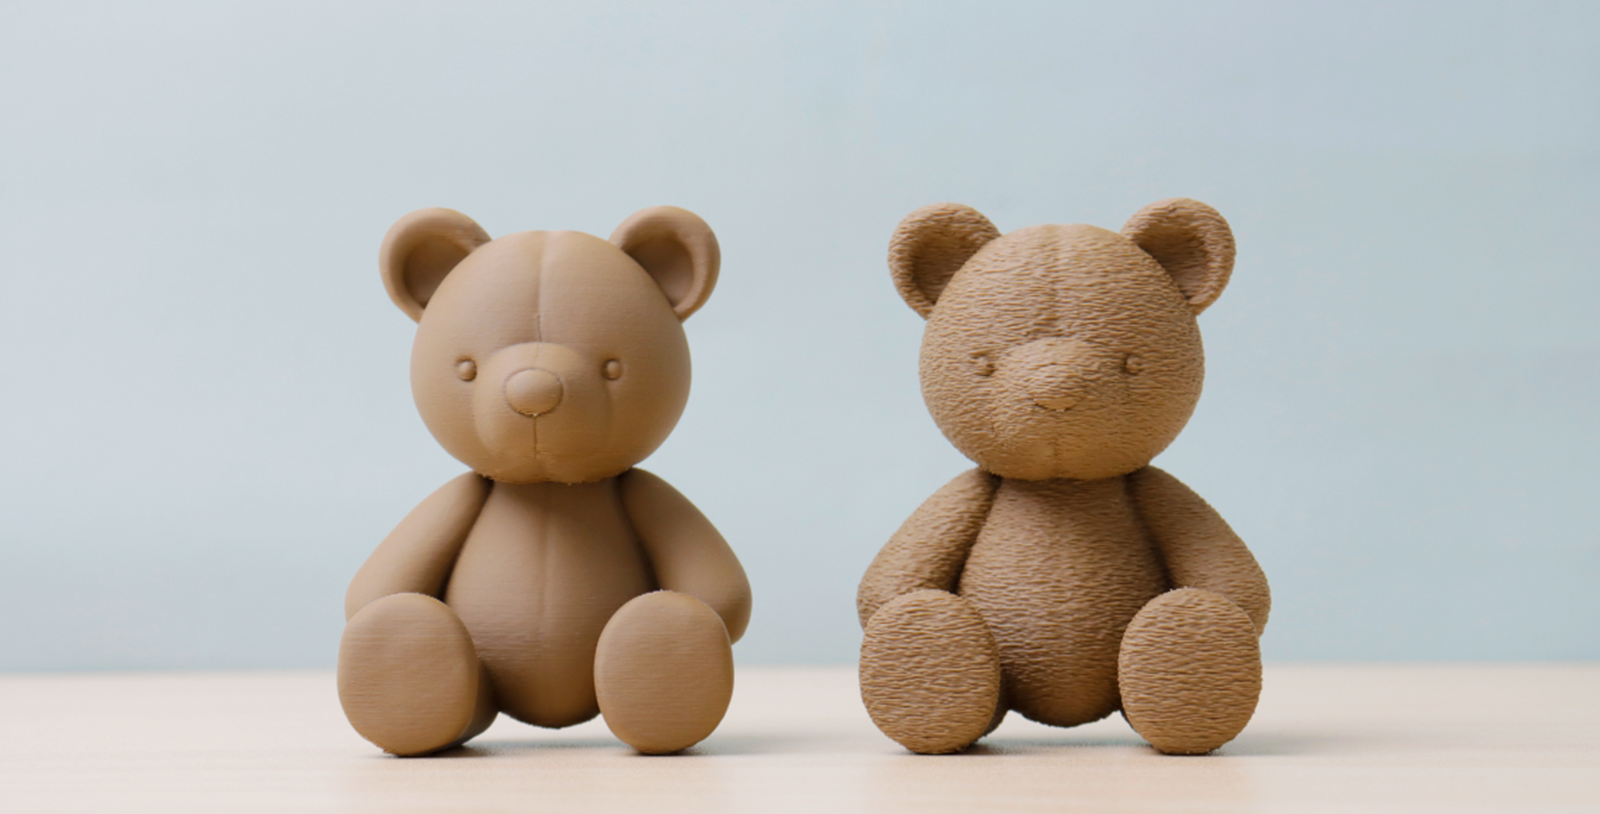
퍼지가 없는 피부 모델(왼쪽)과 퍼지가 추가된 피부 모델(오른쪽):

소개-퍼지 스킨
1. 왼쪽 다른 섹션의 특수 모드 열에서 퍼지 스킨 설정을 확인할 수 있습니다. 아래 그림과 같이 테디 베어 모델에는 기본적으로 퍼지 스킨이 설정되어 있지 않습니다.

2. 슬라이스를 클릭하여 테디베어 모델의 피부가 매끄러운지 확인하세요.

3. 퍼지 스킨을 클릭하고 모델 요구 사항에 따라 다양한 유형을 선택한 다음, 퍼지 스킨의 포인트 거리와 두께를 설정합니다. 여기서는 곰 모델의 특성에 따라 "윤곽"을 선택합니다.


4. 슬라이스를 클릭하여 모델이 흐릿한 스킨을 생성했는지 확인하세요.

소개-퍼지 + 매끈한 피부
경우에 따라 모델 전체에 퍼지 스킨을 생성할 필요 없이 특정 영역의 매끄러움을 유지할 수 있습니다. 이때 수정 도구를 사용할 수 있습니다.
1. 위의 퍼지 스킨 추가 작업을 반복한 후, 모델 위치를 마우스 오른쪽 버튼으로 클릭하고 "수정자 추가"를 선택한 다음 수정자 모양을 선택합니다. 예를 들어, 곰 코 위치의 부드러움을 유지하려면 구형 수정자를 선택합니다.
 2. 수정자의 크기와 위치를 조정합니다.

3. 수정자 객체의 작업 인터페이스에서 퍼즈 스킨을 "없음"으로 설정합니다.
 4. 슬라이스를 클릭하면 테디베어 모델의 코가 규칙적인 직선을 가지고 있는 반면, 다른 영역은 더 복잡한 선으로 흐릿한 피부를 생성한 것을 알 수 있습니다.
결론
퍼지 스킨을 설정하고 관련 매개변수를 조정하여 독특한 촉각적 및 시각적 효과를 가진 모델을 만들 수 있습니다. 추가 질문이나 아이디어가 있으시면 3D 프린팅, 자유롭게 댓글을 남겨주세요!


