 Q2
Q2


모델 배치 안내서 : 강도 최적화 및 지원 단순화를위한 슬라이스 기술

3D 프린팅에서 프린팅 플랫폼 위의 모델 방향은 프린팅 품질에 영향을 미치는 중요한 요소입니다. 적절한 배치 각도는 모델의 강도를 크게 향상시키고, 지지 구조물의 필요성을 줄이며, 모델의 표면 품질을 향상시킬 수 있습니다. 하지만 구체적인 배치는 모델의 용도에 따라 결정되어야 합니다. 이 튜토리얼에서는 특정 모델을 예로 들어 모델 배치 각도를 조정하는 방법을 분석합니다.
약도
강도 최적화 모델:

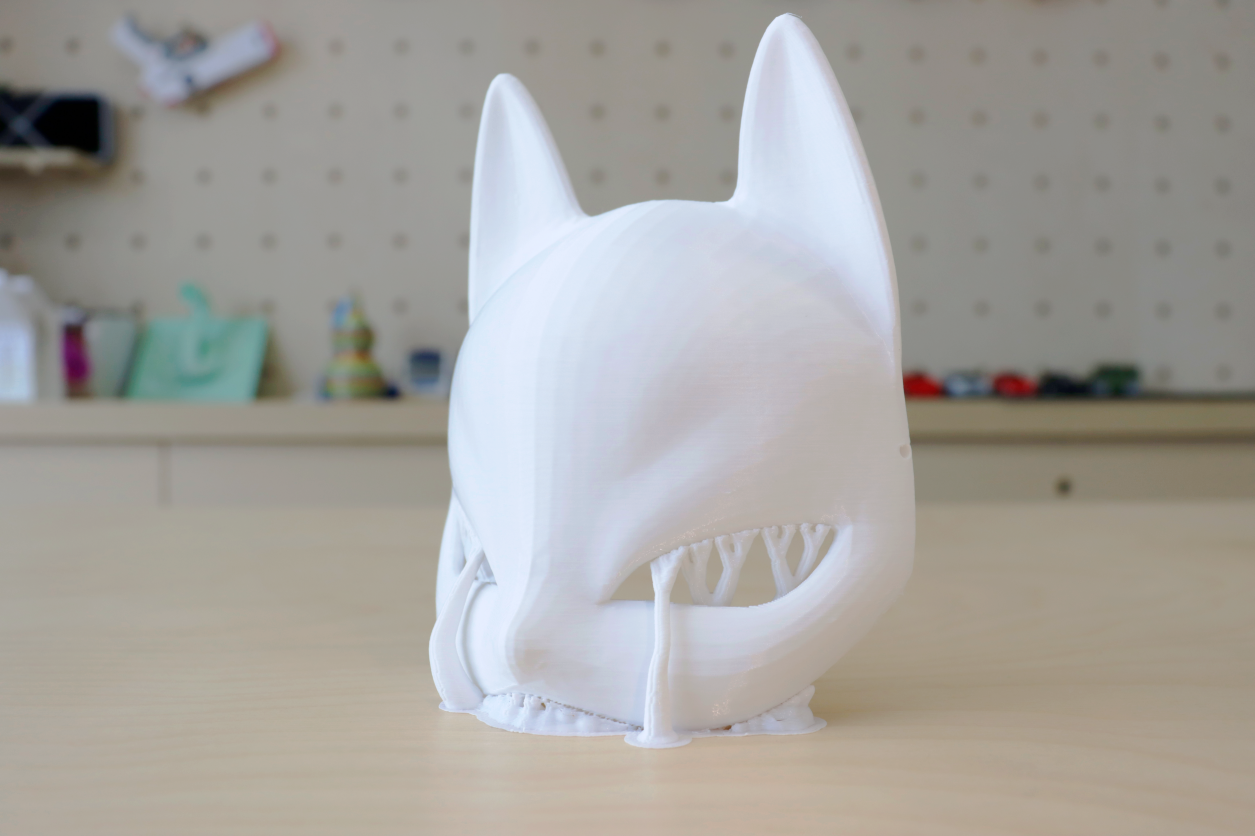
지원 단순화 모델:

비슷한 효과를 얻고 싶다면 다음 방법을 시도해보세요.
작업 소개 - 강도 최적화
프린팅 플랫폼에서 모델의 방향은 프린팅 중 레이어 라인 방향과 직접적인 관련이 있으며, 이는 최종 모델의 응력 분포와 강도에 결정적인 영향을 미칩니다. 다음은 높은 강도가 필요한 L자형 브래킷의 예입니다.
1. 기본 배치에 따라 인쇄할 경우, 모델은 매끄럽게 인쇄되지만, 모델의 모서리 부분은 깨지기 쉽습니다.


2. 모델의 강도를 더욱 높이려면 인쇄판의 "측면에 놓이도록" 각도를 조정할 수 있습니다. 이 경우, 힘의 방향에 있는 모델의 단면이 xy 축 평면에 위치하게 되어 최종 제품의 강도가 향상됩니다.

3. 슬라이스를 클릭합니다. 이 배치 방향에서는 모델 인쇄에 필요한 시간도 크게 단축됩니다.


운영 소개 - 간소화된 지원
많은 모델이 돌출된 부분을 가지고 있기 때문에, 인쇄를 위해 지지대를 생성해야 합니다. 하지만 적절한 배치를 통해 지지대의 양을 줄이는 동시에 인쇄 품질을 보장하고, 결과적으로 인쇄 시간을 단축할 수 있습니다.
1. 그림에 표시된 모델은 주로 장식용으로, 강도 계수를 우선시할 필요가 없습니다. 기본 배치 각도로 인쇄할 경우, 지지력이 더 커지고 인쇄 시간이 더 길어집니다.


2. 모델 각도를 조정하여 X축을 따라 90° 회전합니다.

3. 슬라이스를 클릭하면 인쇄 시간을 2시간 30분 단축하고 인쇄 재료를 16% 절약할 수 있습니다. 또한, 모델과 지지대 사이의 접촉 면적을 줄이고 수직 인쇄를 통해 모델의 표면 품질을 더욱 향상시킬 수 있습니다.

결론
모델 배치 방향과 정밀한 설정 지원을 조정하여


