 Plus 4
 Q1 Pro
 X-Max 3
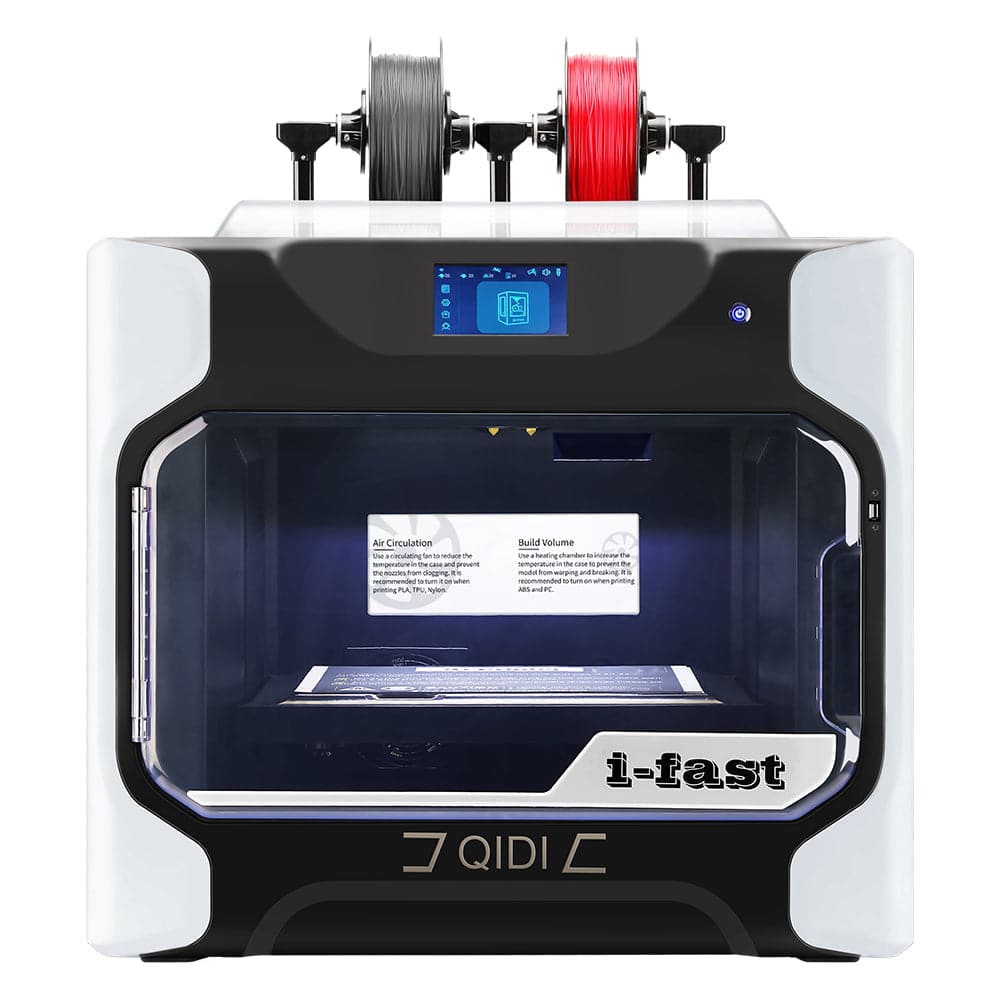 Tech I-Fast


Is the layer pattern too obvious? Learn a move to easily deal with it


Due to the layer by layer stacking feature of FDM technology, it is difficult to avoid layer patterns on the surface of the model, but the "step like" layer patterns that are easily generated at the curved surface often affect the appearance of the model.
How to achieve a relatively smooth printing surface for the model? In addition to polishing and grinding as a post printing processing method, parameters such as layer height, wall order, and printing speed can also be set in slicing software. This tutorial will provide a detailed introduction on how to set the layer height in QIDI Studio.
Schematic diagram
Initial model:

Adjusted model:

If you want to achieve a similar effect, you can try the following methods.
Introduction - Adjusting Layer Height
1. Click on the slice, and you can see that the texture at the top of the model is heavier by default.

2.In the process column, different layer heights can be selected for printing. The number before each parameter represents the layer height value. In theory, the lower the layer height, the smaller the layer gap. Here, change '0.20mm Standard' to '0.12mm Fine'.


3.Slicing again, it can be observed that the overall texture of the model, especially at the top, has been weakened. At this point, the printed surface of the model will be smoother. But after reducing the layer height, the printing time required for the same model significantly increases.


How to improve printing quality while ensuring efficiency? You can try using the 'Variable Layer Height' feature.
Introduction - Variable Layer Height
1. Click on the model and find the "Variable Floor Height" option in the toolbar.

2. Click "Adaptive" and "Smooth" successively, and you can click "Smooth" multiple times to debug, making the transition between layers smoother. Referring to the figure below, the green part of the model represents the lower layer height, while the orange part represents the higher layer height.

3.In addition to automatic debugging, it is also possible to manually set the position where the layer height needs to be adjusted. In the preview box on the right, drag the mouse to control the floor height at different positions. Left click to lower the layer height, the model displays in green; Right click to enlarge the layer height, and the model will be displayed in orange.

4. Click on the slice, and you can see that the texture at the top of the model has significantly improved compared to before modification, while the printing time has only slightly increased.


Conclusion
By adjusting the printing layer height in QIDI Studio, you can optimize the details of the model while ensuring the printing efficiency. Learn this trick well, and you can print more satisfactory works! Welcome to share your 3D printing experience with us in the comment section!

