 Q2
Q2
 QIDI Box
 Plus 4
 Q1 Pro
 X-Max 3


Model Placement Guide: Slice Techniques for Optimizing Strength and Simplifying Support

In 3D printing, the orientation of the model on the printing platform is an important factor affecting the printing quality. The appropriate placement angle can significantly enhance the strength of the model, reduce the need for supporting structures, and improve the surface quality of the model. However, the specific placement should be judged based on the purpose of the model. This tutorial will take a specific model as an example to analyze how to adjust the model placement angle in QIDI Studio to improve the printing effect.
Sketch Map
Model for optimizing strength:

Model for simplifying support:

If you want to achieve a similar effect, you can try the following methods.
Operation Introduction - Optimizing Strength
The orientation of the model on the printing platform is directly related to the layer line direction during printing, which also has a decisive impact on the stress distribution and strength of the final model. Here is an example of an L-shaped bracket that requires high strength.
1.When printing according to the default placement, the model can be printed smoothly, but the corners of the model are prone to breakage.


2.If you want to further increase the strength of the model, you can adjust the angle so that it "lies on the side" on the printing board. At this point, the cross-section of the model in the direction of force is located on the xy axis plane, resulting in a higher strength of the final product.

3. Click on slice. In this placement direction, the printing time required for the model will also be significantly reduced.


Operation Introduction - Simplified Support
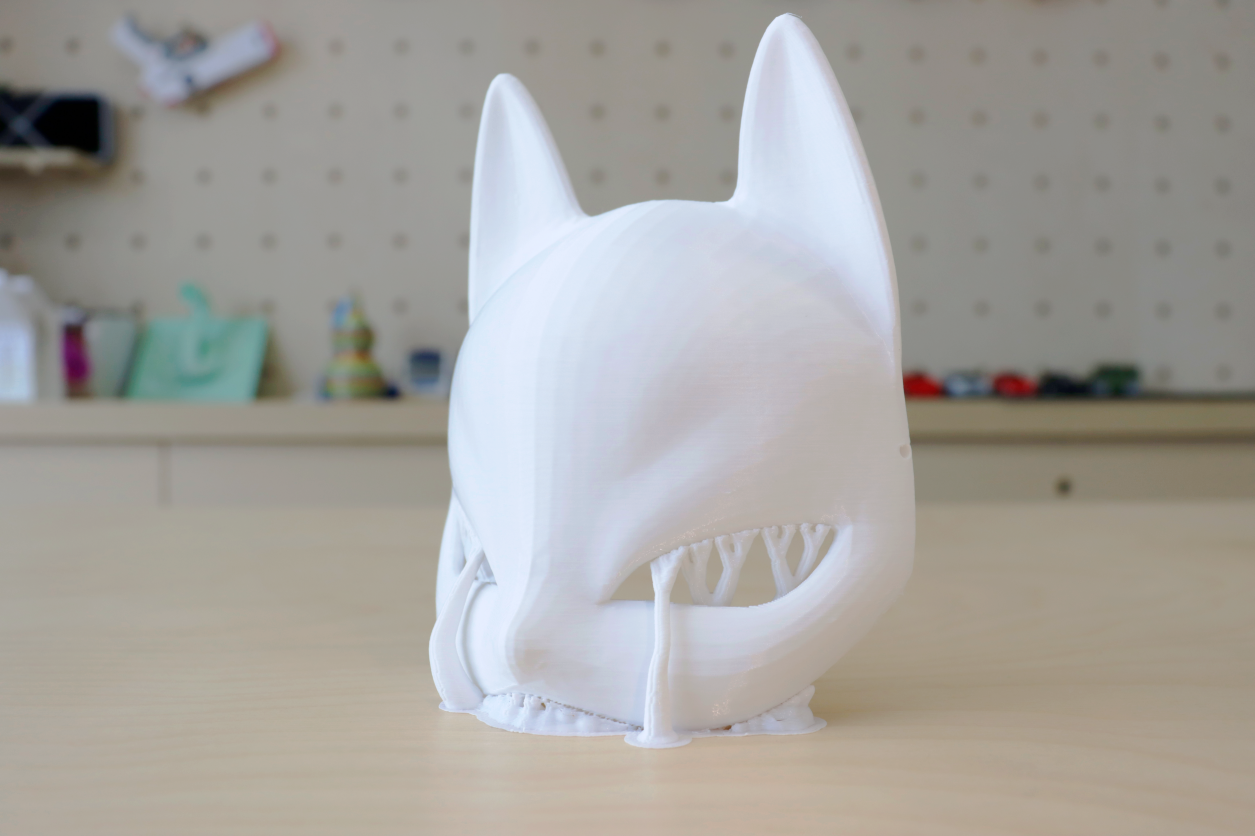
Many models have overhanging parts, so support needs to be generated for printing. However, proper placement can reduce the amount of support while ensuring printing quality, thereby reducing printing time.
1.The model shown in the figure is mainly for decorative purposes and does not need to prioritize strength factors. If printing is done at the default placement angle, it will generate more support and require longer printing time.


2. Adjust the model angle to rotate it 90 ° along the X-axis.

3. Click on the slice and you will find that, you can reduce printing time by two and a half hours, and save 16% of printing materials. Meanwhile, the reduction in contact area between the model and support, as well as vertical printing, will further improve the surface quality of the model.

Conclusion
By adjusting the model placement direction and precise setting support in QIDI Studio, you can improve the printing efficiency of your 3D printer, enhance the printing quality, and harvest the ideal printed works. Do you have any experience or creative ideas regarding model placement? Welcome to share with us in the comment section!


