 Q2
Q2
 QIDI Box
 Plus 4
 Q1 Pro
 X-Max 3


How to Sand and Polish PLA Prints for a Smooth Finish

Layer lines are a natural part of FDM 3D printing with PLA, though their visibility varies. Even with high-quality 3d printers and fine layer settings, these lines typically remain visible to some degree - it's just how the technology works as it builds objects layer by layer. This guide covers techniques to smooth these lines through sanding and polishing when you want a more refined finish.
The Benefits of a Smooth PLA Finish
Sanding and polishing PLA prints takes extra time, but offers several meaningful improvements to your finished projects:
- Refined Appearance - Sanding eliminates the stepped layer lines, creating a smooth surface that resembles commercial plastic products rather than obviously 3D-printed objects.
- Better Paint Results - Smoothed surfaces allow paints to spread evenly without settling into layer grooves, resulting in cleaner lines, more consistent color, and fewer required coats.
- Comfortable Handling - Polished prints feel smooth against your skin instead of rough and ridged—a noticeable improvement for anything you'll touch regularly.
- Professional Quality - Finished prints appear more professional in presentations, portfolios, or sales listings where perceived quality directly impacts how your work is valued.
- Improved Fit - For multi-component prints, smoothed connection points can create more precise fits and smoother movement between parts that need to interact.
Different types of prints benefit from these improvements to varying degrees, as we'll explore next.

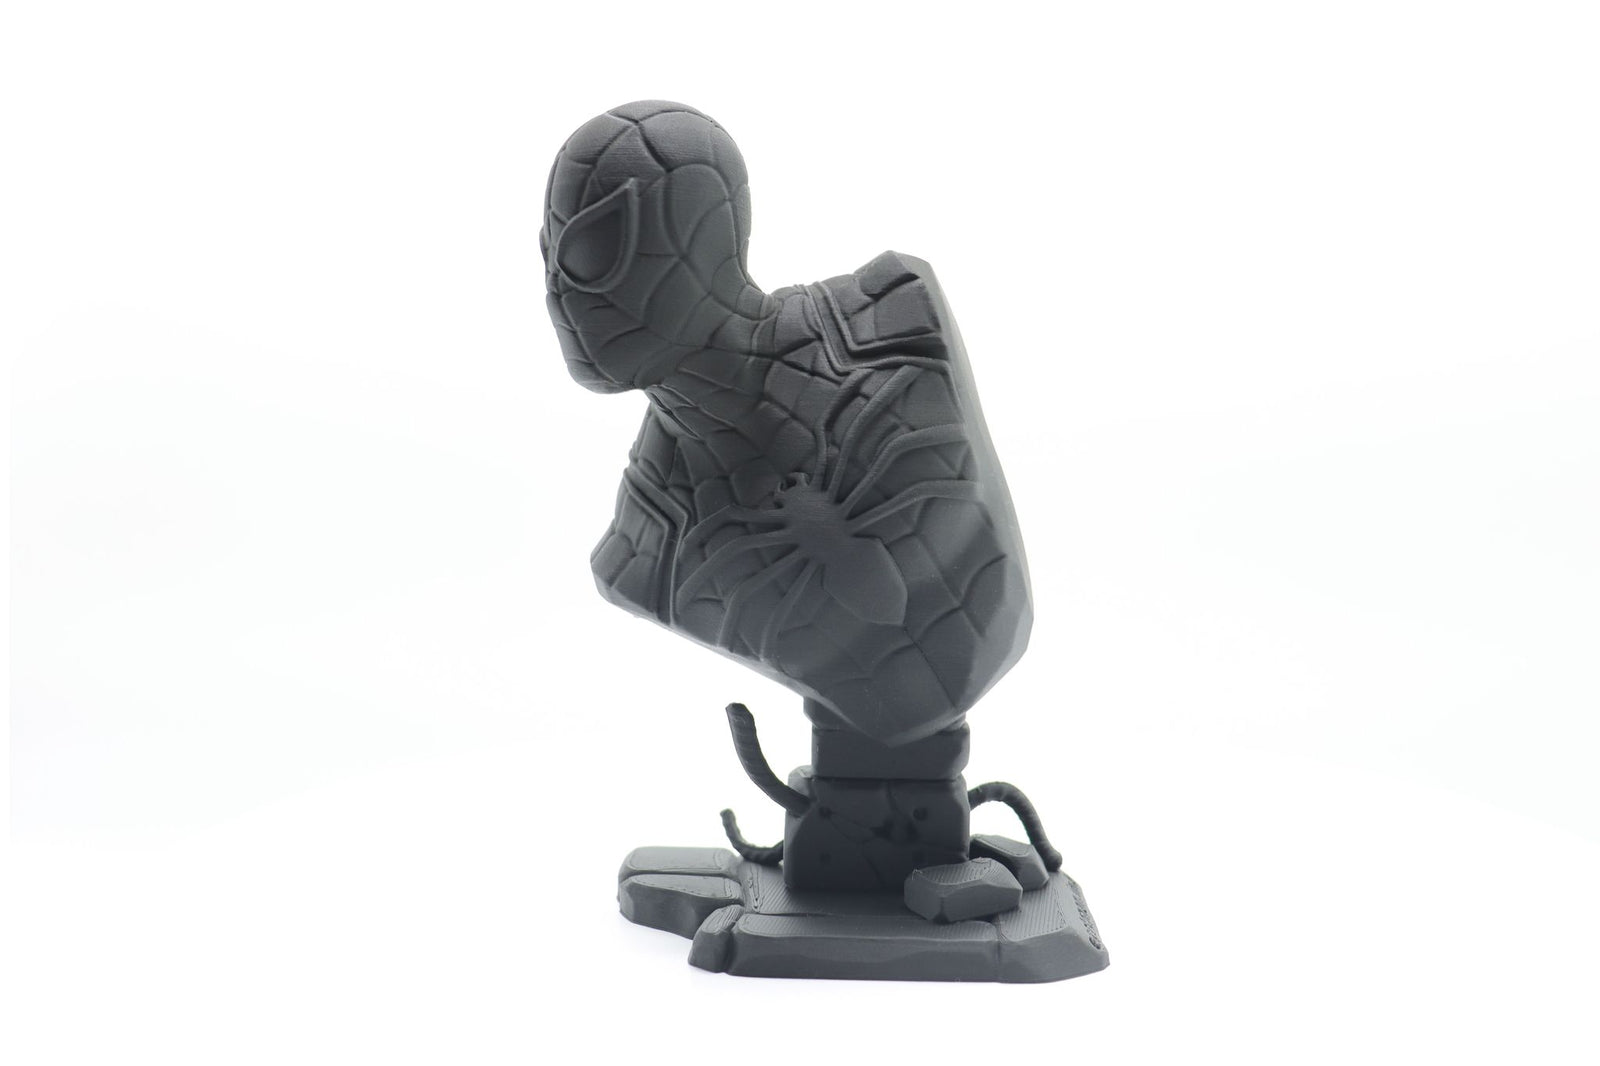
Designer: Esatmen
Which PLA Prints Shine After Sanding & Polishing?
Not every 3D print needs the same finishing treatment. Here are the types of prints that benefit most from your sanding efforts:
Display Models & Figurines
Character figures, sculptures, and detailed models benefit significantly from smoothing. Sanding removes distracting layer lines that interrupt the visual flow of curves and organic shapes, letting the actual design details stand out clearly.
Cosplay Props & Armor
Helmets, masks, and weapon replicas need smooth surfaces to look authentic. A properly sanded prop creates the perfect base for realistic painting and weathering techniques, transforming obvious prints into convincing replicas.
Custom Enclosures & Cases
Electronics housings, project boxes, and device cases look far more professional when smoothed. The difference is immediately noticeable—transforming what looks like a prototype into something that resembles a manufactured product.
Decorative Objects
Vases, planters, and decorative items displayed in your home deserve the extra finishing touch. Smooth surfaces elevate these pieces from obvious 3D prints to finished decor items that guests might mistake for store-bought products.
Prototypes for Presentation
When showing concepts to clients or stakeholders, surface quality affects perception significantly. Smoothed presentation prototypes help viewers focus on the design rather than the manufacturing method.

PLA Print Finishes: What You Can Realistically Achieve
Before starting, it helps to understand what results you can realistically expect from your efforts:
Level 1: Reduced Layer Lines (Basic Sanding)
Using medium-grit sandpaper significantly knocks down the ridges between layers, resulting in a smoother, matte feel. The print is still visibly 3D-printed but much improved in both appearance and touch.
Level 2: Smooth Matte/Satin Finish (Fine Sanding)
Progressing through finer grits with wet sanding removes most visible lines, leaving a uniform, non-reflective or slightly satin surface. This level creates an excellent base for painting and looks significantly more refined.
Level 3: Semi-Gloss/Gloss Finish (Fine Sanding + Polishing)
After very fine sanding (1500+ grit), using plastic polish brings out a noticeable shine. This level requires more patience but delivers results that begin to resemble commercial products.
Level 4: High Gloss/Near Mirror (Intensive Effort)
Achieving a truly high gloss on PLA is challenging but possible with meticulous sanding up to very high grits (3000-7000+) and multi-stage polishing compounds, often using a rotary tool with careful technique. This level takes significant work—manage your expectations accordingly.
Each level builds on the previous steps, so you can decide how far to take your finishing based on the project's purpose and your available time.
Necessary Precautions When Sanding PLA
Setting up proper safety measures should be your priority before starting any PLA sanding project. Here's what you need to protect yourself:
Respiratory Protection
The fine plastic particles created during sanding can reach deep into your lungs when inhaled. Always wear an N95-rated mask or better for this task. Don't substitute with a simple surgical mask, as it won't provide adequate protection against the microscopic PLA dust that could cause respiratory irritation over time.
Eye Safety
Your eyes remain vulnerable to flying debris throughout the sanding process. Safety glasses or goggles are essential to prevent dust and small fragments from causing potential injury or irritation. This protection becomes even more critical when using power tools.
Proper Ventilation
Dust accumulation in your workspace poses both health and safety risks. Choose a well-ventilated area, preferably near open windows with a fan directing air outward. For regular projects, consider investing in a simple dust collection system to keep your environment clean. Enclosed spaces without airflow should be avoided.
Temperature Awareness
Unlike other plastics, PLA begins to soften at relatively low temperatures (around 170-180°C). Friction from aggressive sanding can generate enough heat to deform your print, especially on detailed or thin sections. To prevent this, maintain light pressure, take cooling breaks, and use water during sanding to manage temperature. Shiny or gummy areas forming on your print indicate excessive heat buildup.

Essential Tools for Smoothing PLA Prints
Success in finishing your PLA prints depends greatly on having the right tools for the job. Here's what you'll need to gather before getting started:
Basic Sanding Equipment
Sandpaper Assortment: The foundation of any finishing project is a good selection of sandpaper grits. For PLA, you'll need:
- Coarse grits (150-220) for initial layer reduction.
- Medium grits (320-400) for smoothing.
- Fine grits (600-800) for refining.
- Ultra-fine grits (1000-2000+) for preparing for polish.
Purchase wet/dry sandpaper specifically, as you'll be using water with most grits.
Water Supply: Keep a small container of clean water or a spray bottle handy for wet sanding. This reduces dust, prevents clogging, and helps manage heat during sanding.
Sanding Block or Sponge: These provide even pressure and prevent finger fatigue. Flexible sanding sponges work particularly well for curved surfaces, while rigid blocks help maintain flat areas.
Clean Cloths: Have several on hand for wiping away slurry during wet sanding and drying your print between steps.
Polishing Materials (For Gloss Finishes)
Plastic Polishing Compound: If you want a glossy finish, you'll need a dedicated plastic polish. Good options include:
- Novus three-stage polishing system.
- PlastX automotive plastic polish.
- Flitz plastic polish.
Microfiber Cloths: Use separate cloths for applying compound and buffing to prevent cross-contamination. The soft fibers won't scratch your carefully sanded surface.
Rotary Tool & Accessories (Optional): For larger projects or maximum gloss, consider a Dremel or similar tool with:
- Soft buffing wheels (felt or cloth).
- Polishing compounds designed for rotary use.
- Low-speed settings to prevent heat buildup.
Remember to exercise extreme caution with power tools on PLA to avoid melting.
Preparation Aids
Precision Knife: A sharp hobby knife helps remove support marks, brims, and other printing artifacts before sanding begins.
Filler Primer (Optional): For prints with deep layer lines or small imperfections, a sandable filler primer can save significant sanding time. This spray-on product fills tiny gaps and creates a more uniform starting surface.
Most of these supplies can be found at hardware stores, automotive shops, or hobby retailers. Quality matters, especially for sandpaper and polishing compounds, so avoid the cheapest options for better results.
The Sanding Process: Erasing the Layers
Now we come to the main technique for smoothing your PLA print. Wet sanding is essential when working with PLA - it reduces dust, prevents clogging, and helps manage heat to prevent melting your print.
Step 1: Initial Leveling (Coarse Grit)
Start with 150-220 grit sandpaper to tackle the most noticeable layer lines. Keep both your print and sandpaper wet throughout the process. Use a sanding block when possible for even pressure on flat surfaces. Sand with light pressure - pushing too hard won't speed things up and might damage your print.
Work in different directions rather than following the layer lines, and rinse the print frequently to clear away the plastic residue. Check your progress regularly - at this stage, you're just trying to knock down the highest ridges and create a more even surface for the next steps.
Step 2: Primary Smoothing (Medium Grit)
Move to 400-600 grit sandpaper to refine the surface. Keep everything wet and use circular or varied motions to prevent creating visible scratch patterns. Apply even pressure across the entire surface.
Wipe the surface clean regularly to check your progress. Look for any remaining deep lines that need extra attention. By the end of this step, most of the obvious layer lines should be gone, replaced with a finer, more uniform texture.
Step 3: Refining the Surface (Fine Grits)
Progress to finer grits (800-1500+) depending on your desired finish. Wash your print thoroughly between changing grits - this prevents coarser particles from scratching your increasingly smooth surface.
Each new grit removes the scratches left by the previous one. For a matte finish, stopping at 800-1000 grit is usually enough. If you want a glossier finish, continue to 1500 grit or higher. Take extra time with curved surfaces and details to maintain their shape while smoothing.
Step 4: Final Cleaning
Clean your print thoroughly with mild soap and water after finishing the sanding process. Rinse completely to remove all soap and sanding residue. Let it dry completely (overnight is best) before polishing or considering the job complete.
When dry, inspect the surface for any missed spots or inconsistencies. At this point, your print should have a smooth, uniform appearance with no visible layer lines. If you're happy with the matte finish, you're done. For a glossier result, you'll move on to polishing.

The Polishing Process: Bringing Out the Shine
If you're happy with a matte finish, you can stop after fine sanding. For a glossy appearance, polishing is the next step.
Prerequisites for Polishing
Your print needs to be sanded to at least 1500 grit before polishing. Any scratches left from earlier sanding will show up more clearly once polished. Make sure your print is clean and dry before starting.
Manual Polishing Technique
Manual polishing is the safest approach for PLA:
Apply a small amount of plastic polishing compound to a soft cloth. Microfiber works well for this. Rub the compound onto your print using circular motions with medium pressure.
After a minute or two, use a clean cloth to buff the surface. This removes extra compound and reveals the shine. You might need to repeat this process a few times to get the level of shine you want.
If you're using a multi-stage polishing system like Novus, follow the instructions on the package. If your print is already well-sanded, you can often start with the finest polish.
Rotary Tool Polishing
A Dremel or similar tool can speed things up, but be very careful with PLA:
Use the lowest speed setting possible. High speeds create heat that can quickly melt PLA. Use a soft buffing wheel made of felt or cloth.
Put a small amount of polish on the wheel (not on the print). Keep the tool moving constantly and use very light pressure. Never stay in one spot for more than a second or two.
Pay close attention to heat. If the print feels warm or starts to look shiny in a different way than the polished areas, stop immediately and let it cool down before continuing.
For detailed prints, stick with hand polishing to avoid damaging small features.
With some patience, your PLA print can get a nice shine that makes it look much more like a professional product than a 3D print.
Give Your Prints the Finish They Deserve!
Sanding and polishing PLA prints takes work, but the results are worth it. With proper techniques and basic tools, you can turn ordinary prints into professional-looking objects. The process removes visible layer lines, creates better surfaces for painting, improves how prints feel in your hands, and enhances overall quality. Remember to start with the right safety gear, use wet sanding methods, and progress through sandpaper grits patiently. Whether you finish with a clean matte surface or take it to a high gloss, your PLA prints will look dramatically better.
- The Benefits of a Smooth PLA Finish
- Which PLA Prints Shine After Sanding & Polishing?
- Display Models & Figurines
- Cosplay Props & Armor
- Custom Enclosures & Cases
- Decorative Objects
- Prototypes for Presentation
- PLA Print Finishes: What You Can Realistically Achieve
- Level 1: Reduced Layer Lines (Basic Sanding)
- Level 2: Smooth Matte/Satin Finish (Fine Sanding)
- Level 3: Semi-Gloss/Gloss Finish (Fine Sanding + Polishing)
- Level 4: High Gloss/Near Mirror (Intensive Effort)
- Necessary Precautions When Sanding PLA
- Respiratory Protection
- Eye Safety
- Proper Ventilation
- Temperature Awareness
- Essential Tools for Smoothing PLA Prints
- Basic Sanding Equipment
- Polishing Materials (For Gloss Finishes)
- Preparation Aids
- The Sanding Process: Erasing the Layers
- Step 1: Initial Leveling (Coarse Grit)
- Step 2: Primary Smoothing (Medium Grit)
- Step 3: Refining the Surface (Fine Grits)
- Step 4: Final Cleaning
- The Polishing Process: Bringing Out the Shine
- Prerequisites for Polishing
- Manual Polishing Technique
- Rotary Tool Polishing
- Give Your Prints the Finish They Deserve!
Recommended products


