 2º trimestre


 Primeiro trimestre Pró
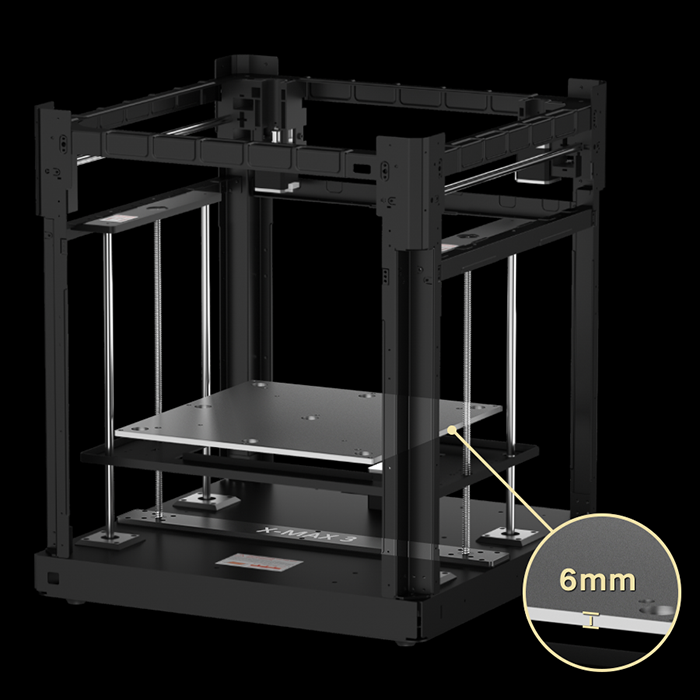
 X-Max 3


Como começar com a impressão 3D FDM

Você está pronto para desbloquear o incrível potencial de Impressão 3D por Modelagem por Deposição Fundida (FDM)? Imagine ter o poder de transformar seus projetos digitais em objetos tangíveis, na ponta dos seus dedos. A tecnologia FDM revolucionou o mundo da impressão 3D, tornando-a mais acessível e fácil de usar do que nunca. Seja você um entusiasta curioso, um empreendedor iniciante ou simplesmente alguém que adora criar, embarcar em sua jornada com a impressão 3D FDM abrirá um mundo de possibilidades.
Impressoras 3D FDM: Componentes principais e suas funções
A Estrutura: O Esqueleto da Sua Impressora
No coração de toda impressora FDM está sua estrutura – um esqueleto robusto que suporta todos os outros componentes. Normalmente feita de metal ou plástico de alta qualidade, a estrutura garante estabilidade e precisão durante a impressão. Ela abriga o sistema de movimento, composto por motores de passo, correias e trilhos que guiam o movimento da cabeça de impressão ao longo dos eixos X, Y e Z.
Uma estrutura bem projetada minimiza vibrações e mantém a precisão, o que é crucial para impressões de alta qualidade. Alguns modelos avançados, como
A Cama de Impressão: Onde suas Criações Ganham Forma
A plataforma de impressão serve como base para suas criações em 3D. Esta superfície plana, frequentemente aquecido, É onde a primeira camada de filamento fundido é depositada. A temperatura e o material da plataforma de impressão desempenham papéis vitais para garantir a adesão adequada e evitar deformações.
As plataformas de impressão modernas são fabricadas em diversos materiais, cada um com propriedades únicas. As plataformas de vidro oferecem uma superfície perfeitamente plana e facilitam a remoção da impressão após o resfriamento. As placas de PEI proporcionam excelente adesão para muitos tipos de filamento. As placas de aço flexíveis com revestimentos especiais permitem a fácil remoção da impressão por meio de dobragem.
Algumas impressoras possuem sistemas de autonivelamento que compensam pequenas irregularidades na superfície da mesa de impressão, garantindo uma adesão consistente da primeira camada em toda a área de impressão.
A extrusora: a ferramenta de "desenho" da sua impressora.
O conjunto extrusor é a ferramenta artística da impressora, responsável por derreter e depositar o filamento com precisão. Ele consiste em duas partes principais:
- Extremidade quente: É aqui que a mágica acontece. O hot end derrete o filamento e o extruda através de um minúsculo bico. Ele mantém uma temperatura constante, crucial para um fluxo suave do filamento e uma adesão adequada entre as camadas.
- Extremidade fria: Atuando como guia do filamento, a extremidade fria alimenta o material na extremidade quente. Ela inclui um motor de passo e engrenagens que controlam a taxa de fluxo do filamento com extrema precisão.
Sistema de Movimento: Coreografando a Impressão
O sistema de movimento orquestra a complexa dança da impressão 3D. Motores de passo, acoplados a correias ou fusos de esferas, guiam o movimento da extrusora ao longo dos eixos X, Y e Z. Essa coordenação precisa permite que a impressora traduza instruções digitais em objetos físicos com notável exatidão.
O Sistema de Filamentos: Fornecendo a 'Tinta'
O sistema de alimentação de filamento garante um suprimento constante de material para a extrusora. Normalmente, consiste em um suporte para o carretel e um mecanismo de alimentação. Algumas impressoras usam sistemas de acionamento direto, onde o motor da extrusora é montado diretamente acima do bico quente. Outras empregam Configurações Bowden, que utilizam um tubo para guiar o filamento de um motor localizado remotamente até a extremidade quente.
Como funciona a impressão 3D FDM
A impressão 3D por FDM começa com o aquecimento da impressora.O bico quente aquece até a temperatura adequada para o filamento, normalmente entre 200 e 230 °C para materiais como... PLA ou ABS. Simultaneamente, a plataforma de impressão aquece para garantir a adesão adequada da primeira camada.
Após o aquecimento, a impressora começa a extrudar o filamento derretido sobre a plataforma, depositando cuidadosamente a crucial primeira camada. Essa base é vital para o sucesso de toda a impressão. À medida que essa camada inicial esfria e solidifica, a plataforma de impressão desce ligeiramente, geralmente de 0,1 a 0,3 mm.
A impressora continua então a construir o objeto camada por camada. A cabeça de impressão move-se com precisão nas direções X e Y, seguindo um percurso definido por instruções de código G. Ela deposita linhas finas de filamento derretido que se unem à camada inferior à medida que esfriam. Esse processo de movimento coordenado e extrusão controlada cria a forma do objeto.
Para as partes do objeto que ficam salientes, a impressora cria simultaneamente estruturas de suporte removíveis. Esses suportes temporários impedem que o objeto desmorone durante a impressão. A impressora não cria objetos completamente sólidos; em vez disso, preenche o interior com um padrão chamado preenchimento, proporcionando resistência e utilizando menos material.
Esse processo de sobreposição de camadas, suporte e preenchimento continua até que o objeto esteja completamente construído. A duração varia de acordo com o tamanho e a complexidade do objeto. Assim que a última camada é concluída, a impressora esfria, permitindo que o plástico solidifique completamente, resultando no objeto impresso em 3D finalizado.
O que você pode criar com a impressão 3D FDM?
A impressão 3D por FDM abre um mundo de possibilidades para a criação de uma ampla gama de objetos. Aqui estão algumas aplicações comuns:
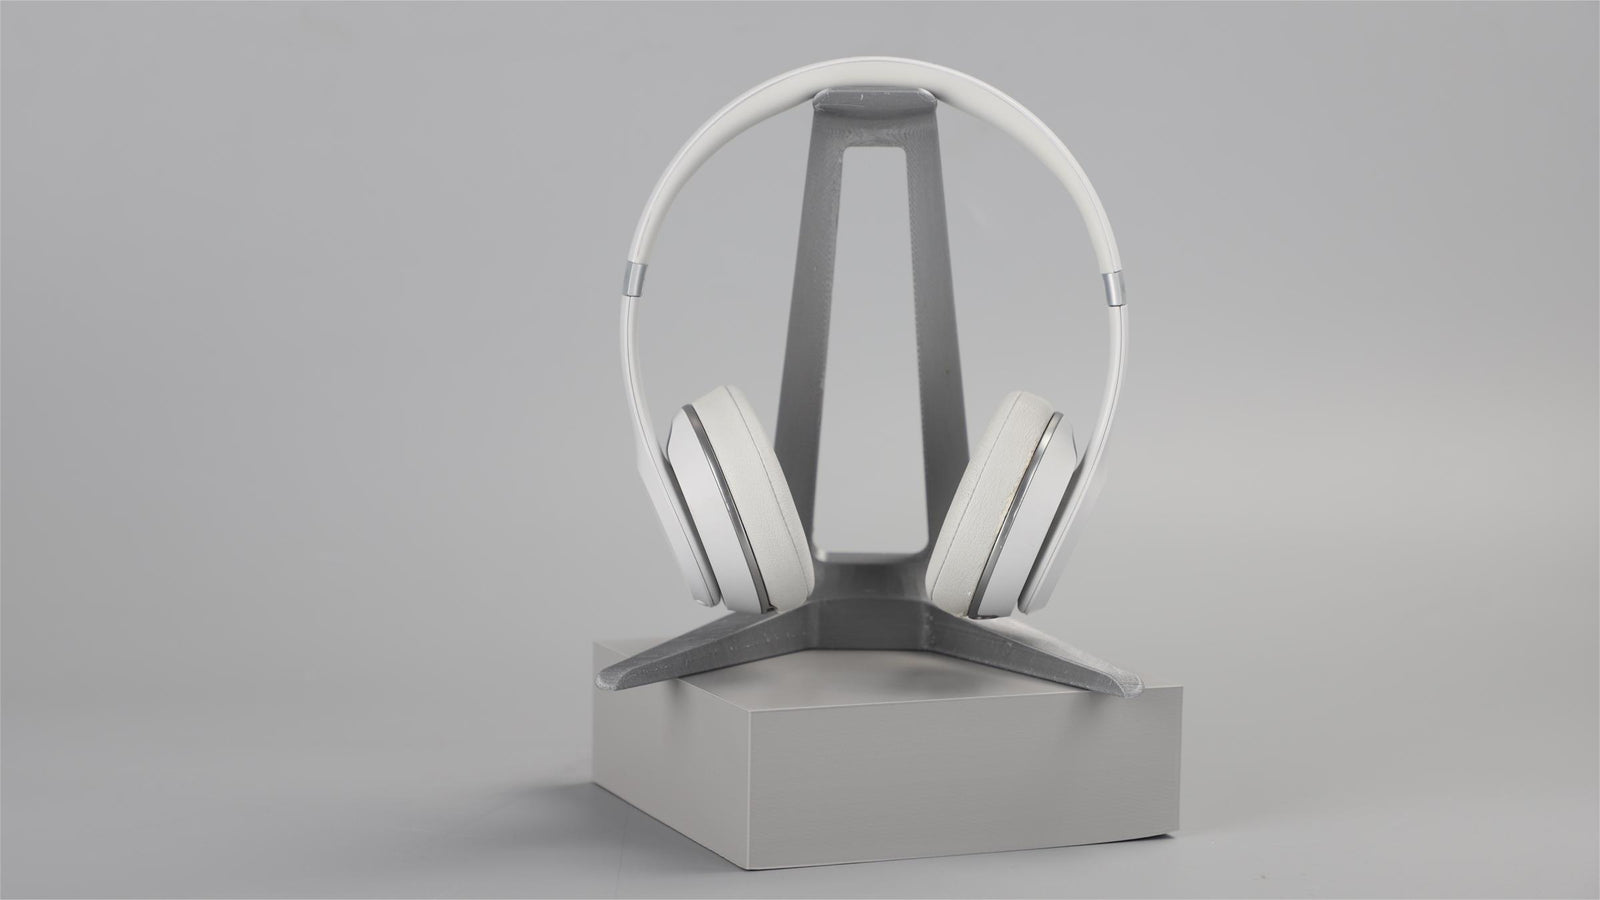
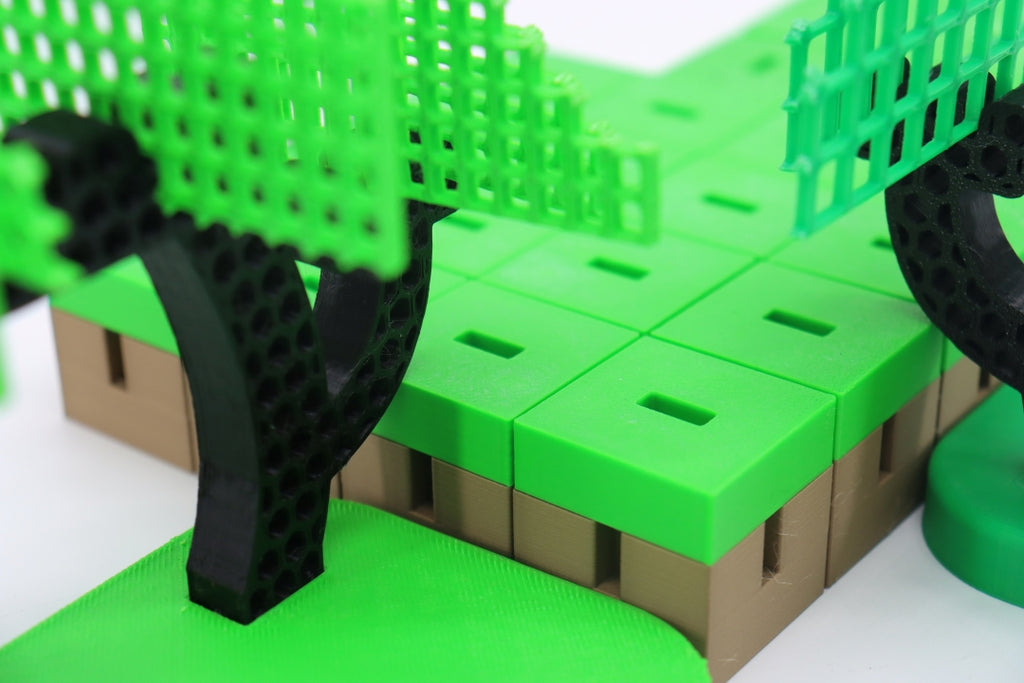
- Protótipos e modelos: Dê vida rapidamente aos seus projetos de produtos para testes e visualização. De maquetes arquitetônicas a protótipos de produtos, a impressão 3D acelera o processo de design.
- Artigos domésticos: Crie organizadores personalizados, objetos decorativos, peças de reposição para eletrodomésticos ou dispositivos exclusivos para resolver problemas do dia a dia.
- Ferramentas educacionais: Imprima modelos 3D de conceitos complexos em ciências, matemática ou engenharia para aprimorar as experiências de aprendizagem.
- Brinquedos e jogos: Crie e imprima miniaturas personalizadas, peças de jogos de tabuleiro ou jogos totalmente novos.
- Cosplay e confecção de adereços: Confeccione peças de figurino, adereços ou réplicas complexas para cosplay ou produção cinematográfica.
- Componentes funcionais: Produzir peças pequenas para máquinas, suportes, gabinetes para projetos eletrônicos ou ferramentas personalizadas.
- Arte e Escultura: Explore novas formas de expressão artística criando esculturas ou instalações que antes eram difíceis de fabricar.
- Modelos médicos: Em ambientes de saúde, modelos anatômicos são impressos para planejamento cirúrgico ou fins educacionais.
Embora a impressão 3D por FDM seja versátil, é importante observar suas limitações. Ela pode não ser adequada para a produção de itens próprios para contato com alimentos sem cuidados especiais e normalmente não é usada para peças mecânicas sujeitas a altas tensões. O acabamento superficial das impressões por FDM também pode exigir pós-processamento para uma aparência mais lisa.
Como começar a imprimir em 3D com a tecnologia FDM
1. Escolha o melhor software de modelagem 3D para iniciantes
Para iniciantes em modelagem 3D, as opções fáceis de usar incluem: TinkerCAD, Uma ferramenta simples baseada em navegador, ideal para aprender o básico, e o Fusion 360, que oferece um bom equilíbrio entre recursos e usabilidade. O Blender é uma opção versátil e de código aberto, adequada tanto para iniciantes quanto para especialistas, enquanto SolidWorks É excelente para projetos técnicos precisos.
2.Avalie os recursos do software de modelagem 3D
Ao escolher um software de modelagem 3D, priorize uma interface intuitiva, uma biblioteca abrangente de formas básicas e ferramentas para combinar e modificar formas. Procure opções precisas de medição e escala, a capacidade de exportar projetos em formatos compatíveis com impressão 3D e recursos que permitam importar e modificar modelos existentes.
3. Encontre modelos 3D para impressão
Repositórios populares de modelos 3D incluem: Thingiverse, que oferece uma grande coleção de designs gratuitos criados pela comunidade; MinhaMiniFábrica, conhecida por seus modelos de alta qualidade; e Cultos3D, que oferece modelos gratuitos e pagos com designs exclusivos.
4. Avaliar a imprimibilidade do modelo para FDM
Nem todos os modelos 3D imprimem bem em impressoras FDM. Ao selecionar modelos, tenha em mente estas dicas:
- Saliências: As impressoras FDM funcionam melhor com saliências suaves, idealmente com menos de 45 graus em relação à vertical. Saliências mais acentuadas podem exigir estruturas de suporte, o que pode afetar a qualidade da impressão.
- Dimensões da característica: Devido às limitações de tamanho do bico e altura da camada, as impressoras FDM têm dificuldades com detalhes muito finos. Escolha designs com elementos maiores para obter melhores resultados. Elementos menores que 0,8 mm podem não ser impressos de forma confiável em um bico padrão de 0,4 mm.
- Orientação: Modelos com uma superfície inferior plana são mais fáceis de imprimir e aderem melhor à plataforma de impressão. Considere como você poderia rotacionar um modelo para obter a orientação ideal de impressão.
- Tamanho: Certifique-se de que o modelo caiba no volume de impressão da sua impressora. Embora seja possível redimensioná-lo, isso pode afetar a impressão de detalhes finos ou paredes finas.
Começar com modelos pré-fabricados pode ajudar você a entender o que torna uma impressão 3D boa. Conforme você ganha experiência, desenvolverá habilidades para criar ou modificar seus próprios projetos para obter melhores resultados de impressão.

Avançando: Passos para o sucesso da impressão 3D por FDM
1. Fatiando seu modelo 3D para impressão
O software de fatiamento transforma seu modelo 3D em instruções para impressão. Programas populares como Cura e PrusaSlicer Permite ajustar configurações importantes, como altura da camada, velocidade de impressão e temperatura. Camadas mais finas resultam em impressões mais suaves, mas levam mais tempo, enquanto velocidades mais altas podem afetar a qualidade. Materiais diferentes exigem temperaturas diferentes.
Os suportes e o preenchimento são importantes. Os suportes ajudam a imprimir peças salientes, e o preenchimento determina a estrutura interna. Após configurar tudo, o software cria um arquivo (código G) com instruções detalhadas para sua impressora.
2. Preparando sua impressora 3D
Carregando o filamento corretamente É crucial. Aqueça o bico, corte a ponta do filamento em um ângulo e empurre-a suavemente para dentro da extrusora. Use os controles da impressora para alimentar o filamento até vê-lo sair do bico.
Acertar na primeira camada é fundamental para uma boa impressão. Nivele a área de impressão., Você pode fazer isso manualmente ou usando sistemas automáticos. Para o nivelamento manual, ajuste a altura da mesa em vários pontos até que a distância entre o bico e a mesa esteja uniforme em toda a volta. Teste imprimindo uma forma grande de camada única e faça os ajustes necessários.
3. Selecionando o filamento correto
As impressoras FDM usam filamentos de plástico que vêm em bobinas. PLA É ótimo para iniciantes e imprime em temperaturas mais baixas. O ABS é mais resistente, mas mais difícil de imprimir. O PETG oferece uma boa combinação de propriedades. O TPU é flexível e o Nylon é resistente, mas pode ser um desafio para imprimir.
Ao escolher um filamento, pense no que sua impressora suporta e no que você está produzindo.Sempre verifique as configurações recomendadas pelo fabricante. Experimentar diferentes filamentos ajudará você a encontrar o que funciona melhor para suas necessidades.
Aprimorando suas impressões 3D: Técnicas de pós-processamento
Remoção dos suportes e limpeza inicial
Após a conclusão da impressão FDM, o primeiro passo é remover as estruturas de suporte. Este processo requer cuidado para evitar danos à peça impressa. Para suportes de PLA, alicates de bico fino ou cortadores rente funcionam bem. Gire e puxe os suportes delicadamente para removê-los do modelo. Para suportes solúveis em água, mergulhe a peça impressa em água morna até que os suportes se dissolvam.
Após a remoção dos suportes, inspecione a sua impressão em busca de quaisquer fios residuais ou imperfeições. Use uma pinça de ponta fina para remover pequenos pedaços de plástico e um estilete para aparar cuidadosamente qualquer excesso de material.
Refinamento de superfície: lixamento e alisamento
Lixar é um método comum para suavizar as linhas de camadas e melhorar o acabamento da superfície. Comece com uma lixa de grão grosso (em torno de 100) e vá passando progressivamente para grãos mais finos (até 2000 para um acabamento bem liso). Lixe com movimentos circulares, tomando cuidado para não aplicar muita pressão.
Para impressões em ABS, O alisamento com vapor de acetona pode criar uma superfície lisa e brilhante. Coloque sua impressão em uma área bem ventilada e exponha-a ao vapor de acetona por um curto período. Tenha cuidado, pois a exposição excessiva pode derreter detalhes finos.
Adicionando cor: Pintando suas impressões
Antes de pintar, aplique um primer para ajudar a tinta a aderir melhor. Escolha um primer adequado para plástico e aplique camadas finas e uniformes. Depois que o primer secar, você poderá pintar seu modelo usando tintas acrílicas ou tintas spray próprias para plástico. Várias camadas finas geralmente produzem melhores resultados do que uma única camada grossa.
Técnicas Avançadas de Acabamento
Para um acabamento de nível profissional, considere estas técnicas avançadas:
- Os primers de enchimento podem ajudar a disfarçar as linhas de junção das camadas. Aplique o enchimento, lixe até ficar liso e repita conforme necessário.
- Os revestimentos epóxi podem criar um acabamento brilhante e durável. São particularmente úteis para peças funcionais que necessitam de maior resistência.
- Os compostos de polimento, utilizados com uma ferramenta rotativa, podem proporcionar um acabamento de alto brilho em alguns materiais.
Protegendo sua impressão final
Para garantir a durabilidade da sua impressão, considere aplicar uma camada protetora transparente. Isso é especialmente importante para modelos pintados ou que serão manuseados com frequência. Vernizes transparentes resistentes aos raios UV podem evitar o desbotamento das cores em impressões expostas à luz solar.
Para componentes funcionais, considere o ambiente em que serão utilizados. Revestimentos resistentes ao calor podem proteger as peças impressas próximas a fontes de calor, enquanto selantes impermeáveis são ideais para uso externo.

Solução de problemas comuns de impressão 3D FDM
Como iniciante, você pode encontrar alguns desafios. Aqui estão eles. Soluções para problemas comuns:
1. Má aderência ao leito de fixação
Certifique-se de que sua cama esteja nivelada e limpa.. Ajuste a altura do bico para que ele comprima levemente a primeira camada. Para impressões mais resistentes, tente usar uma borda ou base para melhor adesão. Você também pode Aplique uma fina camada de cola em bastão ou spray de cabelo na cama para melhorar a aderência..
2. Formação de filamentos ou exsudação
Para reduzir a formação de fios, tente diminuir a temperatura de impressão e aumentar as configurações de retração. Ajustar a velocidade de deslocamento também pode ajudar a minimizar o vazamento entre diferentes partes da sua impressão.
3.Deformação
Use uma cama aquecida e certifique-se de que a temperatura da cama esteja adequada. evitar deformações. Adicionar uma borda à sua impressão pode aumentar a área de contato com a mesa de impressão. Melhore o resfriamento com ventiladores e, para materiais como o ABS, considere usar uma caixa fechada para manter a temperatura constante.
4. Deslocamento de Camadas
Verifique e aperte as correias da sua impressora para evitar o deslocamento das camadas. Certifique-se de que a cabeça de impressão se move suavemente em todos os eixos. Se o problema persistir, tente reduzir a velocidade de impressão para minimizar as vibrações.
5. Bocal entupido
Realize uma "puxada a frio" com filamento de nylon Para desentupir pequenos bloqueios. Para bloqueios mais persistentes, limpe o bico com uma agulha ou considere substituí-lo se o problema persistir.
6. Subextrusão
Verifique a qualidade e o diâmetro do filamento para garantir uma extrusão consistente. Tente aumentar a temperatura do bico ou ajustar as configurações de vazão. Se o problema persistir, limpe ou substitua o bico.
Mantenha um registro de suas configurações e alterações para ajudar a identificar o que funciona melhor para sua impressora e filamentos.
Comece hoje mesmo sua jornada na impressão 3D.
Agora você tem uma base sólida para começar sua aventura na impressão 3D FDM. Desde a compreensão dos princípios básicos de como as impressoras 3D funcionam até a escolha do filamento certo e o aperfeiçoamento de suas impressões, você está equipado com o conhecimento necessário para criar objetos incríveis. Lembre-se, a impressão 3D é uma habilidade que melhora com a prática. Não se desanime com os contratempos iniciais – eles fazem parte do processo de aprendizagem. À medida que você experimenta diferentes designs, materiais e técnicas, você desenvolverá seu próprio estilo e expertise. O mundo da impressão 3D está em constante evolução, então continue aprendendo e explorando. Com paciência e criatividade, em breve você estará dando vida às suas ideias de maneiras que nunca imaginou.
Perguntas frequentes
1. O que é necessário para começar a imprimir em 3D sendo iniciante?
Para começar a imprimir em 3D, os iniciantes precisam de alguns itens essenciais. Primeiro, você precisará de uma impressora 3D, sendo as impressoras FDM ótimas para iniciantes. Você também precisará de filamento, sendo o PLA uma boa opção para iniciantes. Um software de modelagem 3D como o TinkerCAD ou o Fusion 360 é fundamental para criar os projetos, enquanto um software de fatiamento como o Cura ou o PrusaSlicer prepara os modelos para impressão. Algumas ferramentas básicas para pós-processamento, como alicates e lixa, são úteis. Por fim, você precisará de um computador para projetar os modelos e controlar a impressora.
2. Qual deve ser a primeira coisa que eu devo imprimir em 3D?
Para sua primeira impressão, o ideal é começar com algo simples. Um cubo de calibração é uma excelente opção para testar a precisão da sua impressora. Como alternativa, você pode tentar imprimir uma pequena estatueta ou brinquedo para praticar com suportes e preenchimento. Um objeto pequeno e funcional, como um suporte para celular ou um chaveiro, pode ser prático e gratificante. Muitos iniciantes também começam com um arquivo de teste para impressora 3D que verifica vários aspectos da qualidade de impressão. Começar com modelos mais simples ajuda a entender as capacidades e configurações da sua impressora antes de se aventurar em projetos mais complexos.
3. A impressão 3D é fácil para iniciantes?
Sim, a impressão 3D tornou-se cada vez mais acessível para iniciantes nos últimos anos. Muitas impressoras agora vêm pré-montadas com interfaces fáceis de usar, o que facilita bastante a configuração e a operação. Há também uma grande variedade de recursos online, tutoriais e comunidades disponíveis para ajudar os iniciantes a solucionar problemas e aprender novas técnicas. O segredo é começar com projetos básicos e aumentar gradualmente a complexidade, permitindo que os iniciantes aprendam no seu próprio ritmo e ganhem confiança ao longo do processo.
4. O que você não tem permissão para imprimir em 3D?
Embora a impressão 3D ofereça muitas possibilidades, existem algumas restrições que devem ser levadas em consideração. Imprimir armas de fogo ou armas em geral é frequentemente ilegal., Embora as leis variem de acordo com o local, também não é permitido imprimir objetos protegidos por direitos autorais ou marcas registradas sem permissão, nem criar itens ou moeda falsificados. Certos dispositivos médicos exigem certificação adequada antes da impressão. Além disso, objetos que violem patentes não devem ser impressos. É importante sempre verificar as leis locais e regulamentações relativas à impressão 3D, e para considerar as implicações éticas e de segurança dos seus projetos de impressão.
Leia mais
- Impressão 3D SLA vs. FDM: Qual tecnologia escolher?
- Guia de Materiais para Impressão 3D: Inove sua Fabricação
- Filamento de fibra de carbono: tudo o que você precisa saber
- Segurança da Impressora 3D: Guia para Prevenção de Incêndios & Riscos para a saúde!
- Impressão 3D Responsável: Como Reciclar suas Impressões 3D com Defeito
- Impressoras 3D FDM: Componentes principais e suas funções
- A Estrutura: O Esqueleto da Sua Impressora
- A Cama de Impressão: Onde suas Criações Ganham Forma
- A extrusora: a ferramenta de "desenho" da sua impressora.
- Sistema de Movimento: Coreografando a Impressão
- O Sistema de Filamentos: Fornecendo a 'Tinta'
- Como funciona a impressão 3D FDM
- O que você pode criar com a impressão 3D FDM?
- Como começar a imprimir em 3D com a tecnologia FDM
- 1. Escolha o melhor software de modelagem 3D para iniciantes
- 2.Avalie os recursos do software de modelagem 3D
- 3. Encontre modelos 3D para impressão
- 4. Avaliar a imprimibilidade do modelo para FDM
- Avançando: Passos para o sucesso da impressão 3D por FDM
- 1. Fatiando seu modelo 3D para impressão
- 2. Preparando sua impressora 3D
- 3. Selecionando o filamento correto
- Aprimorando suas impressões 3D: Técnicas de pós-processamento
- Remoção dos suportes e limpeza inicial
- Refinamento de superfície: lixamento e alisamento
- Adicionando cor: Pintando suas impressões
- Técnicas Avançadas de Acabamento
- Protegendo sua impressão final
- Solução de problemas comuns de impressão 3D FDM
- 1. Má aderência ao leito de fixação
- 2. Formação de filamentos ou exsudação
- 3.Deformação
- 4. Deslocamento de Camadas
- 5. Bocal entupido
- 6. Subextrusão
- Comece hoje mesmo sua jornada na impressão 3D.
- Perguntas frequentes
- 1. O que é necessário para começar a imprimir em 3D sendo iniciante?
- 2. Qual deve ser a primeira coisa que eu devo imprimir em 3D?
- 3. A impressão 3D é fácil para iniciantes?
- 4. O que você não tem permissão para imprimir em 3D?
- Leia mais
Produtos recomendados


