

How to Succeed When 3D Printing With ABS Filament
Table of Contents
- What is ABS Filament?
- Preparing Your 3D Printer for ABS Printing
- Ensuring Proper Bed Adhesion for ABS
- Optimizing Print Settings for ABS
- Maintaining Control During the ABS 3D Printing Process
- Post-Processing Techniques for ABS Prints
- Troubleshooting Common ABS Printing Issues
- Put Your ABS Printing Skills into Practice
- Read More
ABS is one of the most widely used filaments in 3D printing due to its versatility and the prevalence of ABS materials in our daily lives. However, printing with ABS can be more challenging compared to other filaments like PLA. This comprehensive guide will provide you with the essential strategies and techniques to master ABS 3D printing. You'll learn about the unique properties of ABS, how to properly prepare your 3D printer, ensure reliable bed adhesion, optimize print settings, troubleshoot common issues, and explore advanced ABS printing applications.

What is ABS Filament?
ABS, or Acrylonitrile Butadiene Styrene, is a common thermoplastic material used extensively in 3D printing. Understanding the chemical composition and inherent properties of ABS is key to successfully working with this filament.
1. Chemical Composition and Properties of ABS
ABS is a copolymer composed of three monomers: acrylonitrile, butadiene, and styrene. This unique blend of materials gives ABS a combination of strength, rigidity, and impact resistance. Compared to other filaments like PLA, ABS is more heat-resistant and can withstand higher temperatures without deformation.
2. Advantages of Using ABS Over Other Filaments
One of the primary advantages of ABS is its toughness and durability. ABS parts are less brittle and can withstand impact and stress better than PLA or other common 3D printing materials. This makes ABS an ideal choice for functional prototypes, end-use parts, and applications that require robust, long-lasting components.
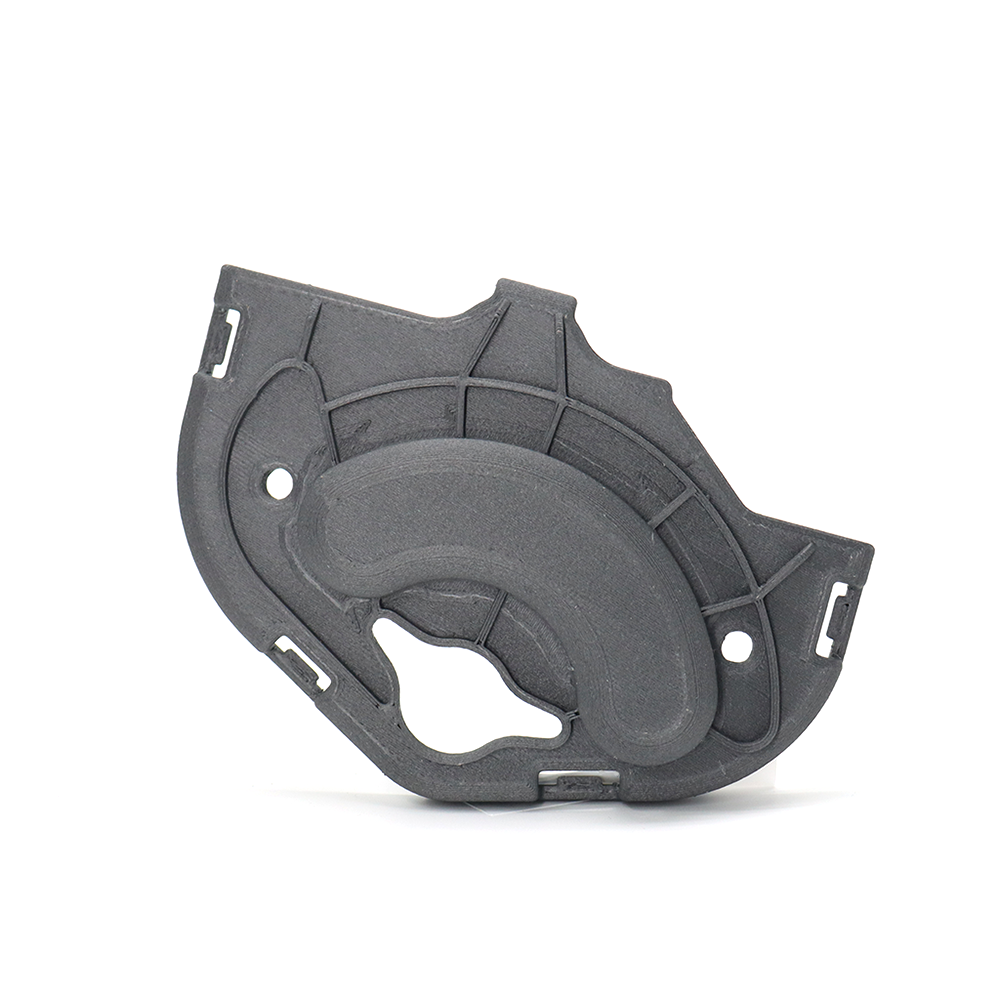
3. Common Applications and End-Use Cases for ABS Prints
Due to its versatile properties, ABS finds use in a wide range of applications. Some common end-use cases for ABS 3D prints include consumer electronics housings, automotive parts, toys, and sports equipment. ABS's resistance to heat, chemicals, and impact makes it a popular choice for durable, functional 3D printed products.

Preparing Your 3D Printer for ABS Printing
Getting your 3D printer set up correctly is key to successful ABS printing.
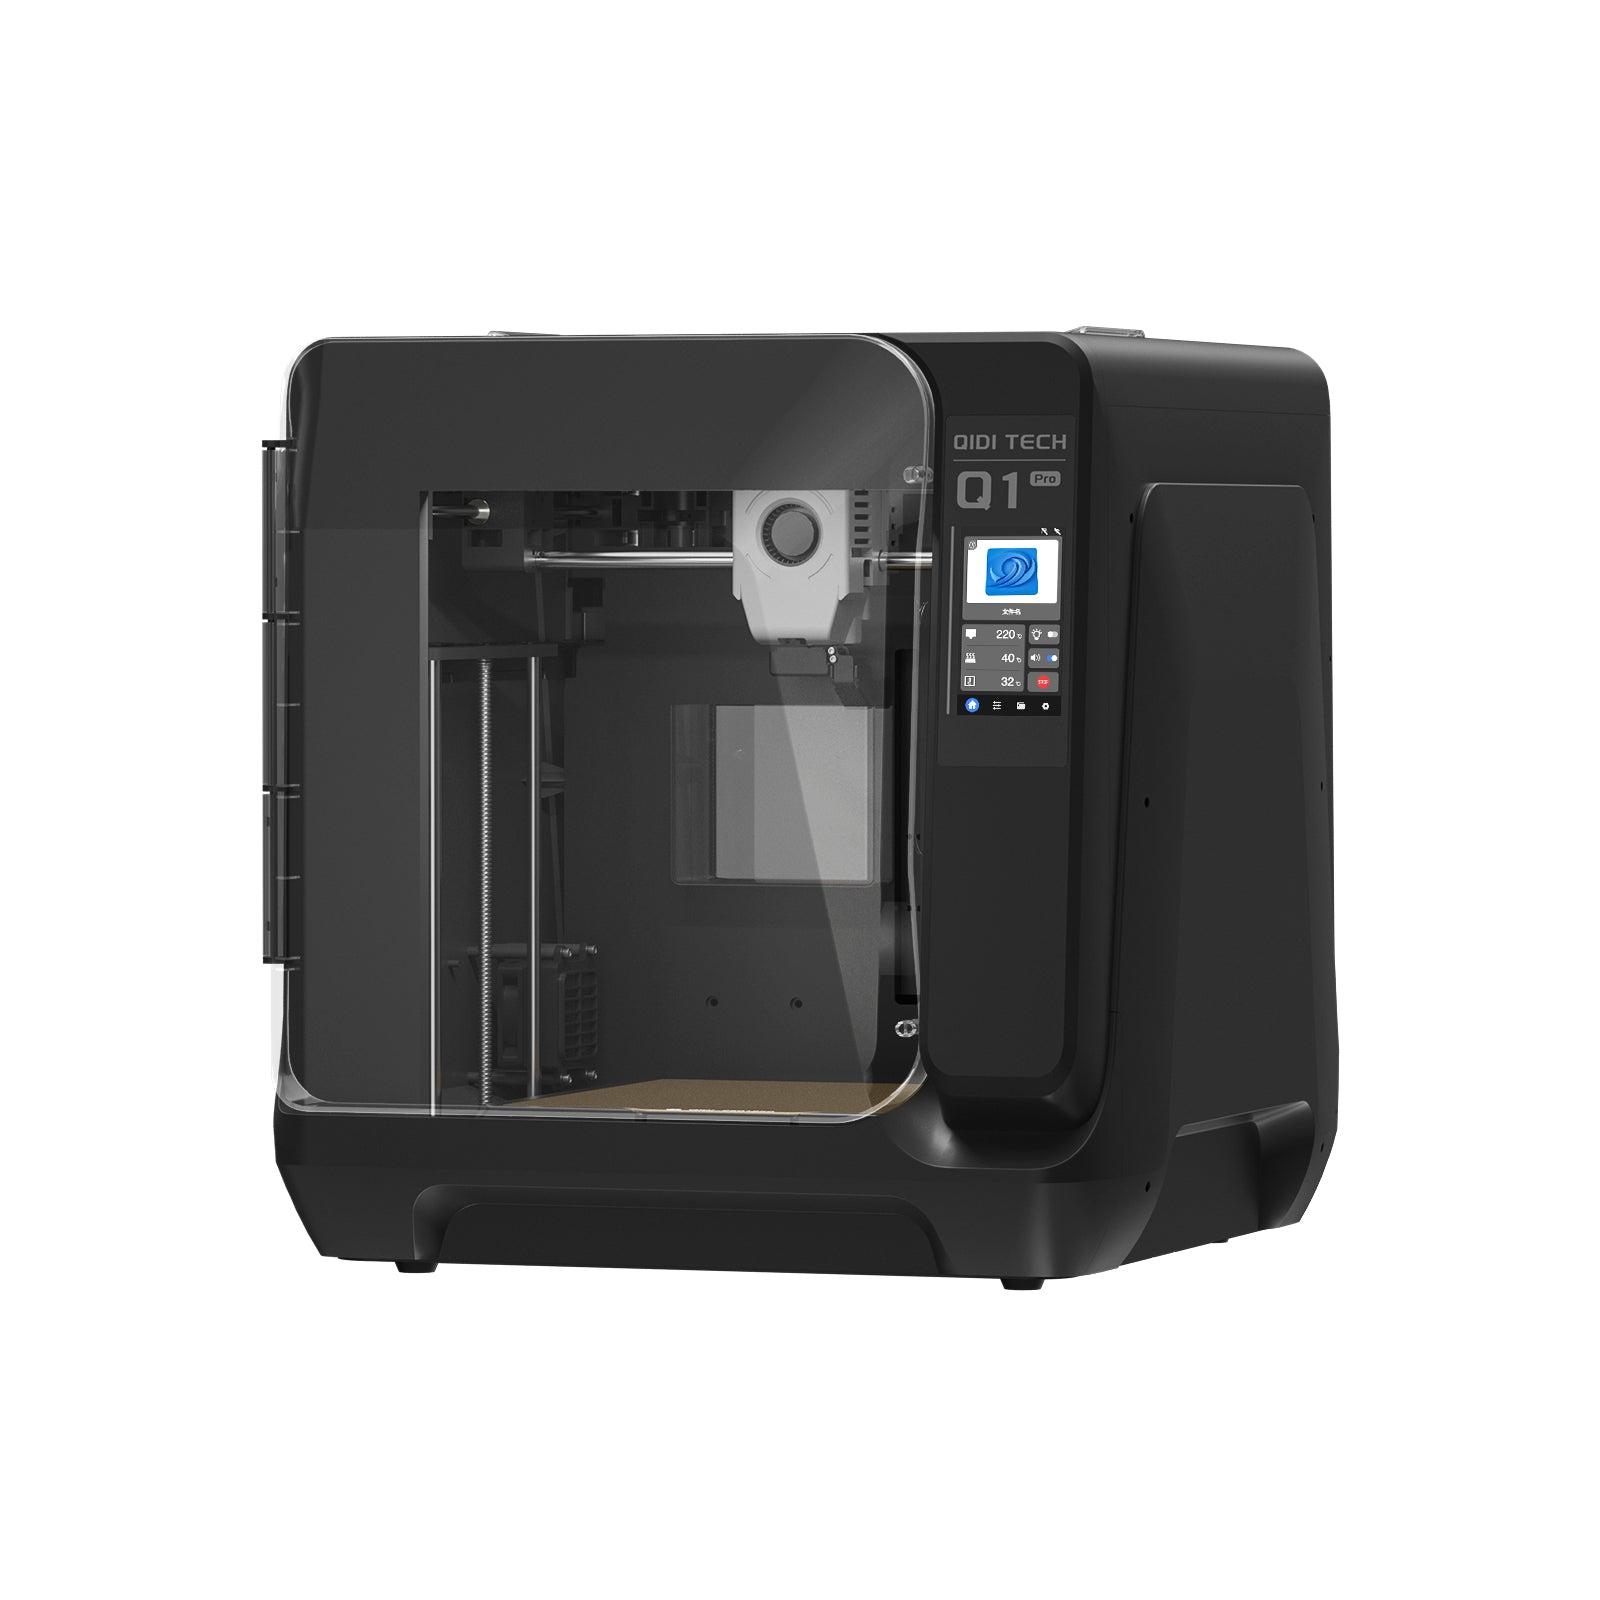
1. Choosing the Right 3D Printer
The first step is selecting a 3D printer that is well-suited for working with ABS filament. There are two primary requirements:
Heated Print Bed
Printing ABS requires a heated print bed, typically maintained at around 110°C. This elevated temperature helps prevent warping and ensures the first layer adheres properly to the build plate.
Enclosed Printing Environment
An enclosed printing chamber is highly recommended when working with ABS. The enclosed environment helps maintain a consistent, controlled temperature, which is crucial for minimizing part warping and achieving reliable print quality.
2. Printer Calibration and Setup
In addition to the hardware requirements, proper calibration and setup of the 3D printer are essential for ABS printing.
Leveling the Print Bed
Ensuring a perfectly level print bed is critical for ABS, as any uneven surfaces can lead to adhesion issues and part deformations. Utilize the bed leveling features of your printer, whether manual adjustment or automatic leveling systems.
Adjusting Nozzle Height
Correctly setting the nozzle height above the print bed is another crucial factor. The nozzle should be positioned at the optimal distance to ensure proper material deposition and excellent first layer adhesion.
By selecting the right 3D printer and diligently calibrating the hardware, you'll lay the foundation for successful ABS printing projects.
Ensuring Proper Bed Adhesion for ABS
Maintaining consistent bed adhesion is crucial when printing with ABS.
1. Choosing the Right Print Surface
The choice of print surface plays a significant role in ABS adhesion. Consider the following options:
Temperature-Controlled Print Bed
Using a heated print bed, typically maintained around 110°C, is crucial for ABS printing. The elevated temperature helps prevent warping and promotes strong first layer adhesion.
Adhesion Solutions
Applying an adhesive to the print surface can greatly improve ABS part adhesion. Common options include hairspray, glue sticks, or an ABS slurry (dissolved ABS in acetone).
Using Kapton or PET Tape
Applying a layer of Kapton or PET tape to the print bed can provide a smooth, consistent surface that ABS adheres well to. The tape also makes it easier to remove finished parts.
2. Resolving First Layer Adhesion Issues
Even with the right print surface, you may encounter problems with the first layer of your ABS prints. Be prepared to address common issues, such as:
Warping or Parts Lifting Off the Bed
If you notice the edges of your ABS parts lifting or the entire part warping, try adjusting the bed temperature, applying more adhesive, or using a different print surface.
Improving First Layer Adhesion
Ensure the nozzle height is set correctly, the bed is properly leveled, and the first layer is being deposited evenly. Making adjustments to these factors can help resolve adhesion problems.
Selecting the appropriate print surface and troubleshooting first layer adhesion issues will help you achieve reliable, warp-free ABS prints.
Optimizing Print Settings for ABS
Achieving successful ABS 3D prints requires carefully adjusting your printer settings to account for the unique properties of this material.
1. Extruder Temperature
Properly calibrating the extruder temperature is crucial for printing high-quality ABS parts. Here's how to find the right temperature:
Starting Point
Set the extruder temperature to around 235°C when printing with ABS. This provides a good balance between material flow and print quality.
Fine-Tuning
The ideal extruder temperature may vary depending on the specific ABS filament you're using. Adjust the temperature in 5-degree increments, testing small prints to determine the optimal setting for your setup.
2. Other Important Settings
In addition to the extruder temperature, there are several other slicer settings you should configure for optimal ABS printing:
Layer Height and Shell Thickness
Use relatively thin layer heights, typically between 0.1mm to 0.2mm, to achieve a smooth surface finish on ABS parts. Adjust the shell thickness to balance part strength and print speed.
Infill Patterns and Density
Experiment with different infill patterns and density levels to find the right compromise between part strength, print time, and material usage. Denser infill can help mitigate warping in ABS prints.
Print Speeds and Flow Rates
Slower print speeds, typically 30-50 mm/s, along with adjusted flow rates, can help improve layer adhesion and part integrity when printing with ABS.
Properly calibrating the extruder temperature and fine-tuning other key slicer settings will enable you to produce high-quality, dimensionally stable ABS 3D prints.
Maintaining Control During the ABS 3D Printing Process
When printing with ABS, carefully managing both the printing environment and the print process itself is crucial for success.
1. Controlling the Printing Environment
The temperatures of the print bed and the surrounding area are critical factors when working with ABS.
Print Bed Temperature
For ABS printing, the print bed should be heated to around 110°C. This elevated temperature helps prevent warping and ensures proper adhesion of the first layer.
Ambient Temperature
In addition to the heated bed, it's important to maintain a consistent ambient temperature around the printer. Significant fluctuations in the surrounding air temperature can lead to part deformation and other quality issues.
2. Balancing Print Speed and Quality
When printing with ABS, there is often a trade-off between print speed and the quality of the final part. Finding the right balance requires some experimentation.
Print Speeds and Flow Rates
Slower print speeds, typically 30-50 mm/s, can help improve layer adhesion and part integrity with ABS. Adjusting the flow rate can also play a role in achieving the desired balance between speed and quality.
Dealing with Printing Issues
Even with the proper environmental controls, you may encounter various printing issues that require your attention.
3. Monitoring the Print and Making Adjustments
Closely watching the print job and being prepared to make necessary adjustments is crucial when working with ABS.
Detecting and Resolving Problems
Keep a close eye out for common issues like layer separation, warping, or other defects. If you notice any problems developing, be ready to pause the print and make the required adjustments to your settings or the environment.
Timely Interventions
Don't hesitate to pause the print and address any issues you observe. Catching and resolving problems early can prevent a failed print and save you time and material.
Maintaining a controlled printing environment and actively managing the print process can successfully navigate the unique challenges of ABS 3D printing.
Post-Processing Techniques for ABS Prints
After successfully completing an ABS 3D print, there are several post-processing steps you can take to refine and finish the part.
1. Cooling and Removing the Printed Part
The way you handle the finished ABS print after it comes off the build plate can impact the final quality.
Cooling the Printed Part
Allow the ABS part to cool gradually, either by letting it sit on the build plate or transferring it to a heat-safe surface. Rapid cooling can cause warping or cracking.
Removing the Part from the Bed
When the part has cooled, carefully remove it from the build plate, taking care not to damage the surface. If using adhesives, you may need to gently pry or flex the part to release it.
2. Cleaning and Refining the Print Surface
After removing the part, you can apply various post-processing techniques to clean up the surface and achieve a smoother finish.
Sanding and Smoothing Methods
Use progressive grits of sandpaper, starting with coarser paper and working up to finer grits, to gradually smooth the surface of the ABS print. This can help remove layer lines and imperfections.
Solvent Treatments for a Glossy Finish
Applying a solvent-based treatment, such as acetone vapor or chemical baths, can help dissolve the surface of the ABS part, resulting in a glossy, smooth finish.
3. Assembling and Finishing Multi-Part Prints
If your ABS project involves printing multiple components that need to be assembled, there are specific techniques to consider.
Welding or Bonding ABS Components
ABS parts can be joined together using techniques like solvent welding or adhesives specifically formulated for ABS. This ensures a strong, seamless connection between the assembled pieces.
Painting and Surface Treatments
Once the ABS parts are assembled, you can apply various surface treatments, such as painting, to further enhance the appearance and protection of your 3D printed project.

Troubleshooting Common ABS Printing Issues
Even with careful preparation, you may encounter various challenges when working with ABS filament.
1. Warping and Cracking
Warping, where the edges of the print lift off the build plate, is often caused by excessive cooling or inadequate bed adhesion. Adjusting the bed temperature, using adhesives, or enclosing the printer can help mitigate warping.
Cracking can occur due to thermal stresses. Ensuring proper temperature control, adjusting cooling fans, and using thicker shells or increased infill density can prevent cracking.
2. Nozzle Clogs and Extruder Issues
ABS can be prone to nozzle clogs, especially if the material degrades or burns due to overheating. Regularly cleaning the nozzle and maintaining optimal temperature settings can help avoid this.
Issues with the extruder, such as inconsistent material flow or slipping, can also arise. Checking the extruder gear for wear, adjusting tension, and troubleshooting any mechanical failures can resolve these problems.
3. Delamination
Delamination, where the layers fail to adhere properly, is another common ABS issue.
Ensuring consistent extruder temperature, adjusting flow rates, and using appropriate cooling techniques can improve layer adhesion and prevent delamination.
In some cases, delamination may be a result of insufficient part strength. Optimizing infill density, shell thickness, and overall part design can create more structurally sound ABS prints.
Put Your ABS Printing Skills into Practice
It's time to put your newfound knowledge into practice. Remember, mastering ABS 3D printing is an ongoing process that requires experimentation and continuous learning. Don't be afraid to try different approaches, troubleshoot issues, and explore the limits of what you can create with this robust and versatile filament. As you continue to hone your skills, you'll be able to produce increasingly complex and high-quality ABS parts for a wide range of applications. Stay curious, stay persistent, and keep refining your 3D printing techniques - the possibilities with ABS are truly limitless.