 س 2
س 2


دليل وضع النموذج: تقنيات شريحة لتحسين القوة وتبسيط الدعم

في الطباعة ثلاثية الأبعاد، يُعدّ اتجاه النموذج على منصة الطباعة عاملاً هاماً يؤثر على جودة الطباعة. يمكن لزاوية الوضع المناسبة أن تُحسّن بشكل كبير من متانة النموذج، وتُقلّل الحاجة إلى هياكل داعمة، وتُحسّن جودة سطحه. مع ذلك، يجب تحديد الوضع المُحدّد بناءً على الغرض من النموذج. سيأخذ هذا البرنامج التعليمي نموذجاً مُحدّداً كمثال لتحليل كيفية ضبط زاوية وضع النموذج.
خريطة تخطيطية
نموذج لتحسين القوة:

نموذج لتبسيط الدعم:

إذا كنت تريد الحصول على تأثير مماثل، يمكنك تجربة الطرق التالية.
مقدمة عن العملية - تحسين القوة
يرتبط اتجاه النموذج على منصة الطباعة ارتباطًا مباشرًا باتجاه خط الطبقة أثناء الطباعة، مما يؤثر بشكل حاسم على توزيع الإجهاد ومتانة النموذج النهائي. فيما يلي مثال على حامل على شكل حرف L يتطلب متانة عالية.
1. عند الطباعة وفقًا للموضع الافتراضي، يمكن طباعة النموذج بسلاسة، ولكن زوايا النموذج معرضة للكسر.


٢. لزيادة متانة النموذج، يُمكنك ضبط الزاوية بحيث يكون على جانب لوحة الطباعة. عند هذه النقطة، يكون المقطع العرضي للنموذج، في اتجاه القوة، على مستوى المحور الصادي (xy)، مما يُعزز متانة المنتج النهائي.

٣. انقر على الشريحة. بهذا الاتجاه، سينخفض وقت طباعة النموذج بشكل ملحوظ.


مقدمة عن العملية - الدعم المبسّط
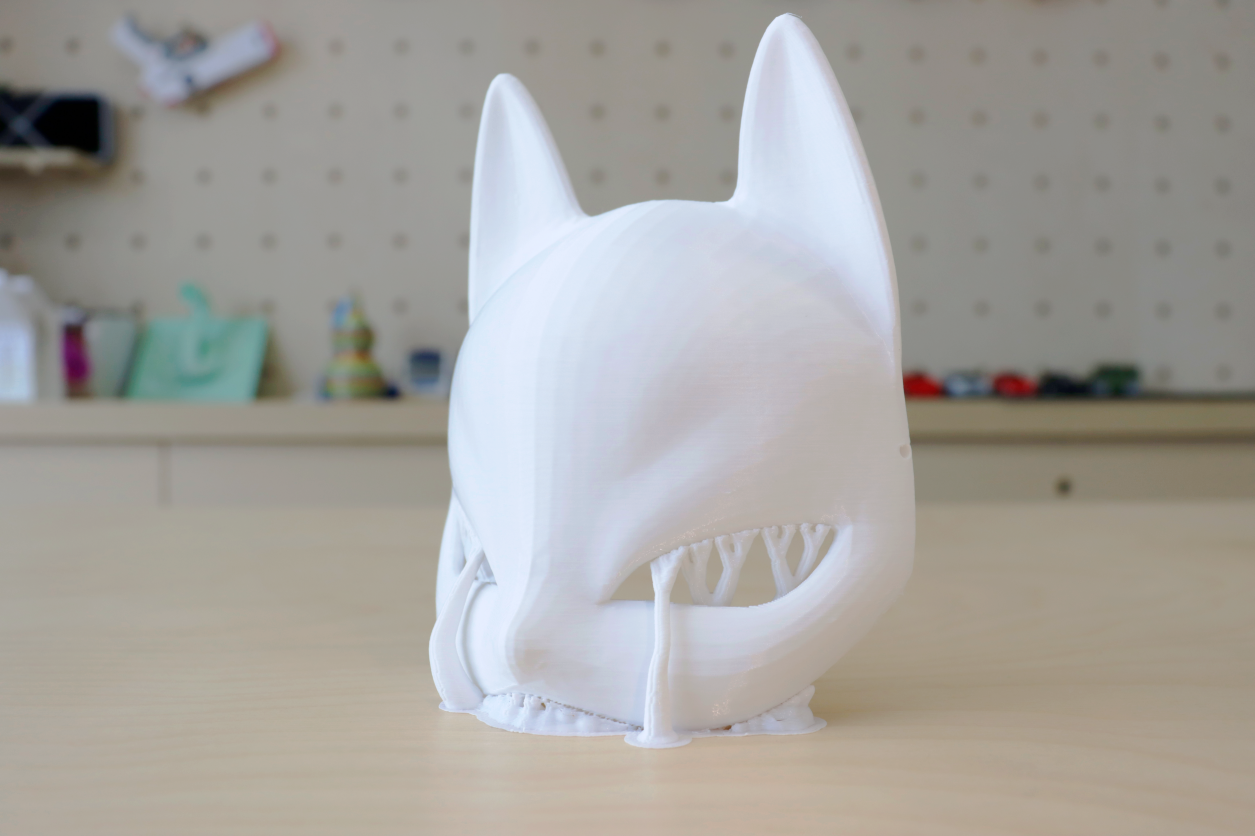
تحتوي العديد من النماذج على أجزاء بارزة، مما يتطلب توفير دعامات للطباعة. مع ذلك، فإن وضع الدعامات بشكل صحيح يُقلل من حجمها مع ضمان جودة الطباعة، وبالتالي يُقلل من وقت الطباعة.
١. النموذج الموضح في الشكل مُصمم أساسًا لأغراض تزيينية، ولا يحتاج إلى مراعاة عوامل القوة. إذا تمت الطباعة بزاوية الوضع الافتراضية، فسيوفر ذلك دعمًا أكبر ويتطلب وقت طباعة أطول.


2. اضبط زاوية النموذج لتدويره بمقدار 90 درجة على طول المحور X.

٣. انقر على الشريحة، وستجد أنه يمكنك تقليل وقت الطباعة بساعتين ونصف، وتوفير ١٦٪ من مواد الطباعة. في الوقت نفسه، سيؤدي تقليل مساحة التلامس بين النموذج والدعامة، بالإضافة إلى الطباعة الرأسية، إلى تحسين جودة سطح النموذج بشكل أكبر.

خاتمة
من خلال ضبط اتجاه وضع النموذج ودعم الإعداد الدقيق في

