

How to Level a 3D Printer Bed
Table of Contents
- What Role Does the Print Bed Play in 3D Printing?
- How to Tell When Your 3D Printer Bed Needs Leveling
- Tools Required for 3D Printer Bed Leveling
- Preparing for the 3D Printer Leveling Process
- Manual Bed Leveling Step-by-Step
- Convenience of Automatic Bed Leveling
- Recommendations for Maintaining a Level Bed
- Advanced Tips and Tricks
- Mastering the Crucial Art of 3D Printer Bed Leveling
- Read More
The bed is the flat surface where your 3D print is built layer by layer. If it's not level, your print can come out uneven, warped, or even completely ruined. That's why in this blog post, we're going to dive into why bed leveling matters so much, how you can tell when your bed needs some adjusting, and give you a foolproof guide to getting that bed leveled just right.
What Role Does the Print Bed Play in 3D Printing?
The print bed, also known as the build plate, is a crucial component in the 3D printing process. It's the flat surface where your 3D-printed object is constructed layer by layer. The print bed provides a stable foundation for your object to adhere to as it's being built.
A level print bed ensures that the first layer of your print is deposited evenly across the entire surface. This first layer is essential because it acts as the base for the rest of your object. If the print bed is not level, the first layer may not adhere properly, resulting in various issues such as warping, shifting, or even detachment from the build plate during the printing process.
An uneven print bed can lead to inconsistencies in the thickness of your object's layers, affecting its overall quality and structural integrity. By ensuring that your print bed is level, you create a stable and reliable surface for your object to be built upon, ultimately leading to a successful and high-quality 3D printing experience.
How to Tell When Your 3D Printer Bed Needs Leveling
Okay, so you might be wondering, "How do I know when my 3D printer bed needs to be leveled?" Don't worry; there are a few telltale signs that you can look out for:
Step 1. The First Layer Looks Uneven
When you start a print, take a close look at the first layer. If some parts look thicker or thinner than others, or if the layer seems to be going down unevenly, that's a dead giveaway that your bed needs leveling. The first layer should be smooth and even across the whole bed.
Step 2. Your Prints Aren't Sticking
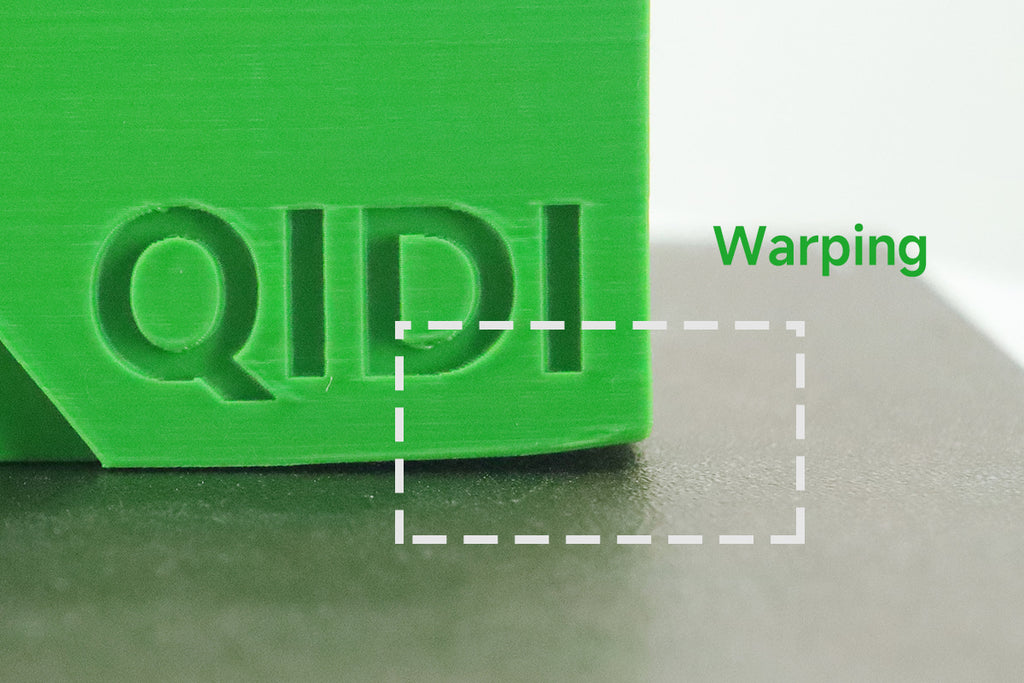
Another sign of a bed that needs leveling is when your prints just won't stick to the bed. If the filament isn't getting a good grip on the bed, your print can start to lift up or warp as it's being built. This is a sure sign that it's time to break out the leveling tools and get that bed nice and flat.
Step 3. Inconsistent Layer Heights
If your bed is unlevel, you might notice that the layers of your print aren't all the same height. Some might be squished too thin, while others are too thick. This can mess with the overall look and quality of your print, and it can even affect how precise and accurate the dimensions of your object turn out. If you spot this issue, it's definitely time for a bed leveling session.
Tools Required for 3D Printer Bed Leveling
Before you jump into leveling your 3D printer bed, make sure you have these tools ready to go:
The Essentials
First up, you'll need a thin piece of paper. A sticky note or a standard piece of printer paper will do the trick. This will be your trusty tool for getting the distance between the nozzle and the bed just right.
Next, grab your screwdrivers or hex keys. These are what you'll use to turn the leveling knobs or screws on your 3D printer bed. Double-check that you have the correct size for your specific printer model.
Extra Helpful Items
While not absolutely necessary, a pair of gloves can be really handy during the bed leveling process. They'll protect your hands from the hot bed and prevent any skin oils from getting on the build plate, which can make it harder for your prints to stick.
Another helpful item to have on hand is some cleaning supplies. A bit of isopropyl alcohol (rubbing alcohol) and a clean, lint-free cloth can be used to give your nozzle and print bed a quick clean before you start leveling. This extra step can help ensure you get the best possible results.
Preparing for the 3D Printer Leveling Process
Leveling your 3D printer bed is crucial for achieving high-quality prints. But before you dive in, it's essential to take a few preparatory steps:
- Clean the nozzle and print bed:Use some rubbing alcohol and a clean cloth to wipe off any dirt, dust, or leftover filament from the nozzle and the build plate. This will help ensure a smooth surface for printing.
- Heat up the bed: Turn on your 3D printer and set the bed temperature to the same temperature you normally use for printing. This will account for any expansion of the bed as it heats up, which can affect the leveling process.
- Move the print head and disable the motors:On your 3D printer's control panel, select the "auto-home" option. This will move the print head to its starting position. Then, disable the stepper motors. This will allow you to manually move the print head around without any resistance from the motors.
With these preparation steps completed, you'll be all set to start leveling your 3D printer bed properly.
Manual Bed Leveling Step-by-Step
Now that your printer is prepped and ready, let's go through the actual process of leveling the bed manually:
1. Position the Nozzle
Using the control knob or menu on your 3D printer, move the print head to one of the corners of the build plate. The nozzle should be about the thickness of a penny (around 1-2 mm) above the bed surface.
2. Adjust the First Corner
Take a standard piece of printer paper or a sticky note and slide it between the nozzle and the bed surface. Slowly adjust the leveling knob or screw for that corner up or down until you can feel a slight resistance when trying to move the paper back and forth. The nozzle should just barely grip the paper.
3. Check the Remaining Corners
Now move the print head to each of the remaining corners of the bed. At each corner, slide the paper underneath and adjust that corner's leveling knob until you get the same slight paper resistance.
4. Verify the Center
Once the corners are set, guide the nozzle to the center of the bed and insert the paper again. If the resistance feels tighter or looser than the corners, make small adjustments to the nearest corner knobs until the center matches.
5. Repeat and Refining
Go back and re-check each corner and the center position. Make any minor tweaks needed until the paper can slide underneath with identical resistance across the entire bed surface.
6. Run a Test Print
When you're confident the bed is evenly leveled, run a small test print of a basic shape or pattern. This will confirm if your leveling adjustments were successful.
Take your time with this process - an evenly leveled bed sets the stage for smooth, high-quality 3D prints every time.
Convenience of Automatic Bed Leveling
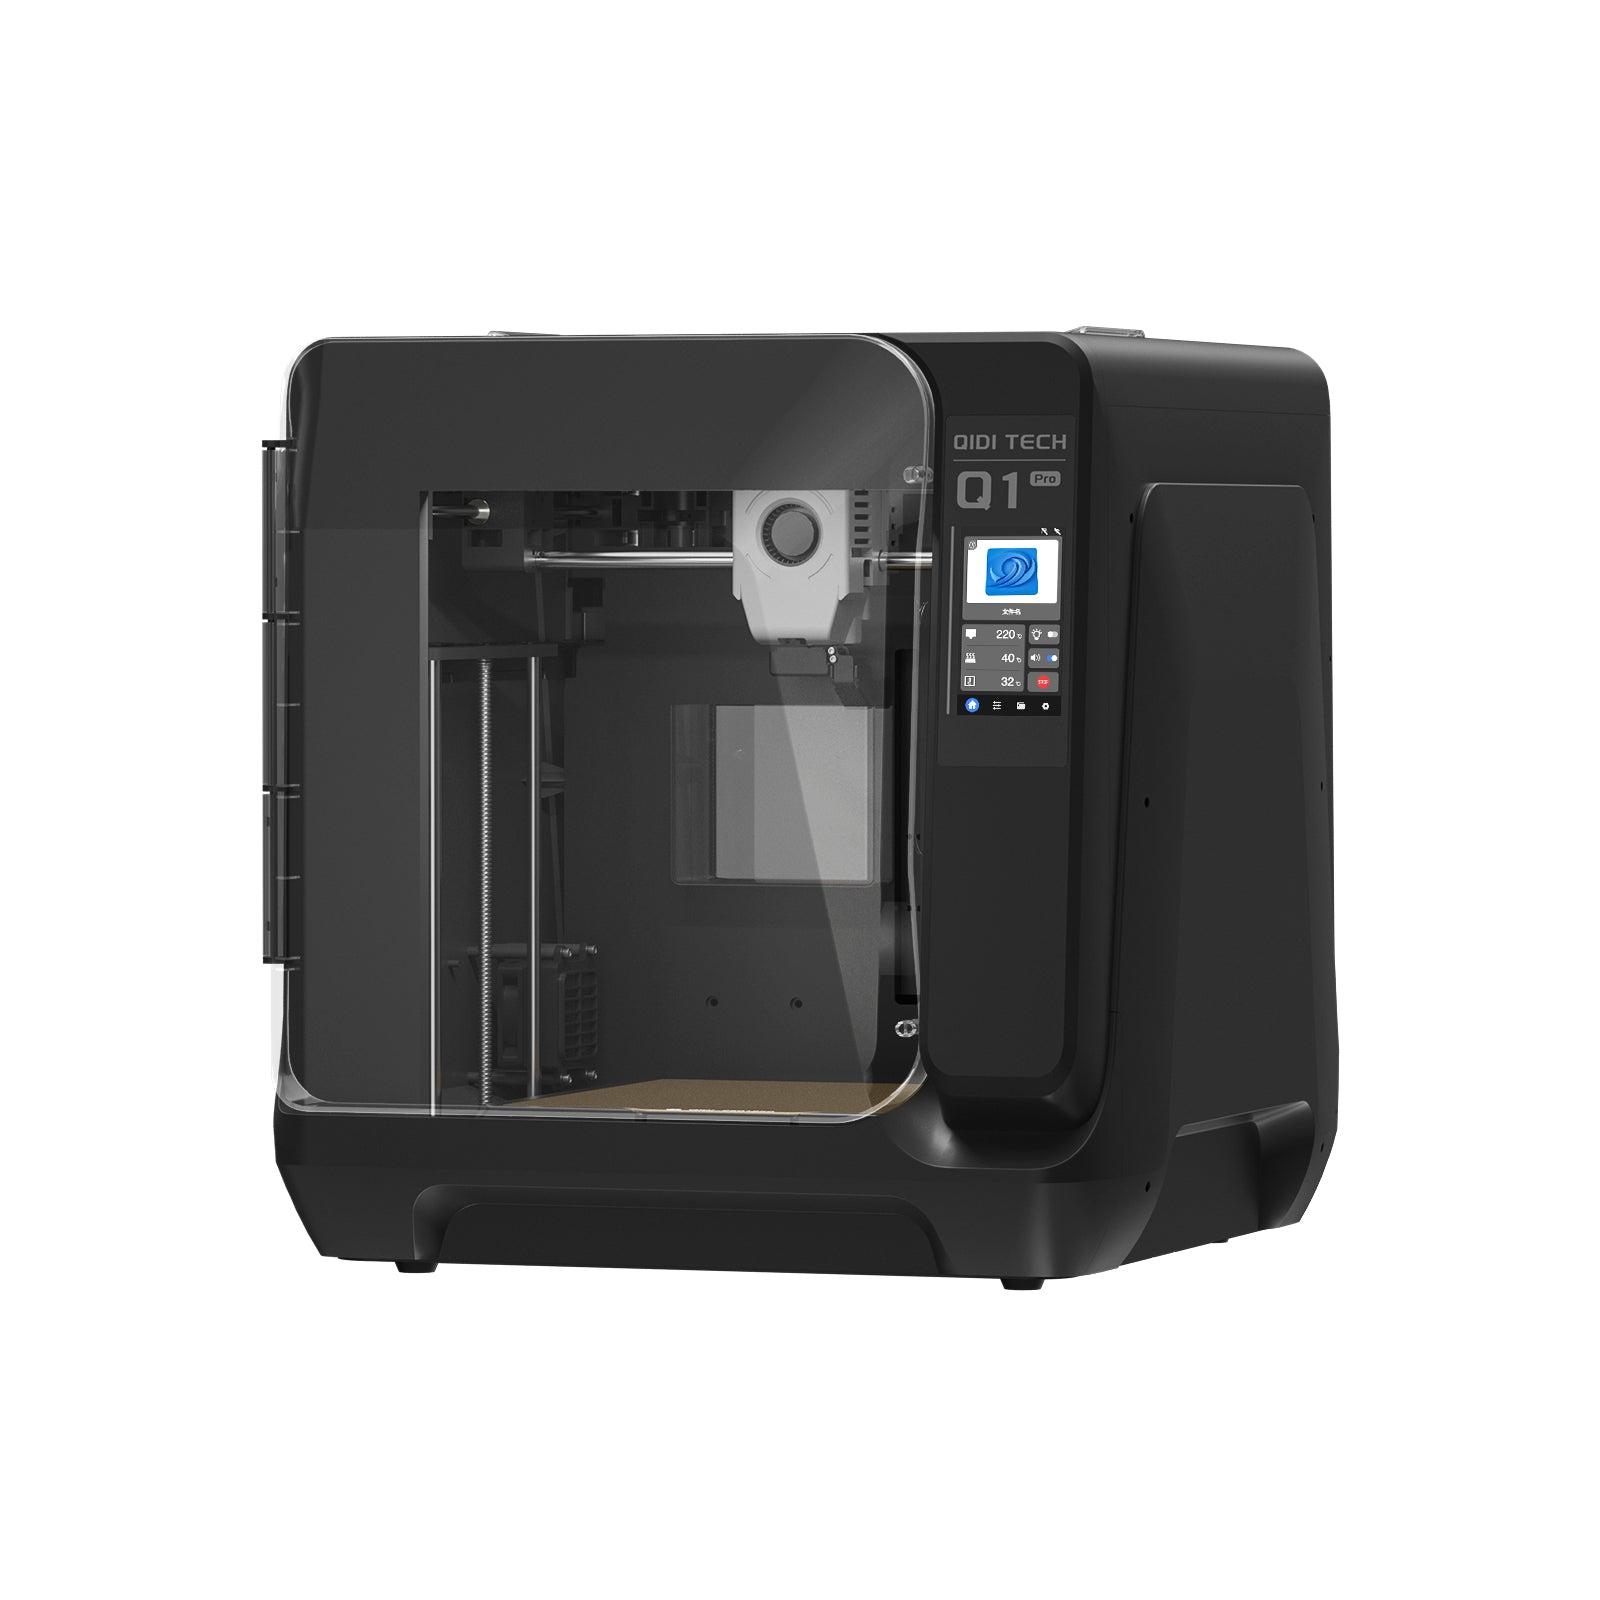
Many modern 3D printers, including models from QIDI Tech, come with a handy feature called automatic bed leveling (ABL). This technology takes a lot of the manual work out of ensuring your bed is perfectly level.
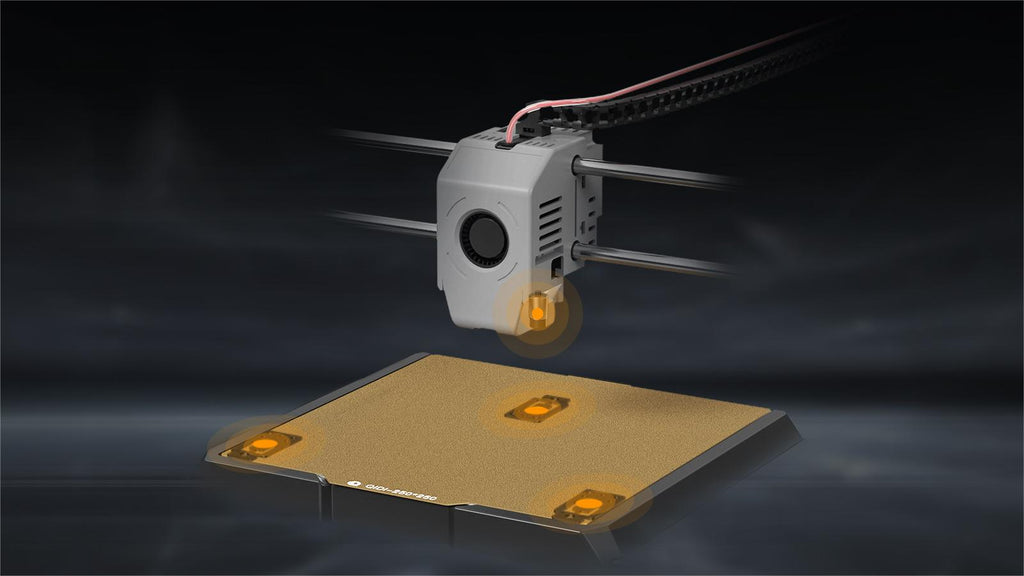
How It Works
Instead of adjusting knobs at each corner, ABL uses sensors to map out the topology of the bed surface. The sensors probe numerous points and create a digital mesh model that accounts for any high or low spots. This mesh data is then used to subtly adjust the Z-axis movements during printing to compensate for an unlevel bed.
The key benefit is a more consistent first layer adhesion across the entire build plate, leading to higher success rates and better overall print quality.
Don't Ignore It Completely
While automatic bed leveling is extremely convenient, it's not a set-it-and-forget-it solution. The sensors can become inaccurate over time due to issues like built-up debris or mechanical shifting.
It's a good practice to still perform periodic manual bed level checks, even on printers with ABL systems. This ensures the automated system is working correctly and allows you to make any needed adjustments to the physical knobs if problems arise.
Recommendations for Maintaining a Level Bed
Even after getting your bed properly leveled, there are a few things to keep in mind to maintain that ideal setup over time:
Routine Checks Are Key
Make it a habit to check your bed's level at least once a week, or even before every longer print job. If you start noticing signs of uneven layers or poor adhesion on your prints, that's a surefire indication you need to re-level. Things can slowly get out of whack without you realizing it.
Create a Stable Environment
Draft waves, vibrations, and temperature fluctuations can all contribute to subtle bed warping over time. Try to minimize these variables by setting up your 3D printer in a room without vents, windows, heaters/AC units blowing directly on it, or areas of high foot traffic that could cause vibrations.
Be Careful With Print Removal
When prying a completed object off the build plate, go very slowly and gently. Try not to torque, twist or bend the surface too much. Use a tool like a putty knife to avoid scratching the bed. The removal process can sometimes knock the bed out of level if you're not extremely careful.
Recheck After Relocating
Anytime you need to move your 3D printer to another location, even just across the room, plan to re-level the bed once it's resituated at the new spot. The vibrations and jostling during transport can easily throw off the bed's precise alignment.
Check Bed Surface Periodically
Every few months, do a close inspection of your print surface for any signs of damage, warping or issues with the coating/adhesive. A compromised bed will never stay level. Replace or repair the surface as needed.
Advanced Tips and Tricks
As you become more experienced with bed leveling, you may want to explore some advanced techniques to further improve your print quality:
Fine-Tuning the Z-Axis Height
Even with a perfectly level bed, you may still need to tweak the precise height between the nozzle and build plate. Getting this tiny gap just right ensures the filament is squished into the bed at the ideal thickness for that first layer.
Many printers have a "babystepping" or "Z-offset" setting that allows you to minutely raise or lower the Z-axis in increments. You can also use your slicer software to fine-tune the initial layer height to the micron level.
Dealing With Tricky Leveling Issues
If you just can't seem to get that bed leveled no matter what, take a step back and systematically check a few things:
- Inspect the build plate for any warps or damage
- Ensure the surface is clean and that any coating is adhered properly
- Look for any binding, loose parts, or alignment issues with the printer's mechanics
Every issue has a solution if you troubleshoot patiently.
Mastering the Crucial Art of 3D Printer Bed Leveling
Achieving a perfectly level build plate is an indispensable skill for anyone serious about 3D printing. This guide has covered why bed leveling matters, how to identify when adjustments are required, and provided step-by-step instructions for both manual and automatic leveling processes. With some practice using these methods, you'll unlock flawless first layers and optimal print quality every time. Don't be afraid to lean on the vast knowledge of the 3D printing community as you continue honing your bed leveling expertise. Happy printing!