

Tips and Tricks for Successful FDM 3D Printing
Table of Contents
FDM (Fused Deposition Modeling) 3D printing is a precise and creative process that allows you to bring your digital designs to life in stunning detail. However, achieving consistently outstanding results can be a challenge, especially for those new to this fascinating technology. This guide aims to equip you with essential tips and tricks to optimize your printer settings, enhance print quality, and unlock the full potential of your FDM 3D printing journey.
Tip #1: Select and Calibrate Your 3D Printer
Choosing the Right 3D Printer
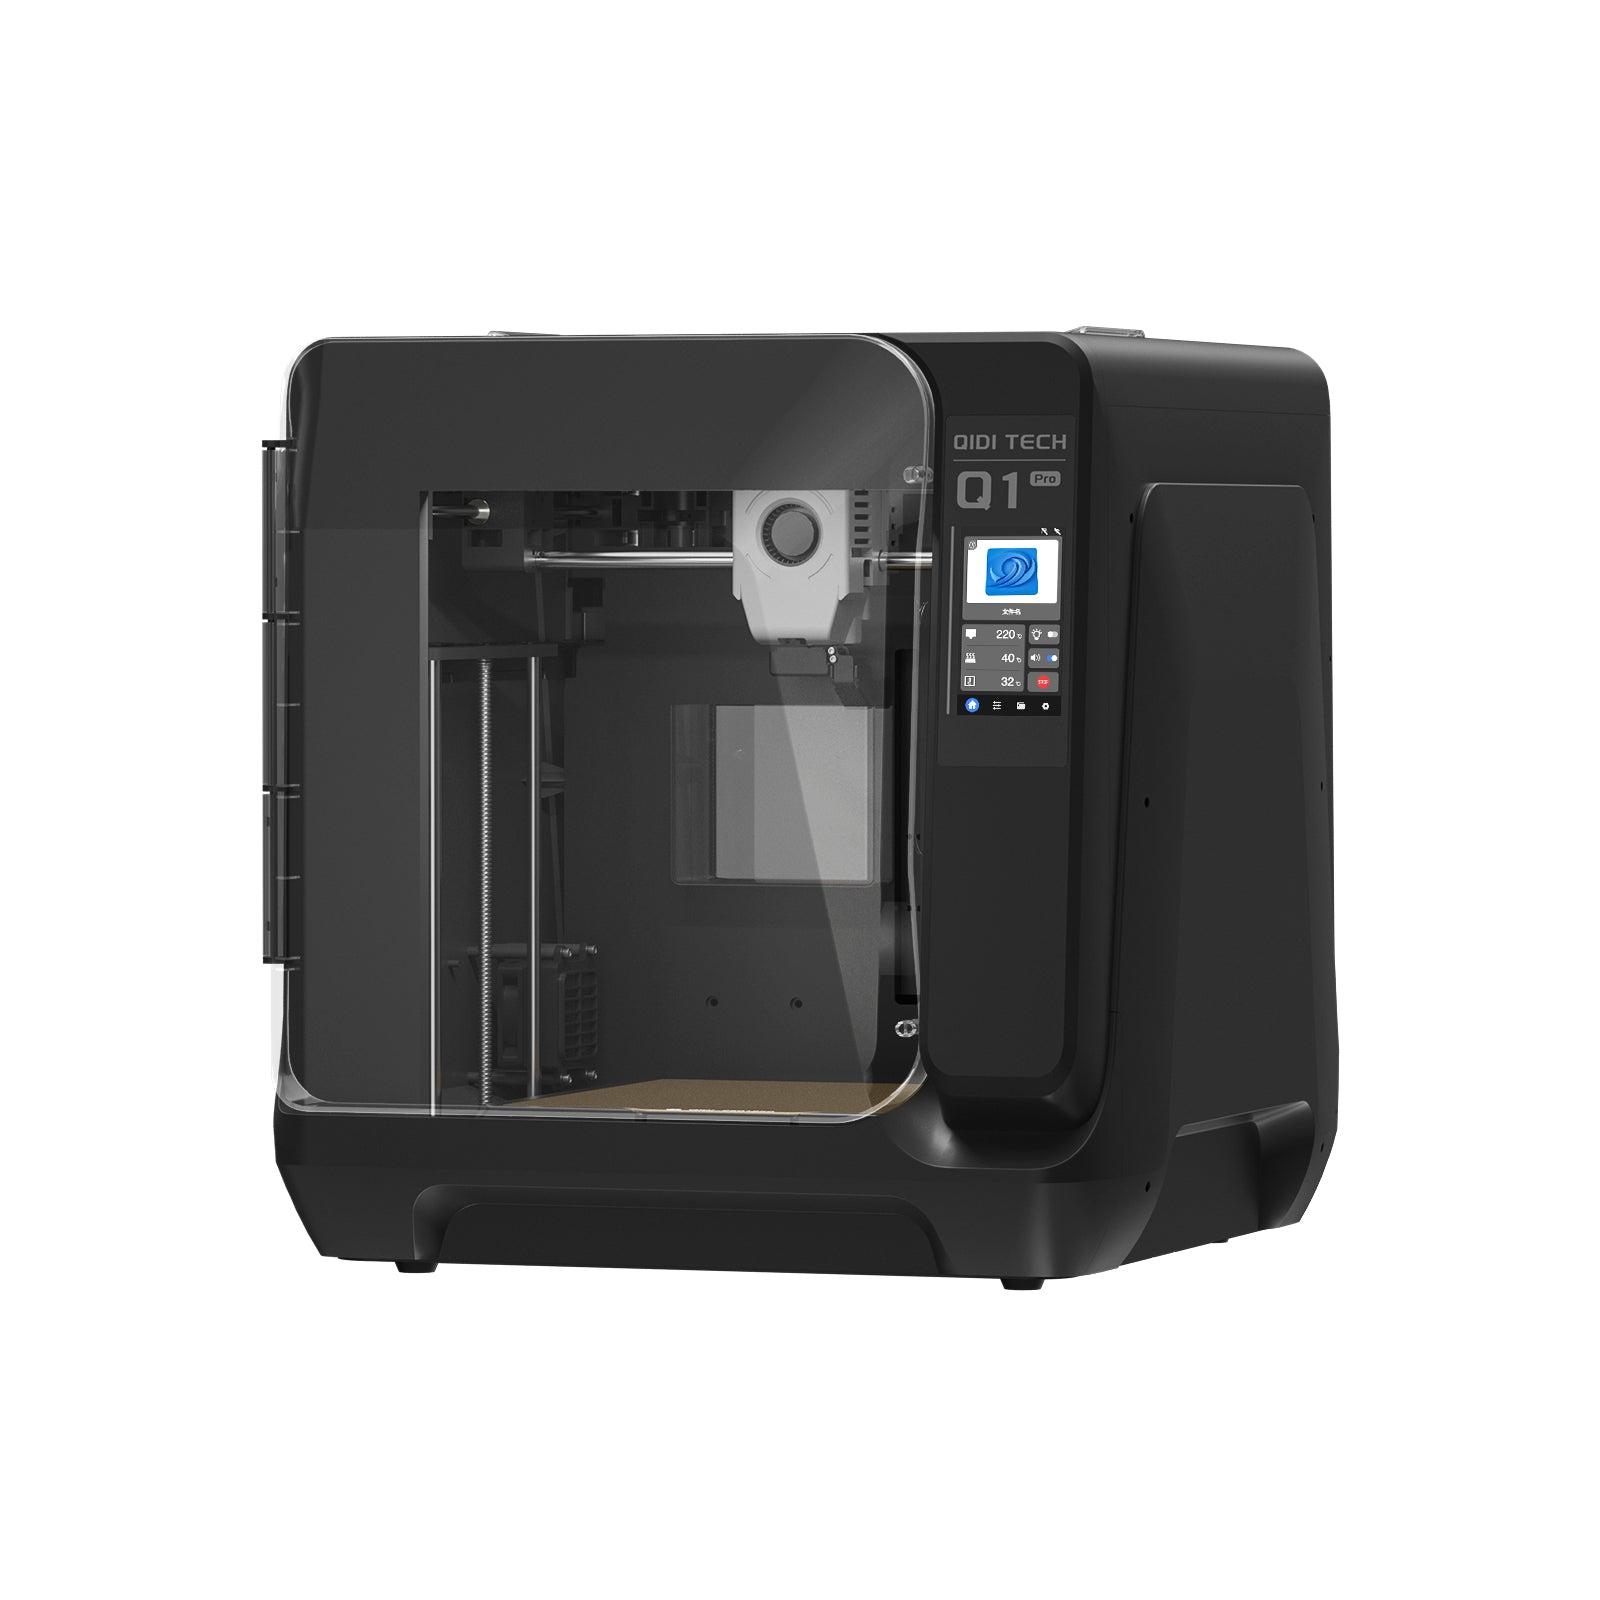
Before embarking on your FDM 3D printing adventure, it's crucial to select a 3d printer that aligns with your specific needs and requirements. Assess your printing goals, such as the types of materials you plan to use, the desired print volume, and the level of detail you aim to achieve. Additionally, consider features like bed leveling capabilities, hotend compatibility, and overall build quality to ensure a reliable and user-friendly experience.
Bed Leveling Basics
A leveled print bed ensures even adhesion of the first layer, preventing warping and other issues. For manual leveling, use feeler gauges (0.1mm to 0.3mm) to adjust the nozzle height at multiple points on the heated bed, achieving a consistent gap with slight resistance when sliding the gauge.
Some printers offer automatic bed leveling systems that map the bed surface and adjust the nozzle height accordingly, saving time but requiring occasional calibration.
Extended Reading: Why Is My 3D Printing Not Sticking to Bed?
Accurate Printer Movement
Calibrating printer movement along X, Y, and Z-axes is crucial for dimensional accuracy, especially with complex models or multi-part assemblies. The steps per millimeter calibration process involves:
Regular maintenance and inspections of mechanical components like belts and lead screws can also impact movement accuracy and print quality.
Tip #2: Manage Your Filament Effectively
Using High-Quality Filament
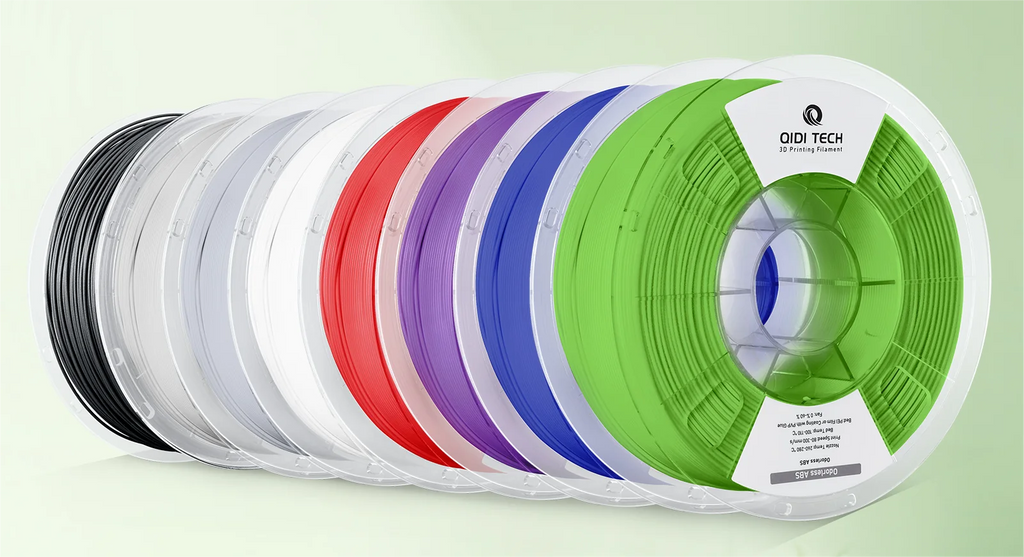
Premium filaments undergo stringent quality control, ensuring consistent diameter, minimal impurities, and optimal physical properties. Low-quality filaments can cause 3d printing problems like under/over-extrusion, poor layer adhesion, visible defects, and failed prints.
Proper filament storage is crucial as most materials are hygroscopic (absorb moisture). Store filaments in airtight containers with desiccant packs. Moisture can cause bubbling, sputtering, and degraded print quality. If filament has absorbed moisture, dry it using a filament dryer or food dehydrator before printing.
Tip #3: Calibrate Extruder Steps Precisely
Inconsistent filament extrusion leads to dimensional inaccuracies, under/over-extrusion, and poor surface finishes. Calibrate the extruder's steps per millimeter setting to ensure correct filament delivery.
Calibration ensures consistent extrusion, preventing issues like weak layer adhesion. Perform calibration for each filament type/brand, as materials have varying extrusion characteristics.
Tip #4: Enhance Print Quality with Specific Techniques
Stringing Minimization
Stringing occurs when excess filament oozes from the nozzle, forming thin strands between printed components and affecting appearance and functionality. Adjusting retraction settings is crucial, increasing the distance the filament is pulled back and optimizing the retraction speed to prevent oozing during travel moves. Enabling wipe settings, where the nozzle moves in a specific pattern to clear excess filament before traveling, can also help. Additionally, consider the properties of your filament, as certain materials like flexible ones tend to string more, requiring adjustments to temperature and print speed. Increasing travel speed can also give less time for oozing to occur between components.
Cooling Strategies
Effective cooling plays a vital role in achieving high-quality prints, especially when dealing with overhangs and bridging. Upgrading to aftermarket cooling ducts can direct airflow more effectively onto the print, while increasing fan speeds improves cooling. However, balanced airflow is crucial to avoid warping. Adjust layer cooling settings in your slicer to control fan speeds for different layers or sections of the model. Additionally, orienting the model strategically can optimize cooling for overhangs and bridges. Proper cooling ensures each layer solidifies quickly, preventing sagging, drooping, and loss of detail.
Ensuring Layer Accuracy
Inconsistent layer heights or visible patterns on printed models indicate layer accuracy issues. Mechanical irregularities like bent lead screws, loose couplers, or misaligned components can create these patterns or shifts in layers. Temperature fluctuations during printing can also cause uneven expansion or contraction of layers, highlighting the importance of PID tuning to stabilize temperatures. Incorrect firmware, slicer settings, or gcode commands may contribute to layer shifts as well. Regular maintenance, checking mechanical components, PID tuning, and verifying software settings are essential to maintain dimensional accuracy and consistent layers throughout the print process.
Tip #5: Fine-Tune Print Settings for Precision
Adjusting Horizontal Expansion and Flow Rate
These settings can help fine-tune prints when facing clearance or fit issues after optimizing other parameters.
Horizontal expansion scales the overall model size, increasing or decreasing it slightly. This creates more clearance between moving parts or tighter fits for assemblies. Use cautiously, as excessive scaling can distort dimensions.
Flow rate adjustments control the amount of filament extruded. Increasing flow rate compensates for under-extrusion caused by partial clogs or filament slippage. Decreasing flow rate addresses over-extrusion from incorrect esteps or inconsistent filament diameter.
Treat these settings as a last resort after addressing other potential issues. Overreliance can introduce inconsistencies and dimensional inaccuracies.
Speed Adjustments for Optimal Results
Print speed impacts quality and structural integrity. Faster speeds compromise layer adhesion and detail resolution, leading to poor finishes and weaker parts. Slower speeds improve adhesion and detail but increase print times.
Balance speed and layer time to achieve desired quality and strength. Intricate models require slower speeds for precise details and smooth finishes. Larger, less detailed prints may allow higher speeds without compromising structural integrity.
Consider your printer's and filament's capabilities. Some handle higher speeds better than others. Experiment with different speeds and evaluate the resulting quality and strength to determine ideal settings for your needs.
Refine Your FDM 3D Printing Skills!
Achieving outstanding results in FDM 3D printing requires continuous learning and refinement. By applying the tips and techniques discussed, you can optimize your printer setup, enhance print quality, and overcome common challenges. However, mastering this technology is an ongoing journey. Regularly seek additional educational resources, experiment with new methods, and maintain an open mindset for problem-solving. With patience and dedication, you'll develop a deeper understanding of 3D printing, enabling you to create precise, high-quality prints that bring your designs to life.